Genshin Impact All Sumeru Desert Enigmatic Page Locations


In this guide we will show you where to find all 30 Enigmatic Pages that form the “A Thousand Nights Part IV, V & VI” books.
🎮 Find more Genshin Impact guides here.
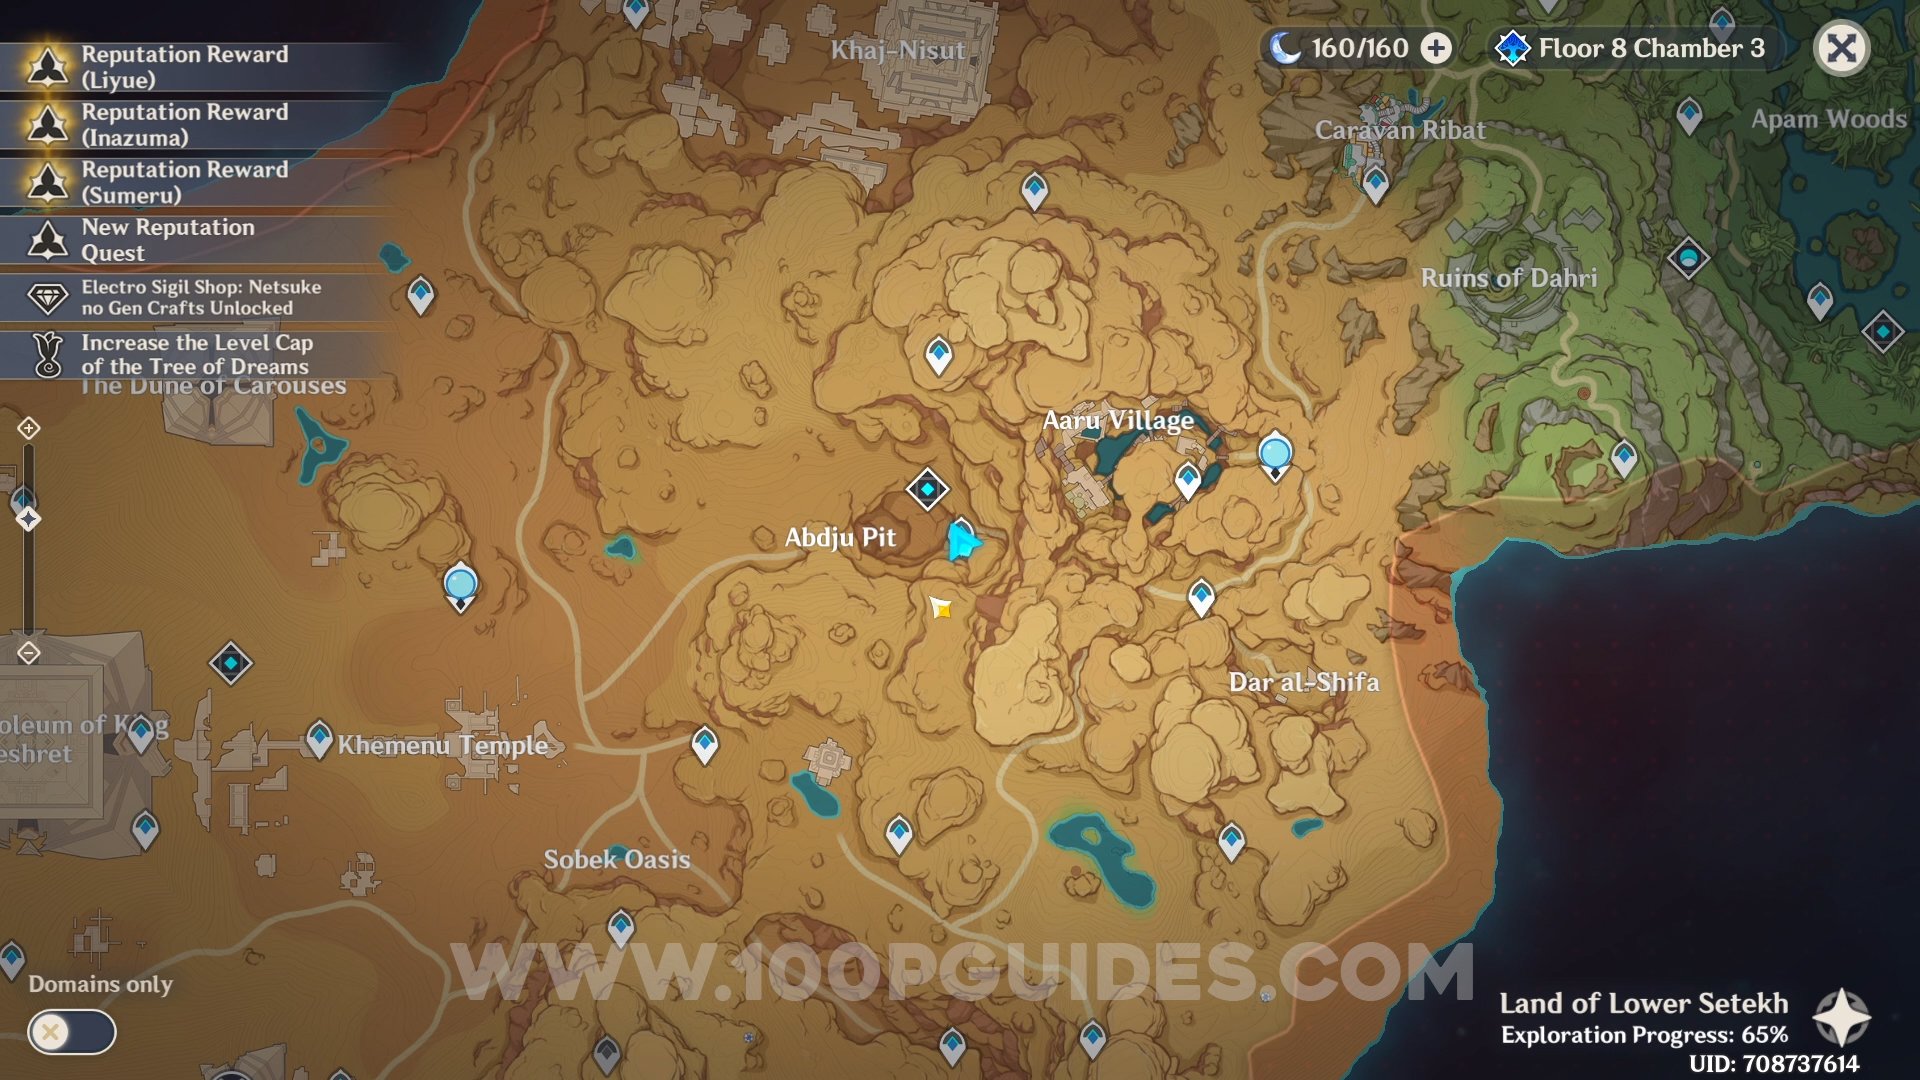
There are 30 Enigmatic Pages found around the Sumeru Desert region. These all make up the "A Thousand Nights IV, V & VI" books.
Enigmatic Page #1 (A Thousand Nights IV). On a crate next to an enemy camp.


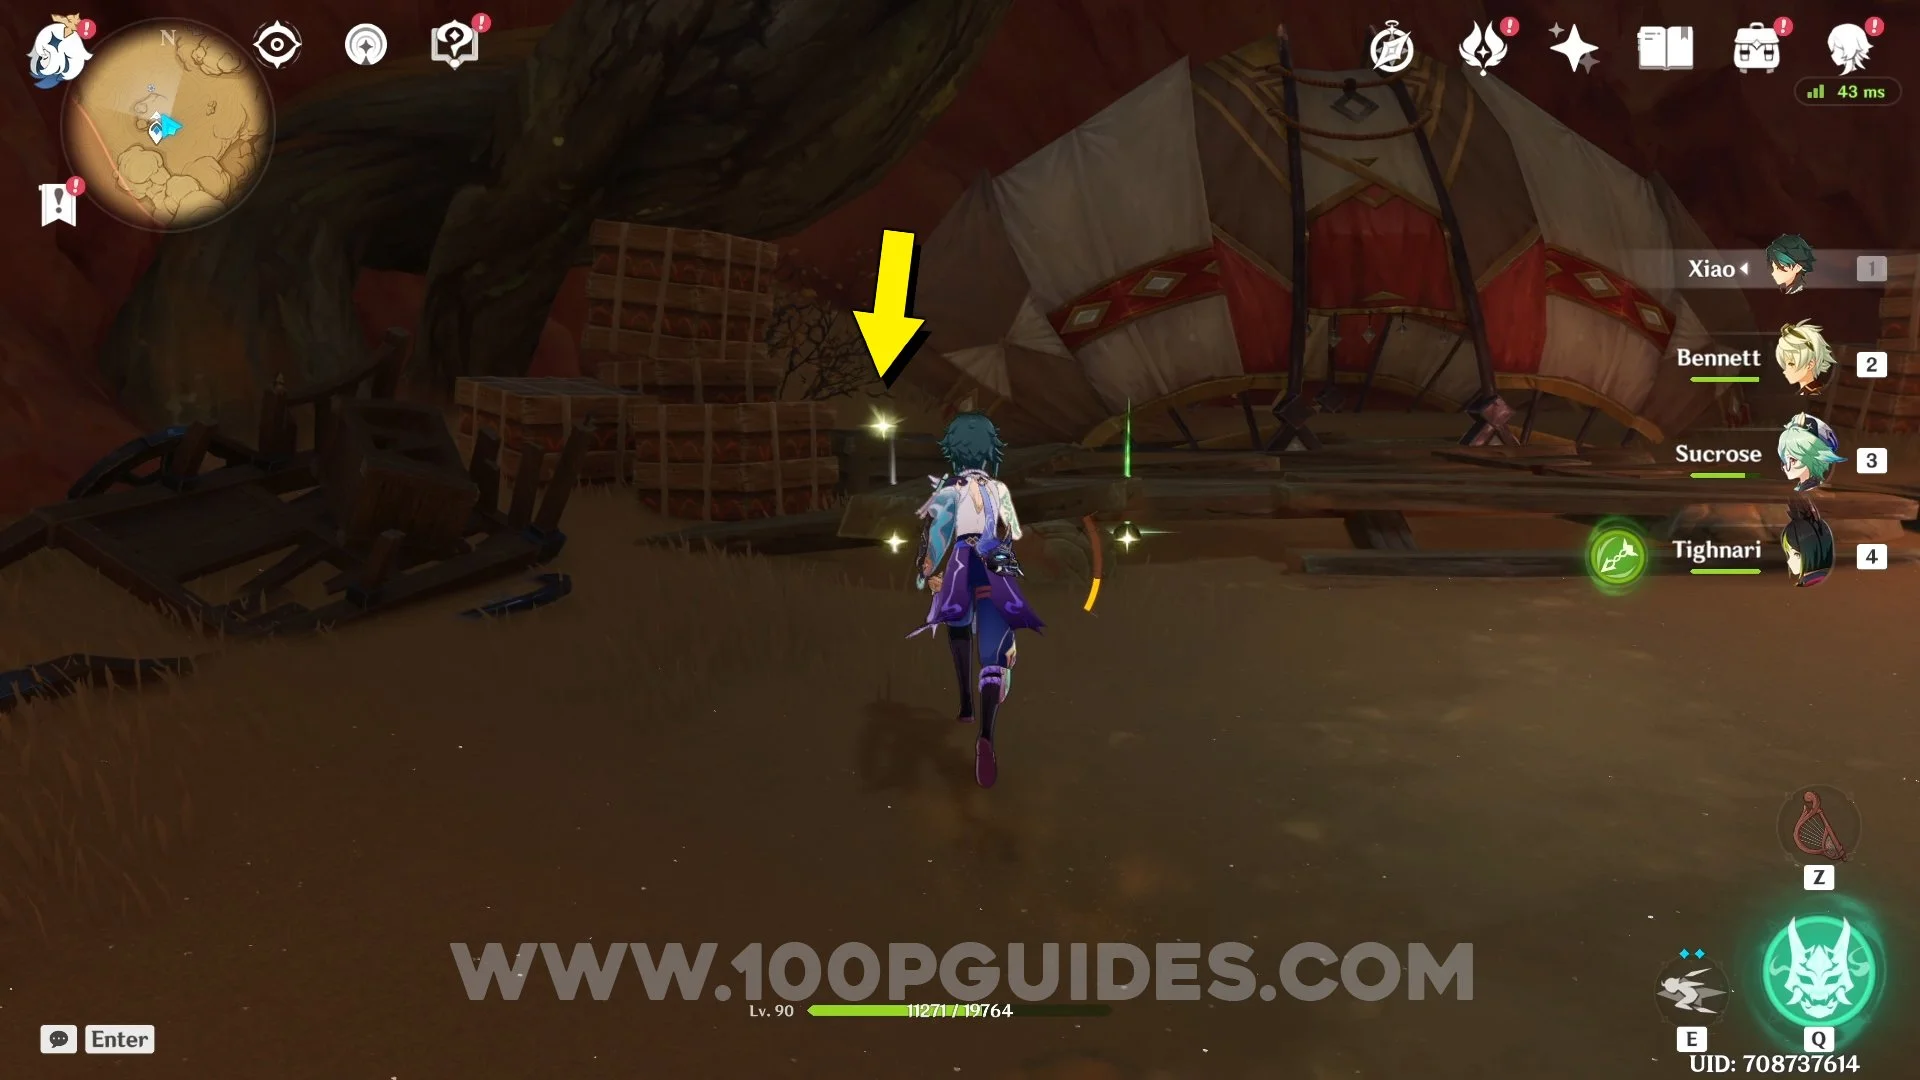
Enigmatic Page #2 (A Thousand Nights V). On the crate next to the tent.


Enigmatic Page #3 (A Thousand Nights IV). Next to a group of enemies.


Enigmatic Page #4 (A Thousand Nights VI). On the crate next to the enemies in the middle of the road.


Enigmatic Page #5 (A Thousand Nights IV). On a carpet next to the tents in the mountain.


Enigmatic Page #6 (A Thousand Nights IV). On a crate in the ruin on the mountain.


Enigmatic Page #7 (A Thousand Nights IV). On a crate in the area just above the big pit that opens up during the "Golden Slumber" side quest.


Enigmatic Page #8 (A Thousand Nights VI). Next to the teleporter down the pit that opens during the "Golden Slumber" side quest.

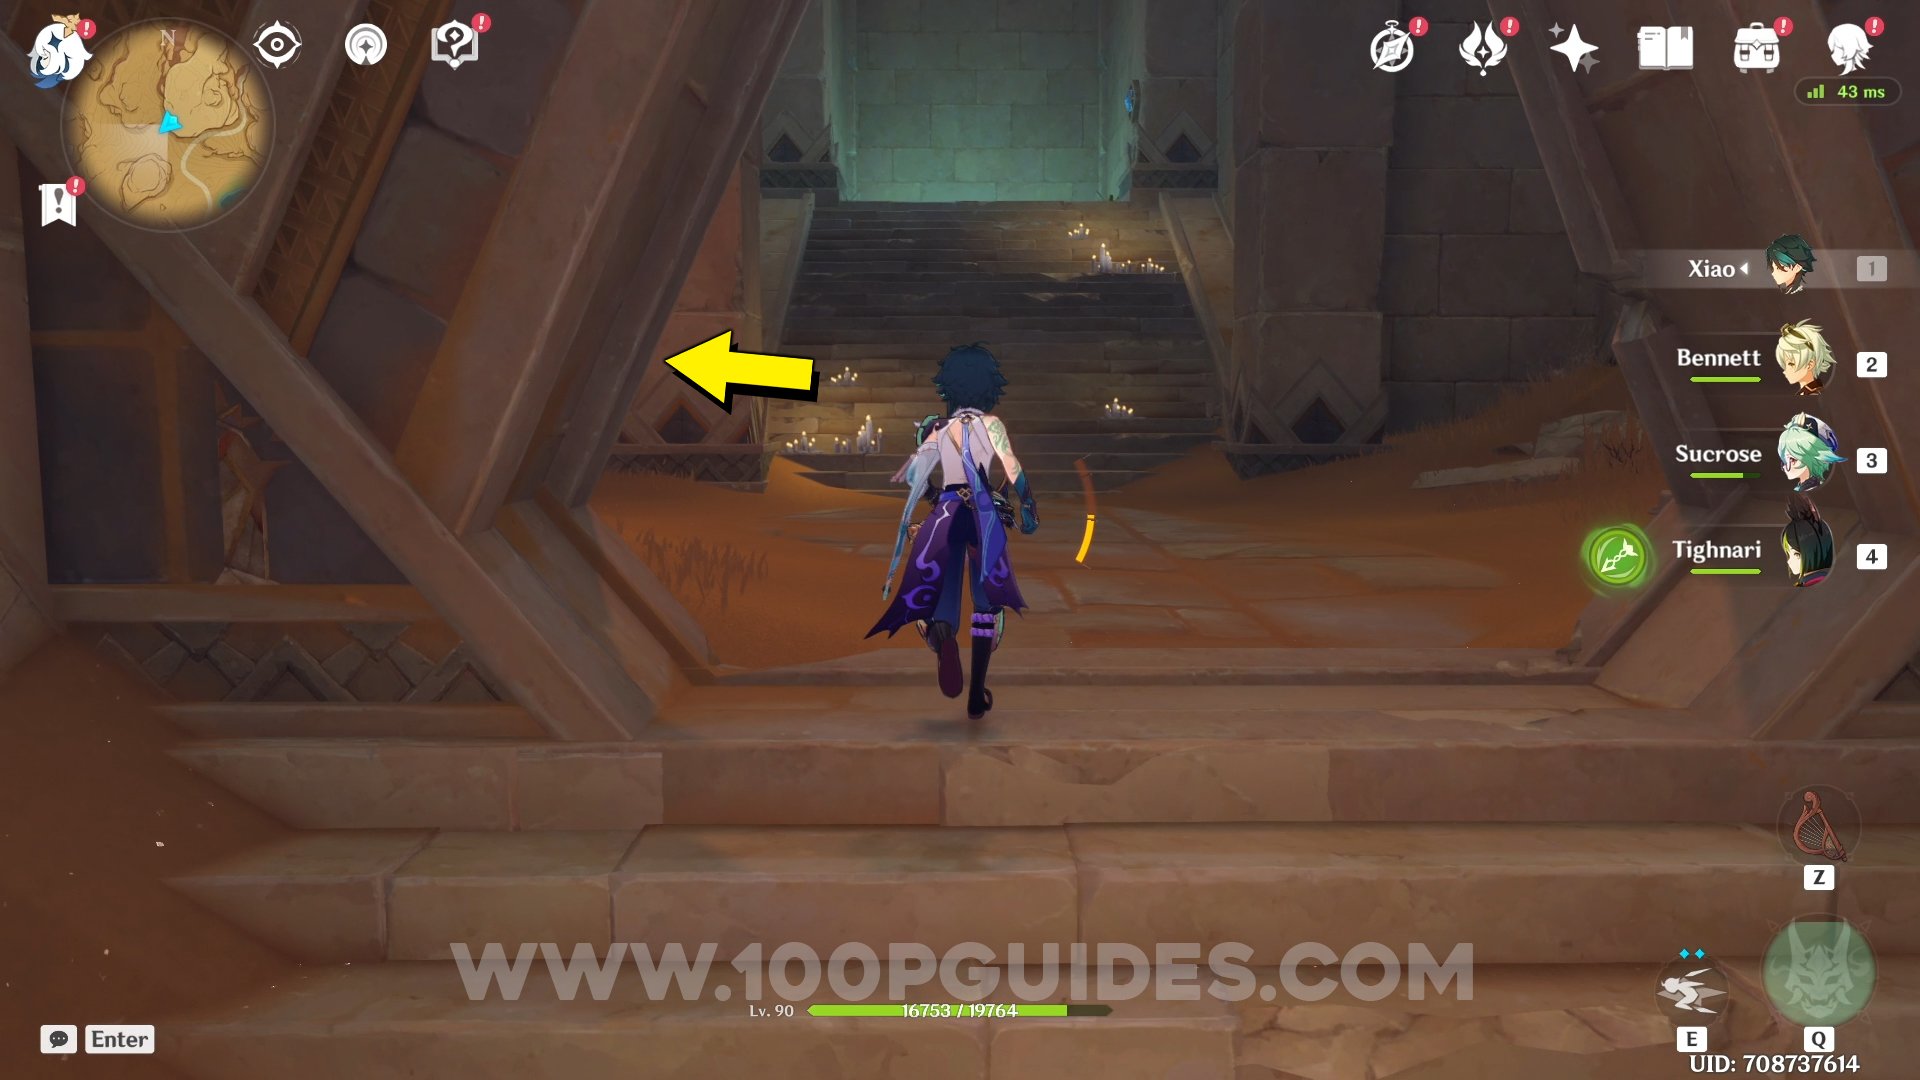
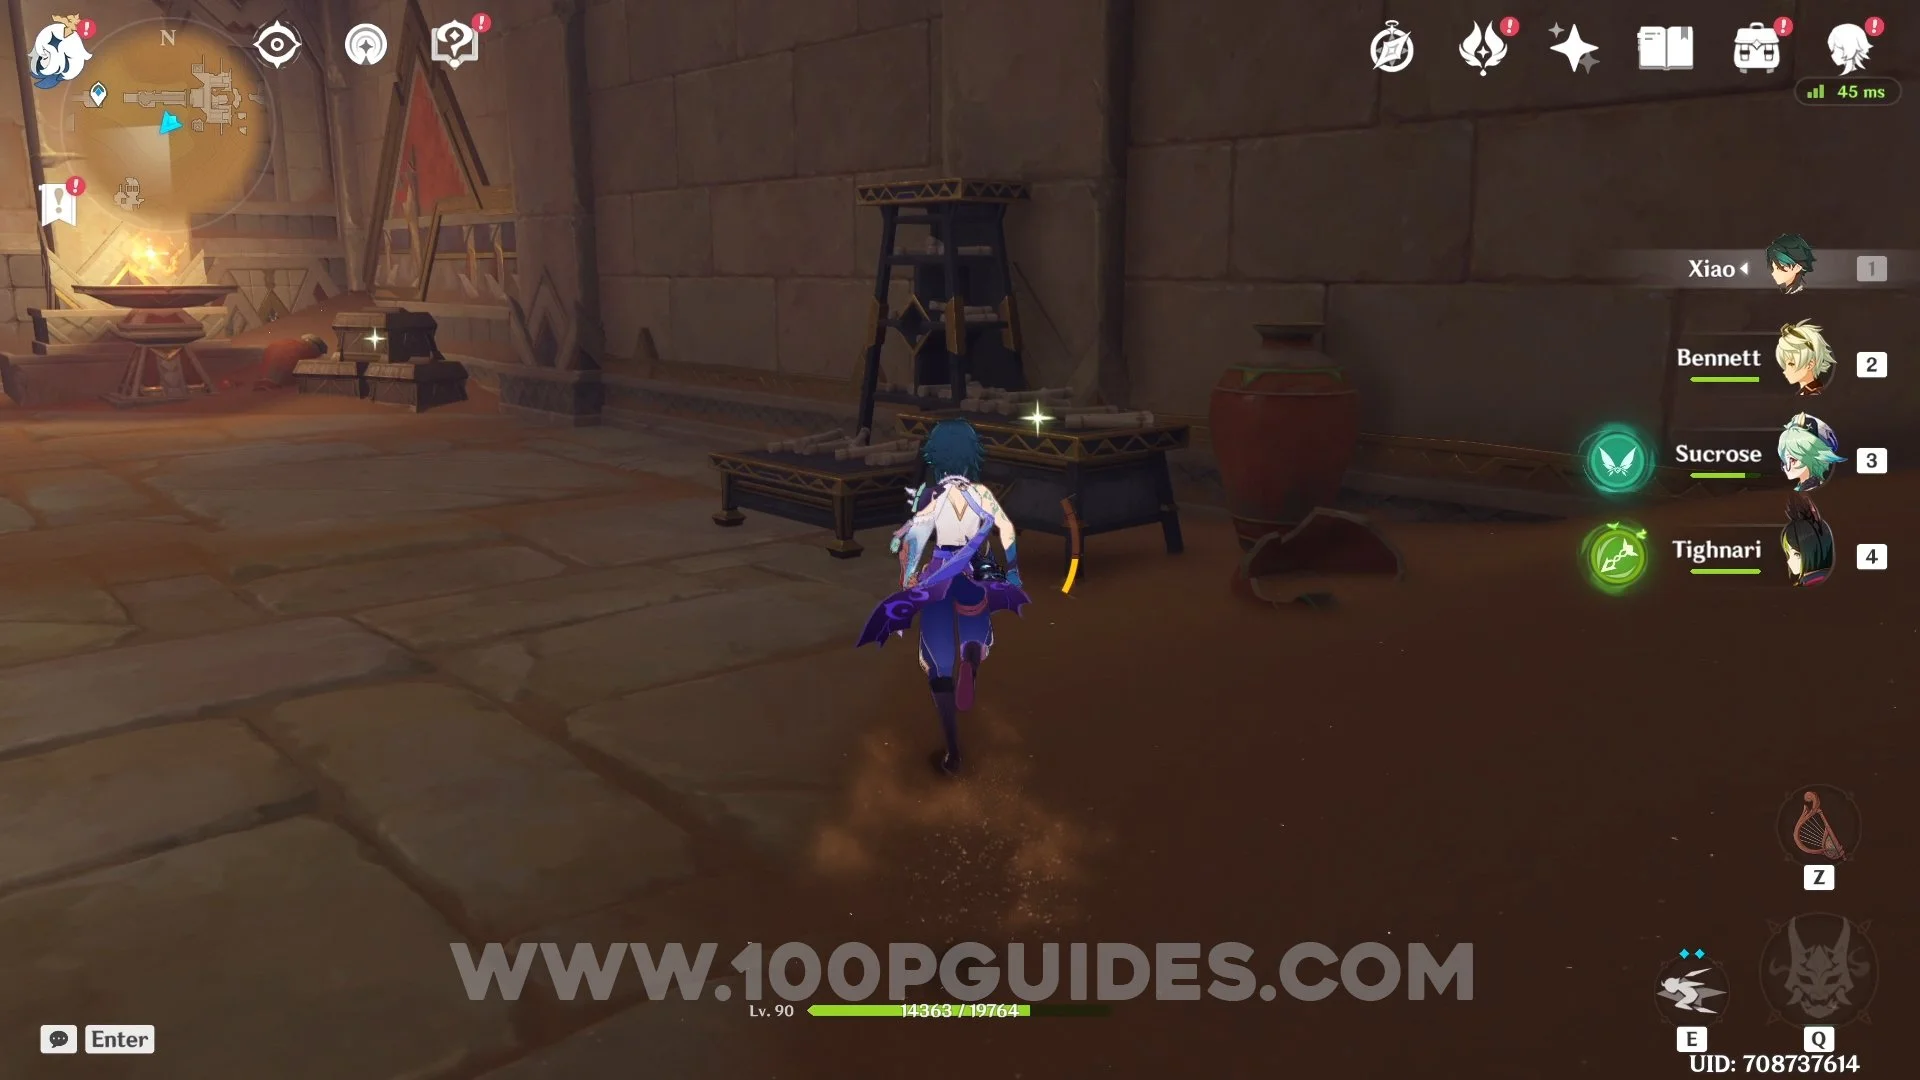
Enigmatic Page #9 (A Thousand Nights VI). From the waypoint at the bottom of the pit (same as previous page), head through the underground tomb until you get to a room with 2 lifts. Take the lift on the right (the one with the book) to go down. In the next area take the lift to the right to go to the upper floor. Now look right and take the lift on the right to go back down. Here, go up 3 flights of stairs and then turn left to go up some more stairs. In the room at the top you will find the page next to the foot of the giant statue.


Enigmatic Page #10 (A Thousand Nights V). Next to the enemy tents on a crate.


Enigmatic Page #11 (A Thousand Nights IV). On the crate next to the ruin.


Enigmatic Page #12 (A Thousand Nights IV). On the crates close to a tent.
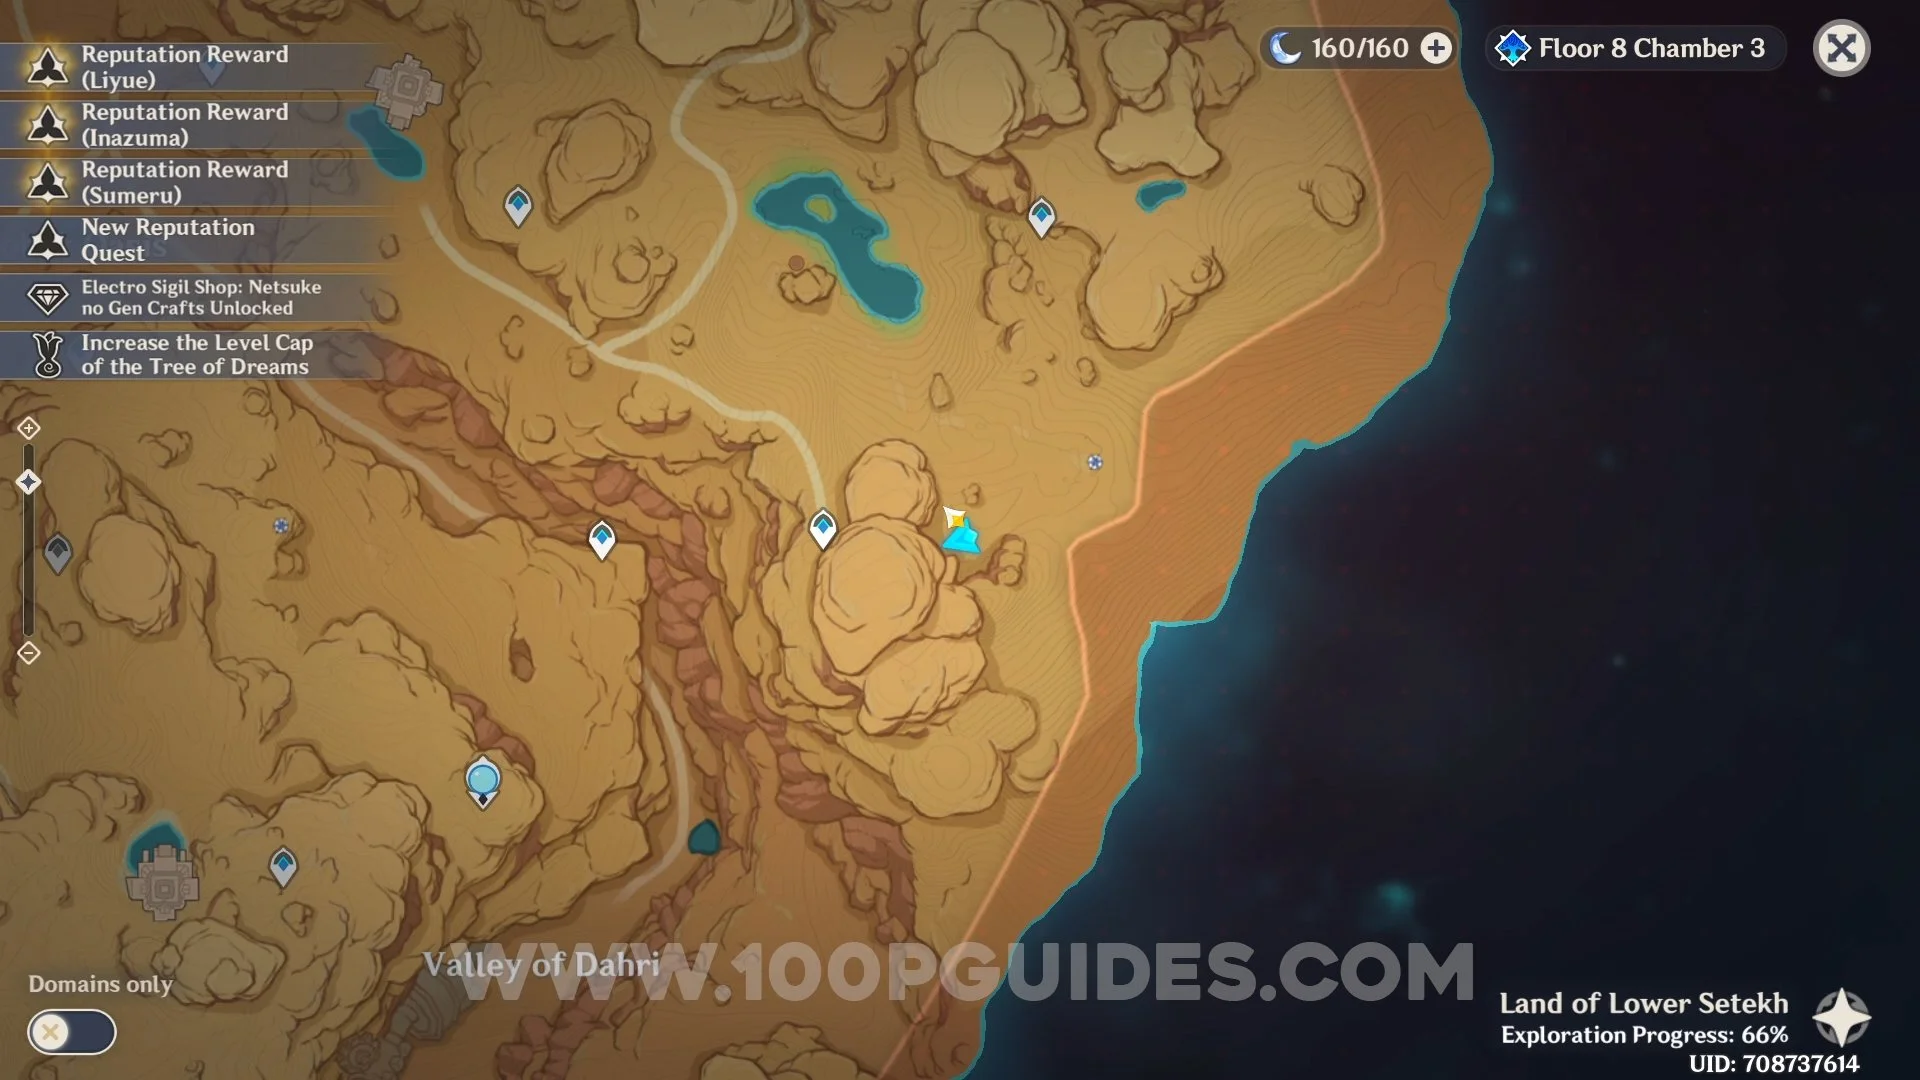

Enigmatic Page #13 (A Thousand Nights VI). Next to the tent at the bottom of the valley.


Enigmatic Page #14 (A Thousand Nights IV). On a crate next to the large tent.


Enigmatic Page #15 (A Thousand Nights IV). Next to the tent.


Enigmatic Page #16 (A Thousand Nights VI). In a broken cart next to some enemies.


Enigmatic Page #17 (A Thousand Nights IV). On the crate to the right of the tent.


Enigmatic Page #18 (A Thousand Nights V). On the broken cart next to the oasis.


Enigmatic Page #19 (A Thousand Nights V). First follow the female enemy close to the entrance of the tomb. Once you know the password enter the tomb and stay on the main path until you get to the area with the Luxurious Chest. Here look to the left to find the page next to the red tent.


Enigmatic Page #20 (A Thousand Nights VI). Enter the tomb in the location shown below. Inside go down the lift and cross the invisible bridge. In the room at the end you will find the page to your right.


Enigmatic Page #21 (A Thousand Nights V). From the previous page, head back across the invisible bridge, now step on the lift but do not go up with it and wait for a second lift to come up from below (if this is your first visit you will have to solve a small puzzle first). Get on the bottom lift to go down. Then continue on this path until you use a wind current to get to the upper floor. Once at the top you will find the page in a corner.


Enigmatic Page #22 (A Thousand Nights VI). Go to the location shown below and enter the tomb. Now fall down the hole in the first room and go straight through the door to find the page on a stand to the right (if this is the first time you visit this tomb you will first have to solve a few simple puzzles inside).


Enigmatic Page #23 (A Thousand Nights VI). Enter Khemenu Temple and take the first door on the left to find the page to your right as you enter the next room.


Enigmatic Page #24 (A Thousand Nights VI). Enter Khemenu Temple, go past the room with the hourglass and in to the next room. In this room take the door on the rightand go all the way down the stairs to find the page on the right.


Enigmatic Page #25 (A Thousand Nights VI). From the teleporter shown below, continue in to the next room and grapple up to the right as soon as you enter to find the page to your right.


Enigmatic Page #26 (A Thousand Nights V). From the waypoint at the entrance of the Mausoleum continue in to the next room with the lift in the center that will take you down to the obelisk. Once you go down, go down the hall to the right to find the page at the corner.


Enigmatic Page #27 (A Thousand Nights V). From the main room with the coffin in it, head through the door to the left. Then take the first door on the right, go straight through the room and past the time trial. At the end go right to find the page at the end of the hall.


Enigmatic Page #28 (A Thousand Nights V). From the underground waypoint shown below, head in to the big open area. Then go to the bottom and go through the cave to the right. In this cave stay on the left path until you get to a room with water in it. Go through the door on the left that opens with the book to find the page inside.


Enigmatic Page #29 (A Thousand Nights V). From the same undeground waypoint as the previous page. Head in to the big open cave and drop down to the bottom. Now go through the door straight ahead to wind the page on one of the tables in front of you.


Enigmatic Page #30 (A Thousand Nights V). In the same room as the previous page, go down the stairs to the left and enter the room with the obelisk (you will need 5 Glinting Components that are obtained by defeating the mini bosses around Sumeru Desert). In this room you will find the final page to your left as you enter.


Video Guide