SpongeBob Squarepants: The Cosmic Shake All Coin Locations
Coins 🪙are a collectible in SpongeBob Squarepants: The Cosmic Shake. They can be used to unlock more skins for SpongeBob. Once you unlock them all you will get the “Fashion Hunter” trophy / achievement.
I recommend you first finish the game to unlock every ability since you will not be able to get most of the coins without them. You will also need to finish most levels to unlock the side quests needed to get the coins in Bikini Bottom.
Below You can find the location of all 70 Coins in the game.
📓 Use this index to go straight to the part of the guide that interests you.
🪙 Bikini Bottom
🪙 Wild West Jellyfish Field
🪙 Karate Downtown Bikini Bottom
🪙 Pirate Goo Lagoon
🪙 Halloween Rock Bottom
🪙 Prehistoric Kelp Forest
🪙 Medieval Sulfur Fields
🪙 Jelly Clove World
Bikini Bottom
Coin #1. Finish Sandy’s side quest. If you don’t have this side quest yet, just advance the story until a red flag appears above Sandy.
📝 Check out this guide if you need help finding the Hot Objects.
Coin #2. Finish Squidward’s side quest. If you don’t have this side quest yet, just advance the story until a red flag appears above Squidward.
📝 Check out this guide if you need help finding the Refreshments.
Coin #3. Finish Mrs. Puff’s side quest. If you don’t have this side quest yet, just advance the story until a red flag appears above Mrs. Puff.
📝 Check out this guide if you need help finding the Good Noodle Stars.
Coin #4. Finish Nurse’s side quest. If you don’t have this side quest yet, just advance the story until a red flag appears above Nurse.
📝 Check out this guide if you need help finding the Fortune Cookies.
Coin #5. Finish Mr. krabs’ side quest. If you don’t have this side quest yet, just advance the story until a red flag appears above Mr. Krabs.
📝 Check out this guide if you need help finding the Lost Pennies.
Coin #6. Finish Gary’s side quest. If you don’t have this side quest yet, just advance the story until a red flag appears above Gary.
📝 Check out this guide if you need help finding the Potion Ingredients.
Coin #7. Find all 9 Sticky Notes around Bikini Bottom. Then give them to Patrick.
📝 You can find a guide on the locations here.
Coin #8. Find Spot in the other 7 levels. Then talk to Plankton in Bikini Bottom.
📝 A guide on all Spot locations can be found here.
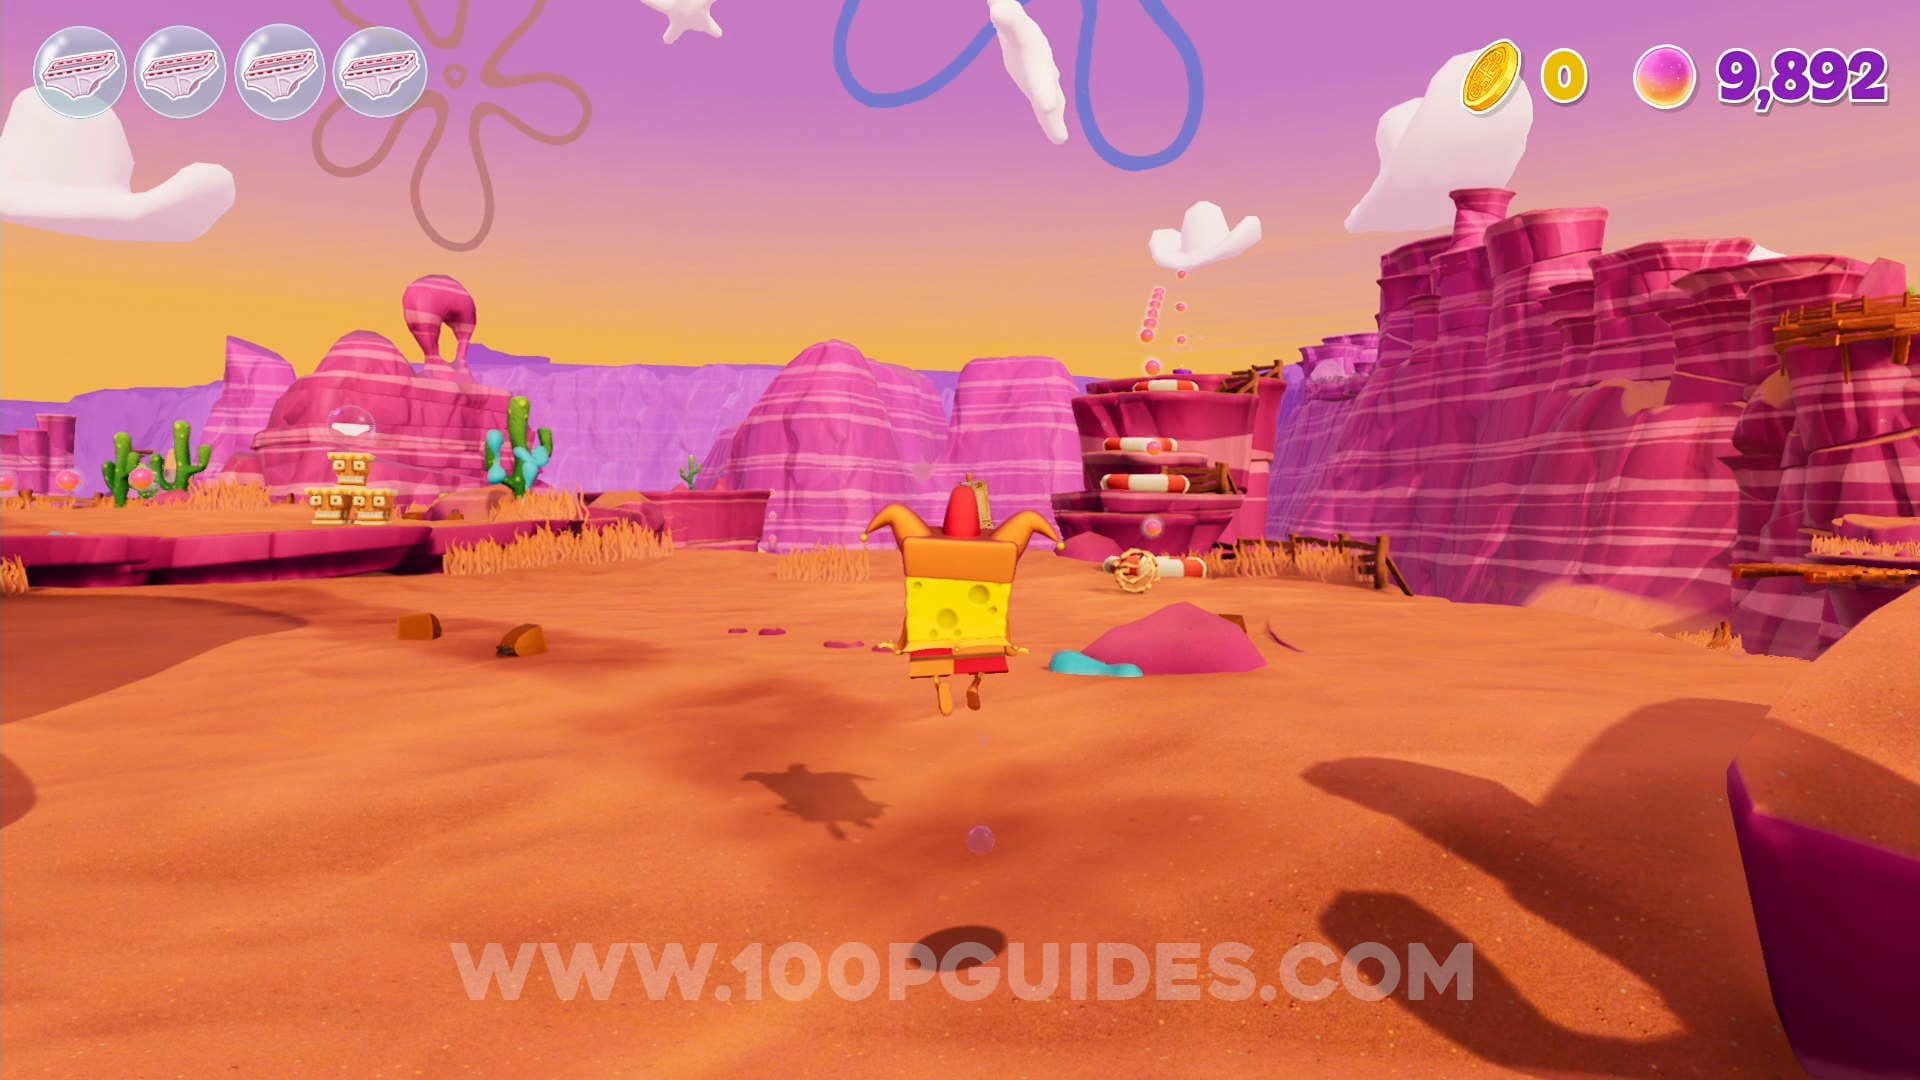
Wild West Jellyfish Field
Coin #9. Start at the Jellyfish Trail checkpoint. Then make yourway through the canyons by jumping on the platforms until you get to the other side. Here you will see some platforms on your right with 4 jump pads on them. At the top of the platforms you will find a button (☝ only available if you have the flying kick ability). Press this button, complete the ballon challenge and defeat the enemies on the platform at the end to get the coin.

Coin #10. Go to the Riding School checkpoint and climb to the top of the red, white and yellow building by using the jump pad and moving platforms to find the coin.


Coin #11. To the left of the previous building, you will find a surf challenge on a wooden plank hanging over the cliff. You will be able to press it once you get the surf ability. Press it and through all the hoops to get the coin.
Coin #12. After the Riding School area you will have to get on a "horse" and go through a linear section of the level. During this horse riding section you will get to an area where 2 trains cross. Just after you pass the trains, stick to your right to break the wooden planks and access the path with the coin.


Coin #13. Go to the Manta Fe checkpoint (or finish riding the horse until you get to the next town). Here, press the 3 buttons on top of the buildings (they are behind the signs). This will spawn 3 platforms. Then use the jump pad on the roof of the little red building on the right to reach the coin.


Coin #14. Go to the left of the jail in Manta Fe. Here you will see some targets and a button on the ground. Press the button to start the challenge. Hit 8 targets (not the horses) to get the coin once the challenge is over.
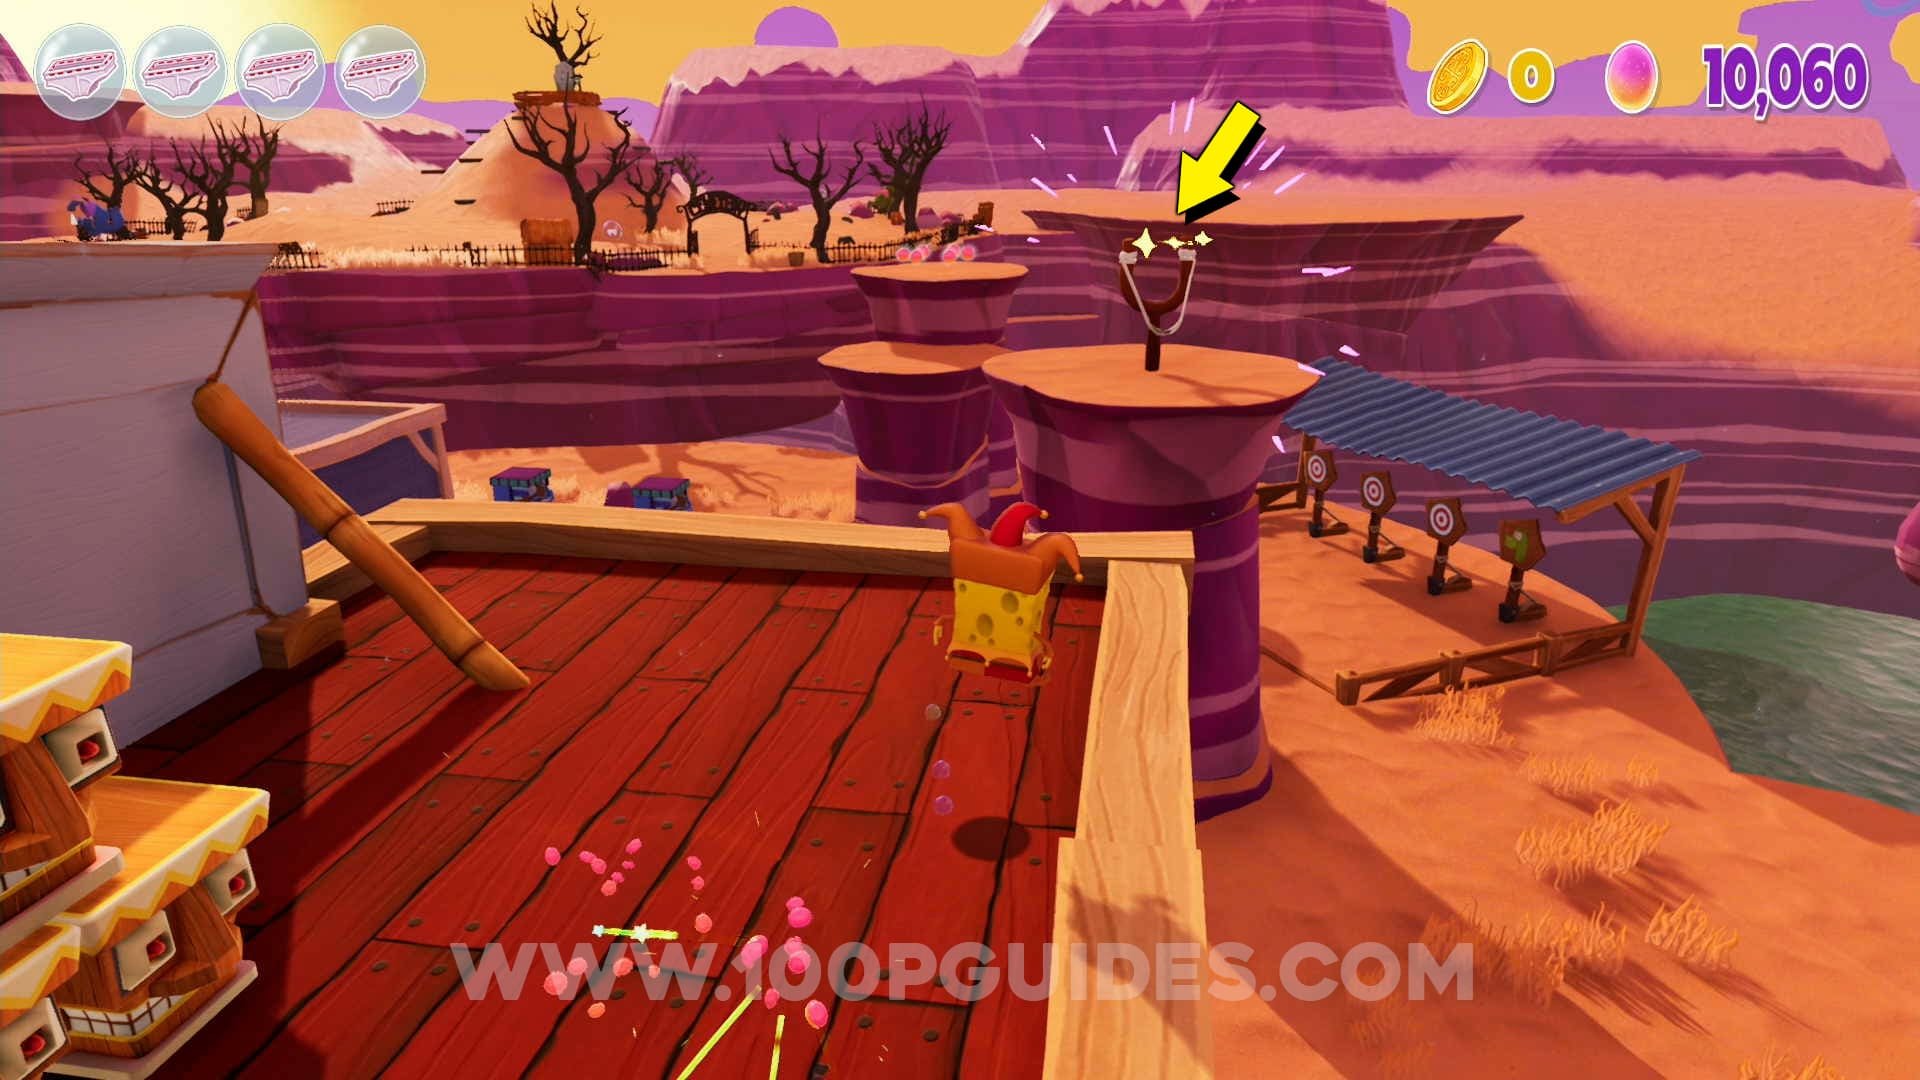
Coin #15. From the jail roof (still in Manta Fe), jump across to the slingshot and use it to get to the graveyard. Once you get close to Squidward a mission will start. Defeat the enemies in the graveyard to get the coin (☝ POTENCIALLY BUGGED IN POST GAME).

Coin #16. Start from the Cacteen Hills checkpoint. From here go foward and stick to the cliff on your right. Drop down to the slingshot below. This will take you to a lone platform with enemies. Kill all the enemies to get the coin.


Coin #17. From the Sap The Gatherer checkpoint, start climbing the hill. Soon you will have a rock pillar on your left. As soon as you go past it, look left to find a switch that spawns a surfboard. Get to the end of the challenge to get the coin.


Coin #18. From the previous coin, climb the mountain. Once you get to the top of the platform with the wanted posters on it, climb to the very top (if you get to the spinning blue platforms you have gone past it) and press the red button by doing a double jump and ground pound. This will spawn some platforms with a coin on them.


Coin #19. Go to the Bullworm Mine checkpoint. Then continue through the cave until you get to the massive open area. Here press the switch in the middle or the room. Defeat the enemies that spawn within the time limit to get the coin.


Karate Downtown Bikini Bottom
Coin #20. Press the switch at the end of the red carpet at the start of the level to start a challenge. Go through the hoops and grapple to finish the challenge and get the coin.


Coin #21. Use the ballon to the right of the previous coin to reach and break the stone heads blocking a hole. Go through the hole and reach the end to find the coin
Coin #22. Found on a wall in the side scrolling section. Just after the 2nd fight where the screen stops moving, jump on to a little wall, then on to a toldo and finally on to a high wall where the coin is found.


Coin #23. From the "Back Alley" checkpoint, continue on the main path until you climb up a platform that has a slingshot on it. Use it to get to the upper platforms in this level. Now head back to the start of this area using the upper platforms to get to another slingshot. Use it to get to the platform close to the coin. From here you can just jump to the coin.


Coin #24. Continue on the main path from the previous coin. You will soon get to a section where you have to go from one plank of red wood to another with water below. Hero drop down to the platform in the water that has a slingshot on it. Use this slingshot to get to the coin.
Coin #25. From the "First Nautical Bank" checkpoint, use the slingshot to get to the platforms on the right. From here use th grappling to get to the platform with the vacuum. Use the vacuum to traverse the upper platforms until you get to the barrel with the coin on it.


Coin #26. Go to the "Parking Lot" checkpoint. In the parking lot, jump on to the bloating block, then on to the street lights to jump over the fence and get the coin.


Coin #27. From the previous coin, advance to the second parking lot. From here go left to find yet another parking lot. Here you will find a "ambulance" boat. Press the switch on top of it and finish the challenge to get the coin.


Coin #28. Go to the "Dojo Estate" checkpoint. Then make your way through the courtyards until you use some jump pads to get to the upper part. As soon as you get to the platform after the jump pads, look right and drop down to the platforms in the water. Use the ballons to get to the coin.


Coin #29. Return to the upper level by using the jump pads again. Just after the blue arrow on the wall you will see a switch next to an NPC and a sign with "START" on it. Press it and get to the end of the challenge to get the coin.
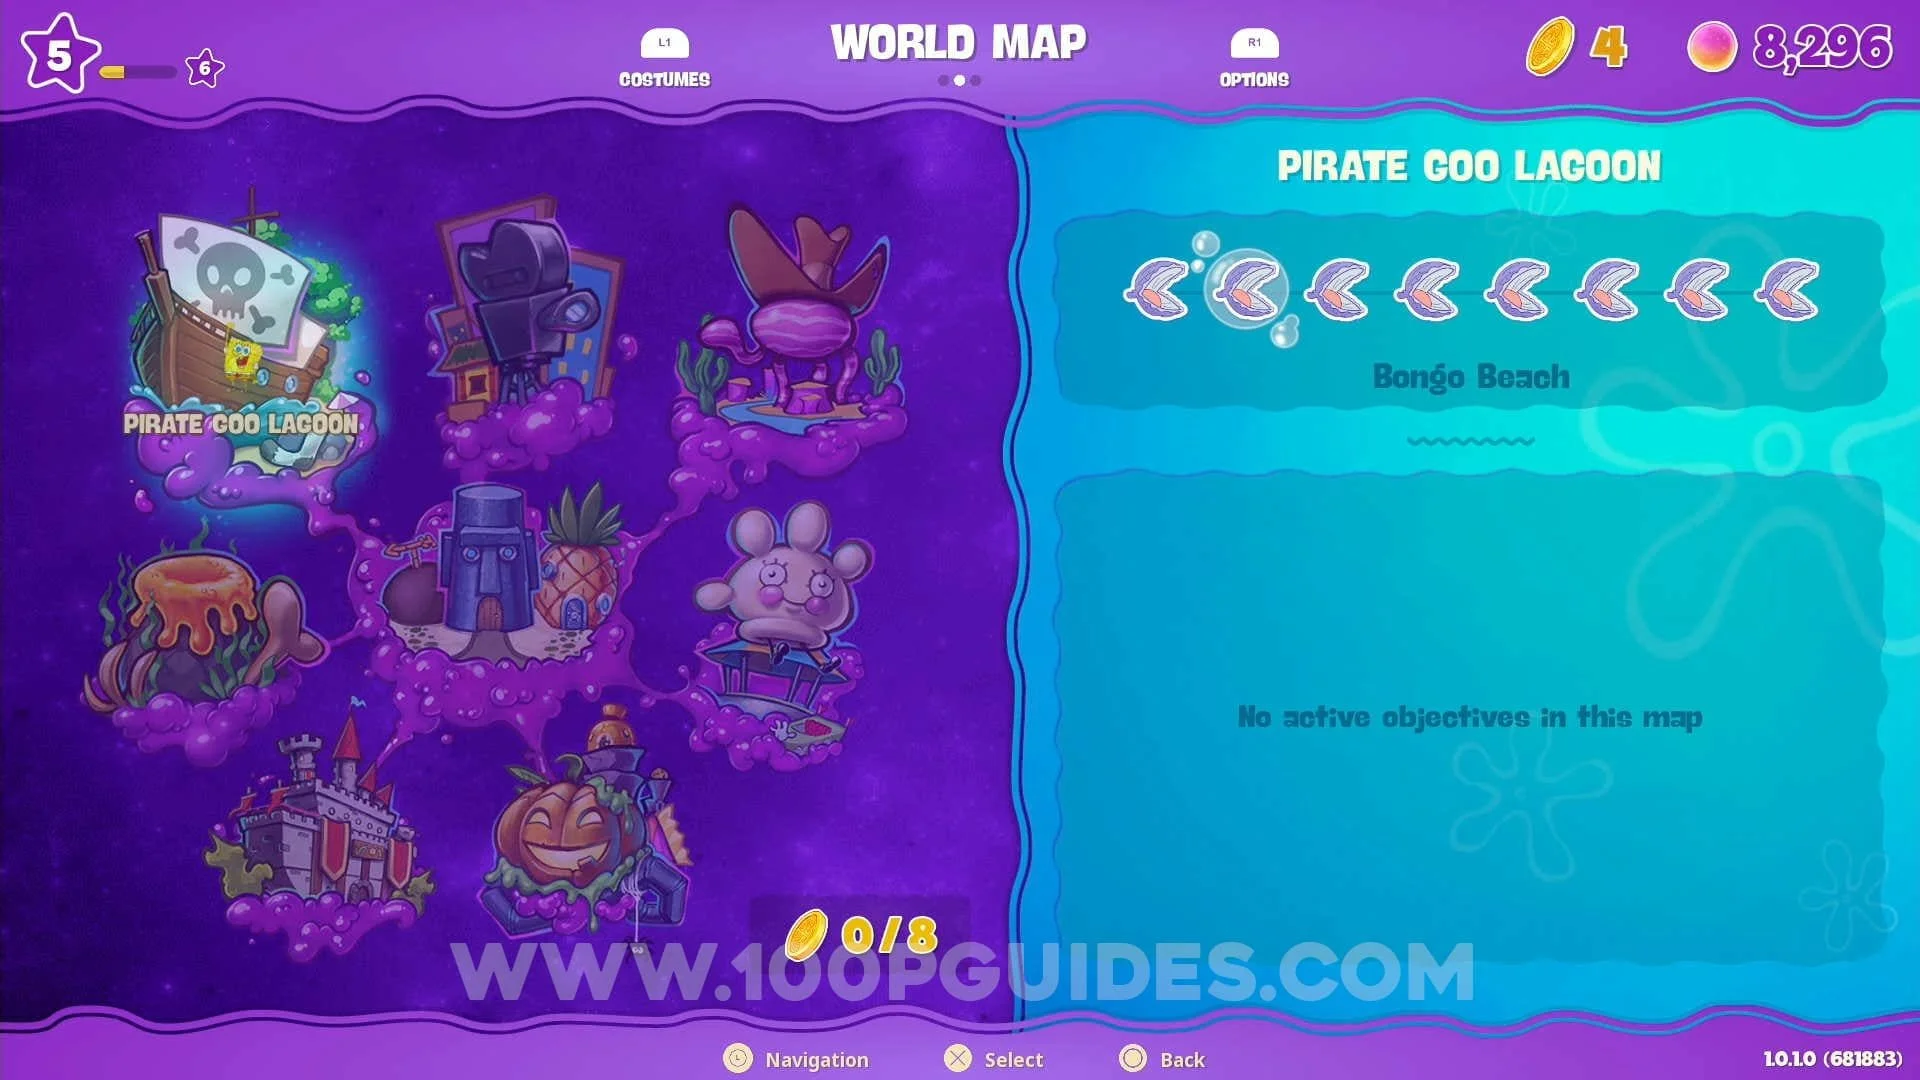
Pirate Goo Lagoon
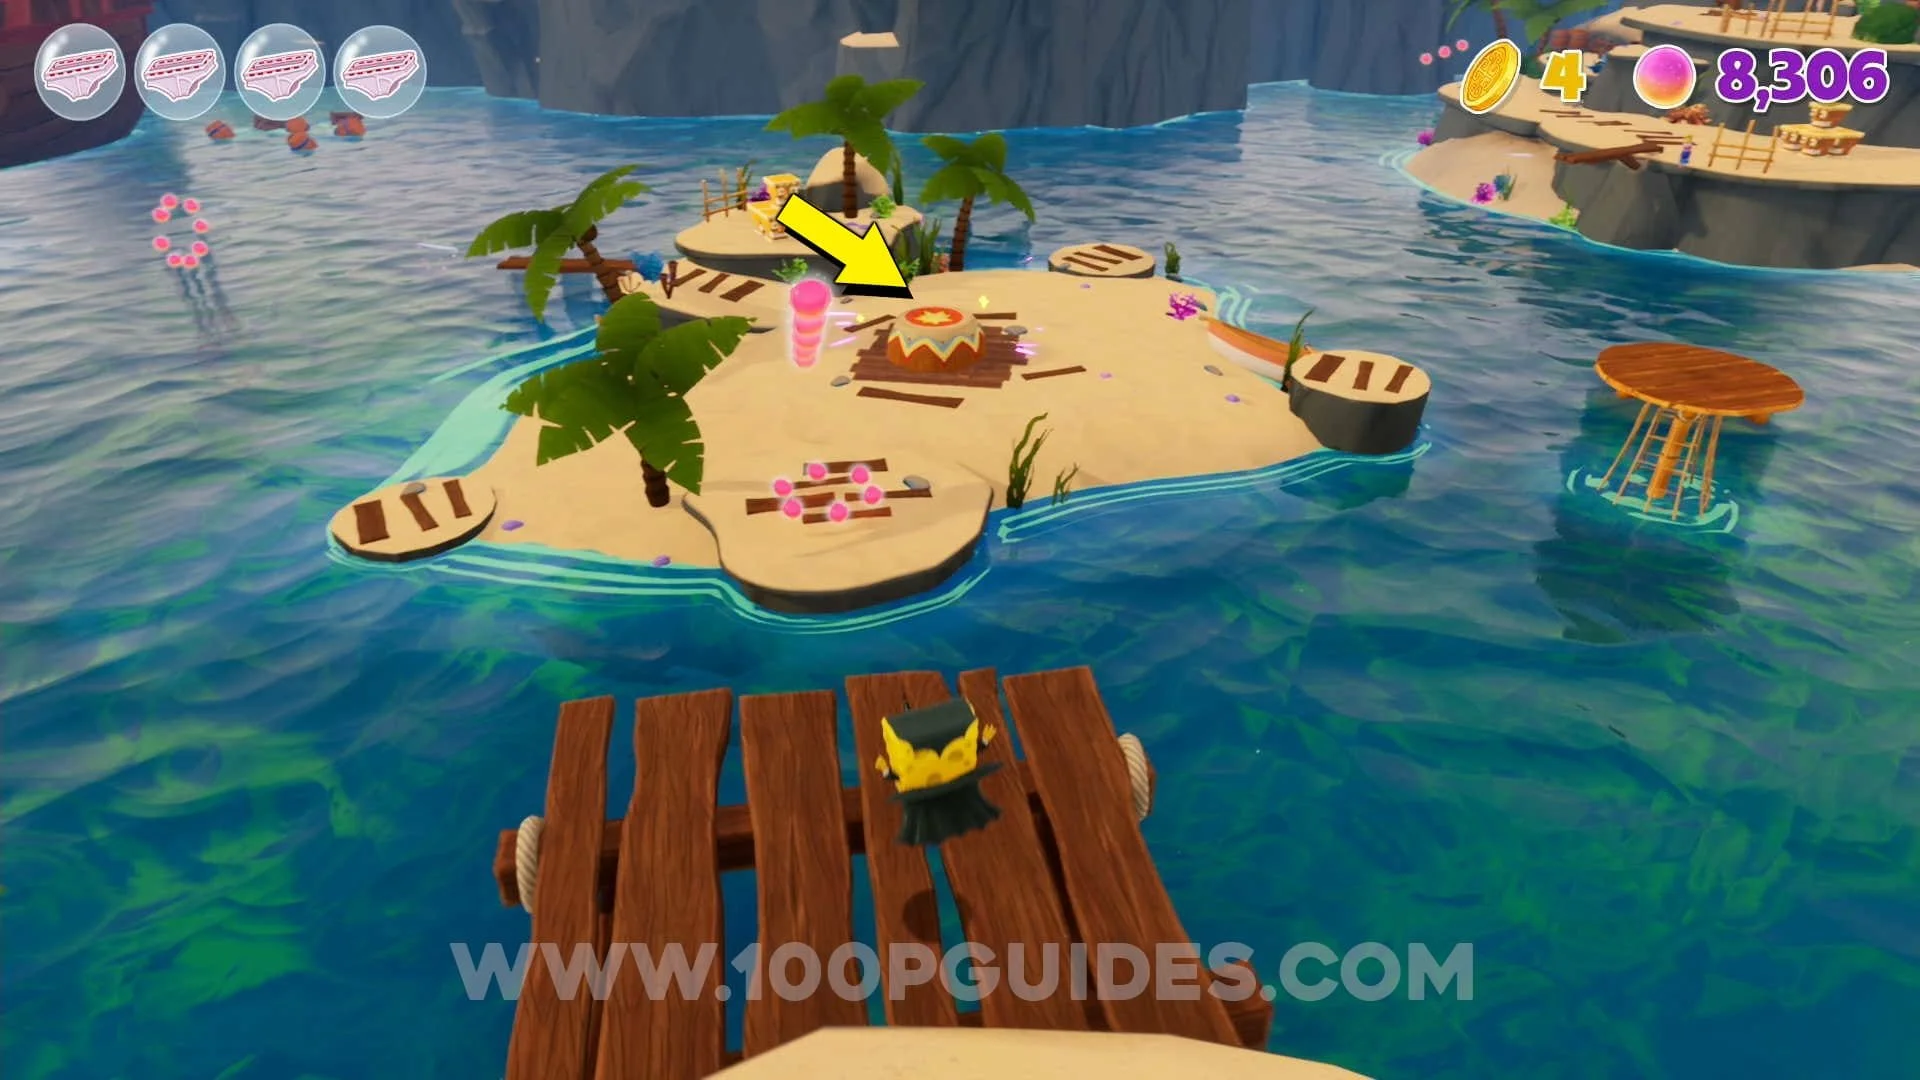
Coin #30. From the "Bongo Beach" checkpoint, advance through the area until you get to the bongo on the middle island. Ground slam it until you can cross to the area where the mountains open up. Once there, ground slam the metal grate below the waterfall to find the coin.


Coin #31. Go to the "Scurvy Swamp" checkpoint. Then, drop down and go right. Stick to the cliff on your right until you can break some statue heads to enter a cave. Get to the end of the cave to find the coin.


Coin #32. Return to the "Scurvy Swamp" checkpoint. This time, drop down and go left until you get to the beach. Follow the beach around until you get to a wooden cage up against the mountain. Ground slam the lock on top of the cage to get inside and find the coin.


Coin #33. Go to the "Musical Mermaid" checkpoint and use the grapple across to the island on your right. Here ground slam the cage to get the coin.


Coin #34. From the "Shipwreck Treasure" checkpoint, continue until you get to the shipwreck. On the ship, climb on to the boxes and look left. Glide to one of the floating boxes to then get to the platform with the coin on it.


Coin #35. Starting from the "Port Jelly Royal" checkpoint, go forward until you can go up a small sand ramp on your right. From here jump up to the rooftops and jump across to the buildings on the other side. The coin will be on the roof of the final building (the one that would be on your left as soon as you arrive at this checkpoint).


Coin #36. From the previous coin, continue on the story path by crossing the water section on the wooden platforms and boats to get to the next beach. Once here go left and look for a jump pad at the end of the buildings on your right. Use this to get up to the rooftops. Now you will have to get around to the rooftops on the other side where the coin is by using the floating wooden platforms.


Coin #37. Go to the "Admiral Prawn" checkpoint. Then, go to the small island behind where the slingshot is and ground slam the metal grate to get the coin.


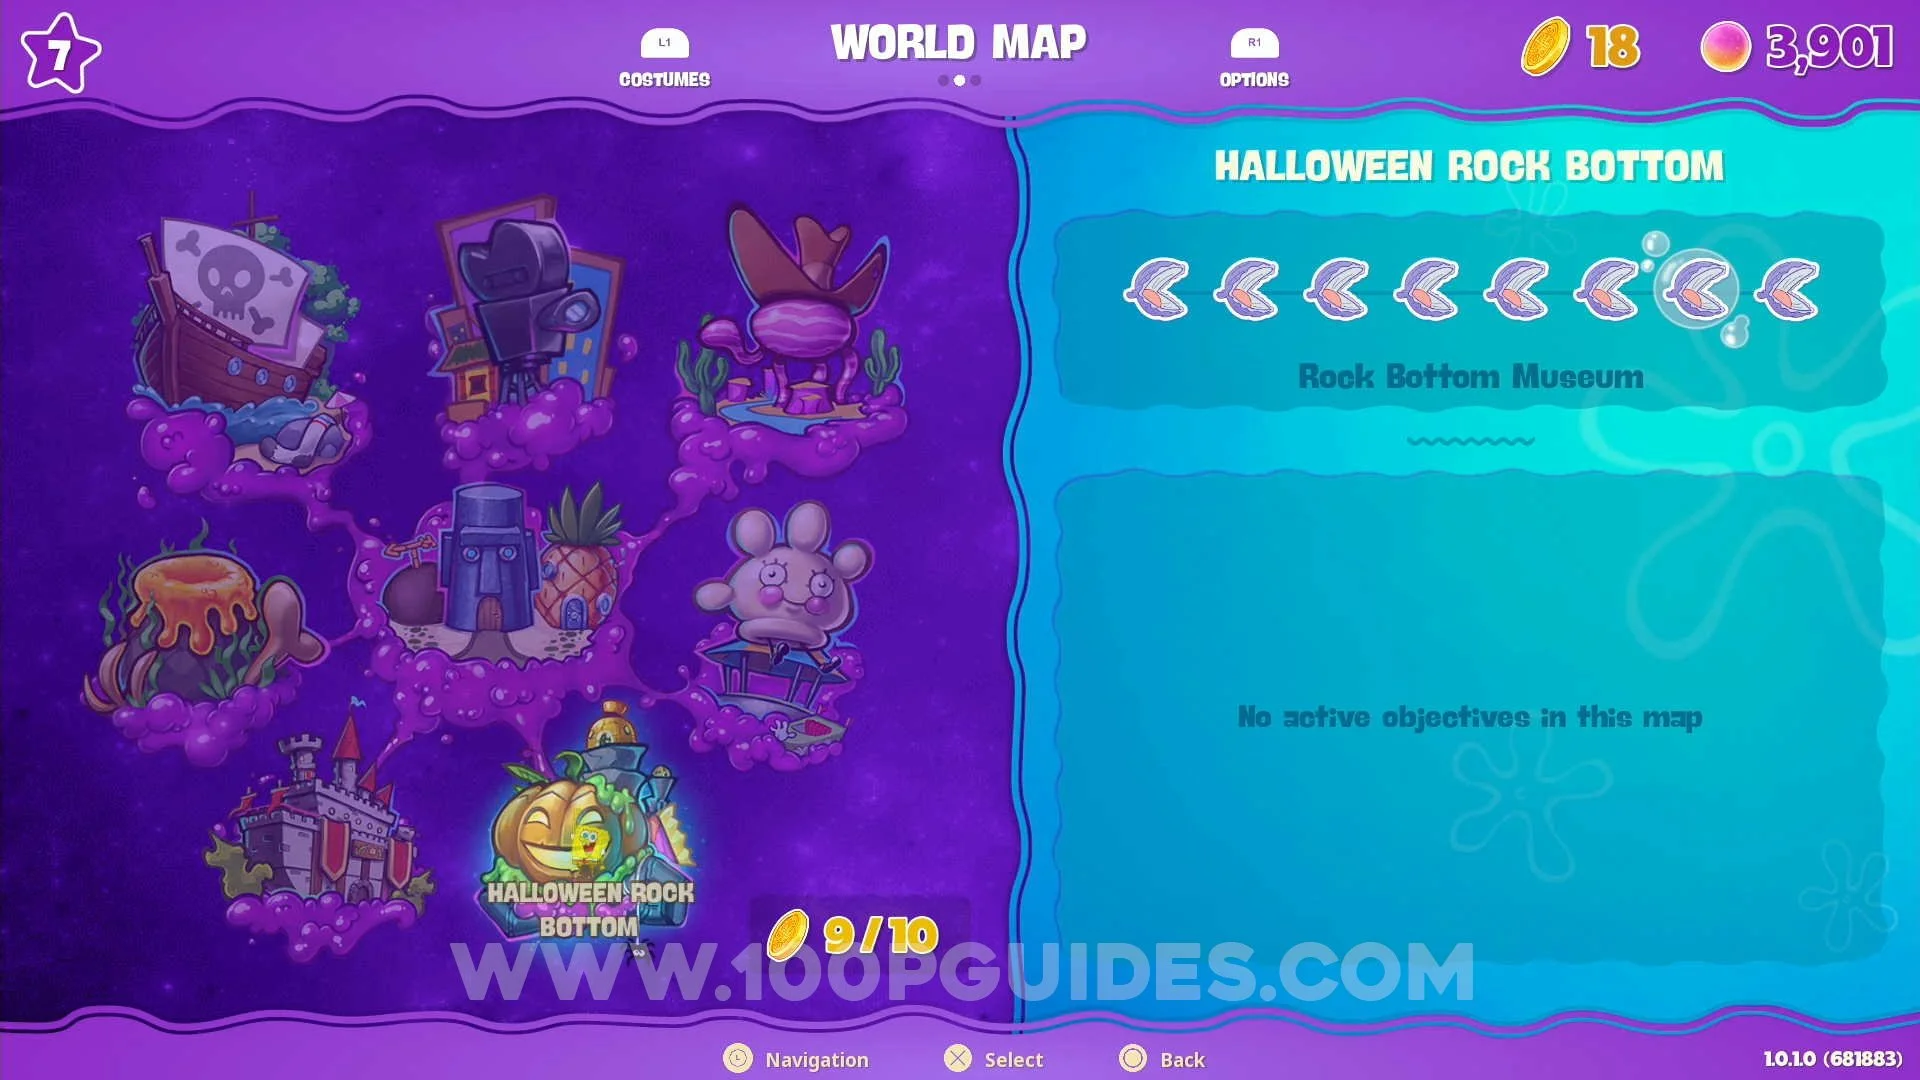
Halloween Rock Bottom
Coin #38. From the very start of the level, go to your left. You will see a switch close to the edge of the cliff bihind some crashed submarines and a building. Press it to spawn a jump pad & some ballons. Use them to get the coin at the top of the building.


Coin #39. Continue through the level to enter a cave. in the cave use the ballon to get to the gap on the left side of the cave wall to find a coin.


Coin #40. Once you reach the "Kandyville" checkpoint, go to your right after walking past the ghost NPC. Here, climb the building and use the bounce pad to get to the roof. Once on the roof, go right and use the platforms to get to the last building (the one with the hoop next to it). Finally, glide through the hoop to get to the platfrom with the coin on it.


Coin #41. From the previous coin, turn around and jump across the platforms to get to the coin.
Coin #42. Return to where coin #40 was and continue past the platform to find a switch that gives you a vacuum. Use the jump pad to get to the upper platform. Here vacuum the enemies and destroy the statue heads. On the next platform defeat the boss to get the coin.


Coin #43. Go to the "Snail Race" checkpoint and finish the race within the time limit to get the coin.


Coin #44. After the race you will be at the "Scary Streets" checkpoint. Here, climb up the spiral hill to get to the top of the area. Press the switch and follow the fire hoops to find some enemies. Defeat the enemies to get the coin.


Coin #45. Go to the "Shadow Theater" checkpoint. Here you will find a switch on the roof above the shadow puzzle (you can get there by following the path that goes around the right of the area). Once you press the switch, follow the hoops to the end of the challenge to get the coin.


Coin #46. Start at the "Museum Slide" checkpoint and go to the bottom of the slide. As soon as you get there, ground slam the metal grate in the middle of the area and go down the hole. Defeat the enemies to get the coin.


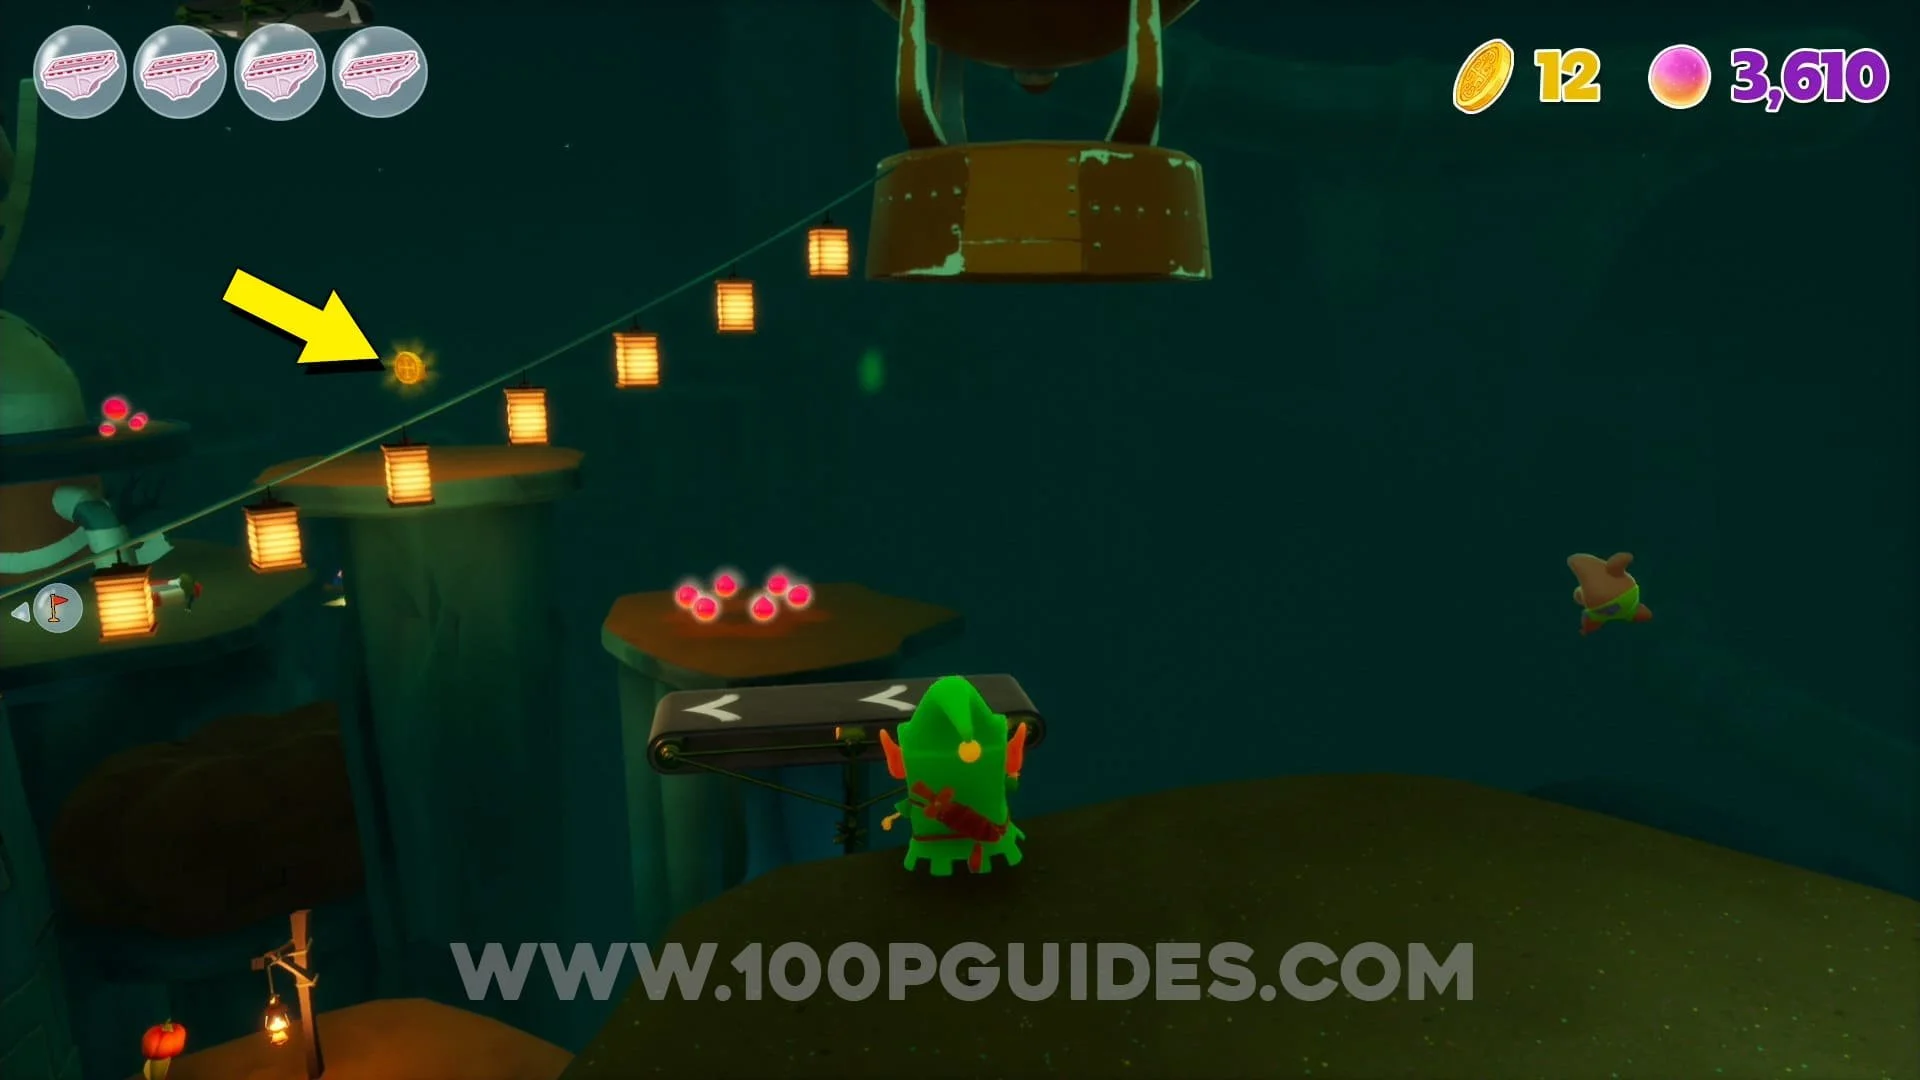
Coin #47. Go to the "Rock Bottom Museum" checkpoint. Then, drop down and turn around to find the coin behind the wall.

Prehistoric Kelp Forest
Coin #48. From the "Algae Jungle" checkpoint continue through the level until you get to an open area with lava below and big "bearfish" floating above you. Here, use the first set of jump pads to get to the first platform. Now, jump down to the massive hollow trunk below. Press the switch inside the trunk and complete the challenge by using the surfboard to get the coin.


Coin #49. Go to the "Sleeping Dorudon" checkpoint and make your way across the bridge to the left of the whale. Once you get to the other side of the bridge, look left and swing across to the platform. Here hit the switch and follow the hoops around the area as you charge the vacuum. Once you get all the way around you should be able to destroy the purple goo near the switch to get the coin on the other side.


Coin #50. From the "Volcano Slide" checkpoint go down the slide. You will eventualy go through a smoldering tunnel. After that you will take a right corner and then a left. After the left corner you will soon see a jump pad on your right. Use th jump pad to get to the slide above where the coin is found.


Coin #51. Go to the "Cave Painting Cave" checkpoint to find the coin behind the chair and plants to the right of the puzzle.


Medieval Sulfur Fields
Coin #52. From the start of the level, go down the slide until you get to some fire hoops and a surfboard. As soon as you get on the surfboard go right and use the grappling hooks to get to another slide. The coin will be at the end of the first slide.


Coin #53. Go to the "Garden Maze" checkpoint. Here, press the switch on the ground to the left of the fountain. Pick up the vacuum and defeat the enemies to get the coin.


Coin #54. From the middle of the garden, go through the blue and red arch with hearts on it. Then, go left and go through the red arch with hearts on it to your right. Continue right until you find a vacuum. Use it to make your way around the garden in a clockwise maner. Keep destroying the purple goo until you get to the end where you will find a coin.


Coin #55. Got to the "Castle Courtyard" checkpoint. Then, turn around and go down the stairs to the left of the drawbridge. Here, look left and get on the boulder. This will start a challenge where you have to destroy the barrels. Destroy them all to get the coin.


Coin #56. In the “Castle Courtyard” area you will find a horse next to the stables. Get on it to leave through the castle draw bridge. The coin will be on the right side after about 1 minute of riding the horse.


Coin #57. From the "Twitchy's Cottage" checkpoint, drop down to the vacuum below. Use it to destroy the purple goo to the left of the area. Once inside the cave, press the switch to spawn more platforms. Use them to get to the purple goo on the right side of where you picked up the vacuum. The coin is on the other side of the goo.


Coin #58. From the top of the middle island where Twitchy is found. Turn around and look back at the checkpoint. Now glide across to the coin on top of the pillar.
Coin #59. From the "Meanderson River" checkpoint, glide through the hoop to your left. Then, as soon as you get to the other side, stay on the lower level and go left through a cave. Destroy the statue heads to get to the coin.


Coin #60. Starting at the "Bard Audition" checkpoint, go to the left of the area and press the switch on the ground. Now kick all the ballons in the area to finish the challenge and get the coin.


Coin #61. From the last coin, make your way up to the walls and head to the castle entrance. Just before going in the door you will see a switch on the ground. Press it and finsih the challenge to get the coin.
Coin #62. Starting at the "Dormitory Hall" checkpoint, make your way to the top of the room. Once you get up to the wooden rafters, you will use a jump pad ona pink bed with hearts. As soon as you land on the rafter on the other side of the bed, go along the rafter to the right. Go around the column and jump to the other rafter. Then, go around another column, jump to another rafter and finally to the bed with the coin on it.


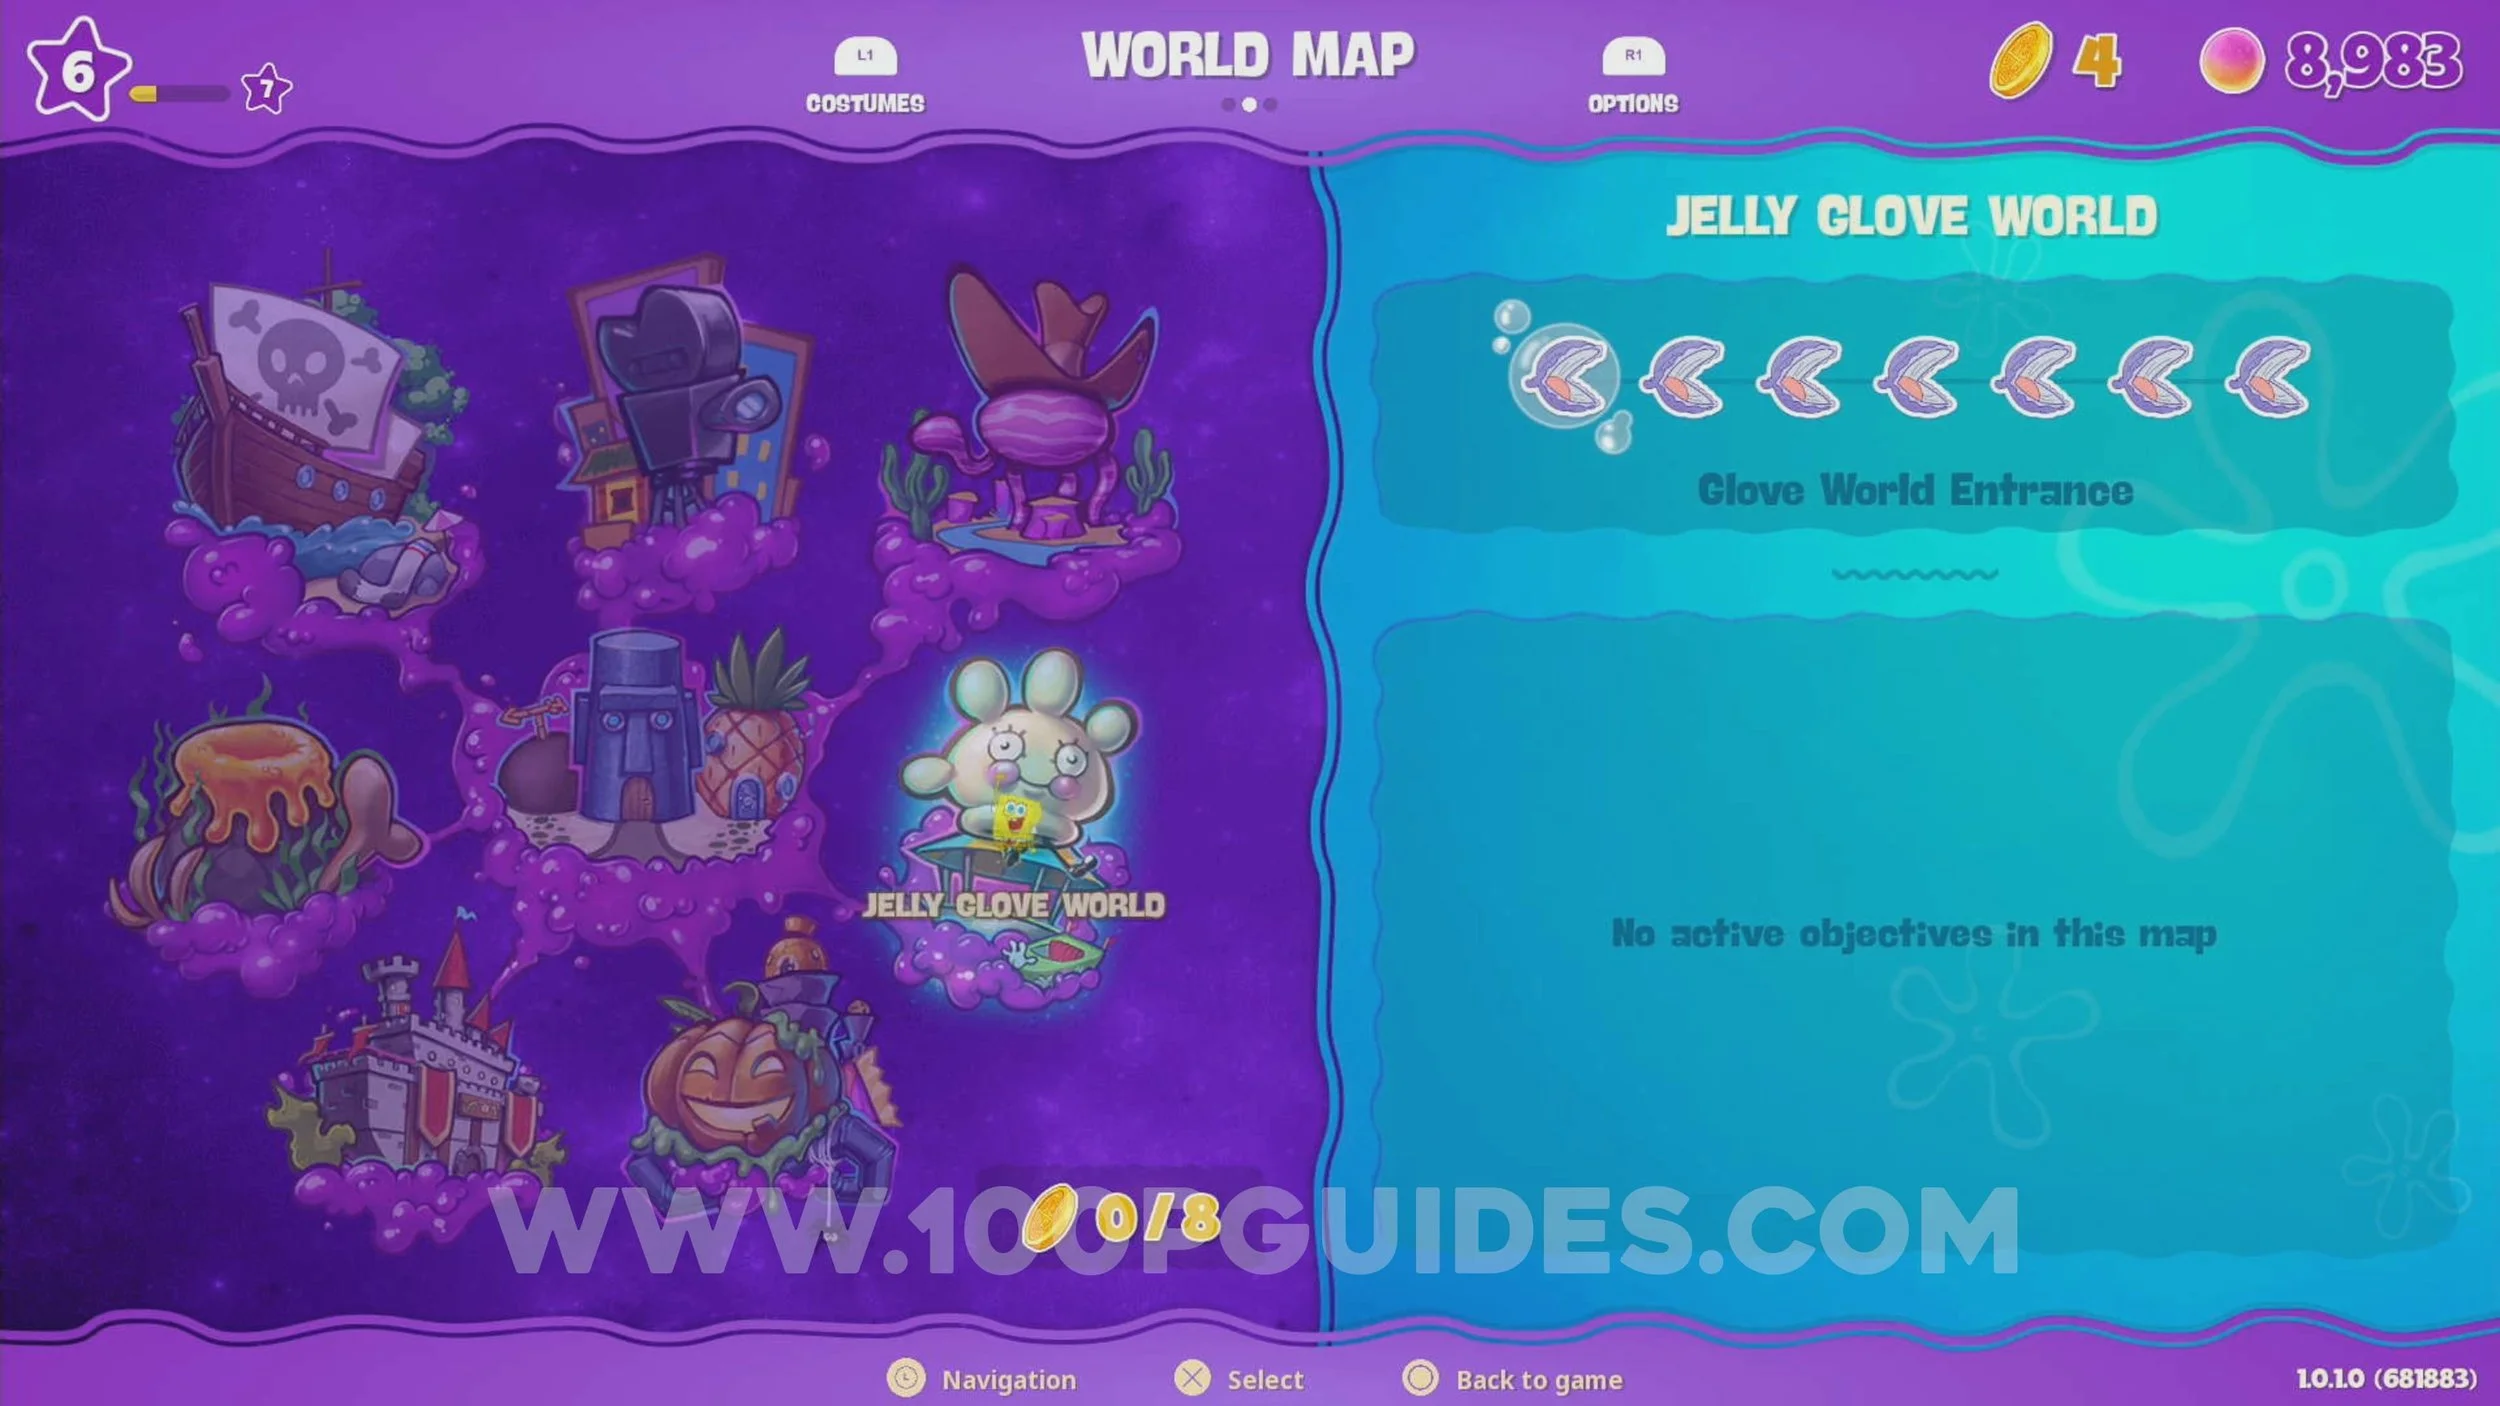
Jelly Glove World
Coin #63. At the start of the level go to the platform in the water to your right to start the Whack-A-Glove minigame. Hit 25 Glove ballons before the time runs out to get the coin (hitting Patrick ballons will take 1 point away from your total score).

Coin #64. Talk to Glovey near the entrance of the level. Then, talk to the NPC near the Whack-A-Glove minigame. You will now be able to play the Whack-A-Glove minigame again to get another coin.
Coin #65. Get on the rollercoaster found on the left side of the first area and collect every heart to get a coin.
Coin #66. On the left side of the first area (just past the rollercoaster) you will see 3 symbols painted on a piece of metal. Press the button to start the challenge. You will then have to hit the 3 gongs with a bubble in the right order. The first can be found on the carousel, the second behind the carousel and the 3rd to the left of the 3 symbols.
Coin #67. Go to the "Tunnel Of Glove" checkpoint. In the first room with boats, go down the tunnel that the boats are using to ENTER the room. Use the boats to get to the other end where the coin can be found.


Coin #68. Go to the "Central Plaza" checkpoint. Here, go to the right and beat the punching minigame (just press the SQUARE button as fast as possible).


Coin #69. Talk to the NPC next to the punching minigame after beating it once to play it again (only available if you talked to Glovey Glove after playing Whack-A-Glove for the first time). Beat it a second time to get the coin.
Coin #70. Go to the other red flag in Central Plaza and beat the minigame. Just hit the signs with Glovey on them.


If you found this guide helpful and would like to support our work, you can do so by pressing the Ko-fi button below