Scorn 100% Walkthrough


In this step by step walkthrough of Scorn we will show you how to complete every level in detail from start to end as well as show you how to get every achievement in each act.
🎮 Find more Scorn guides here.
Act 1
You will start the game in an unknown location in front of a massive door. This door is locked and the only way forward is up the hill on the left.
Follow this path until you are overlooking a strange structure with a spiral hill around it. Here you will only be able to go down the right path where you will be able to force open a door.


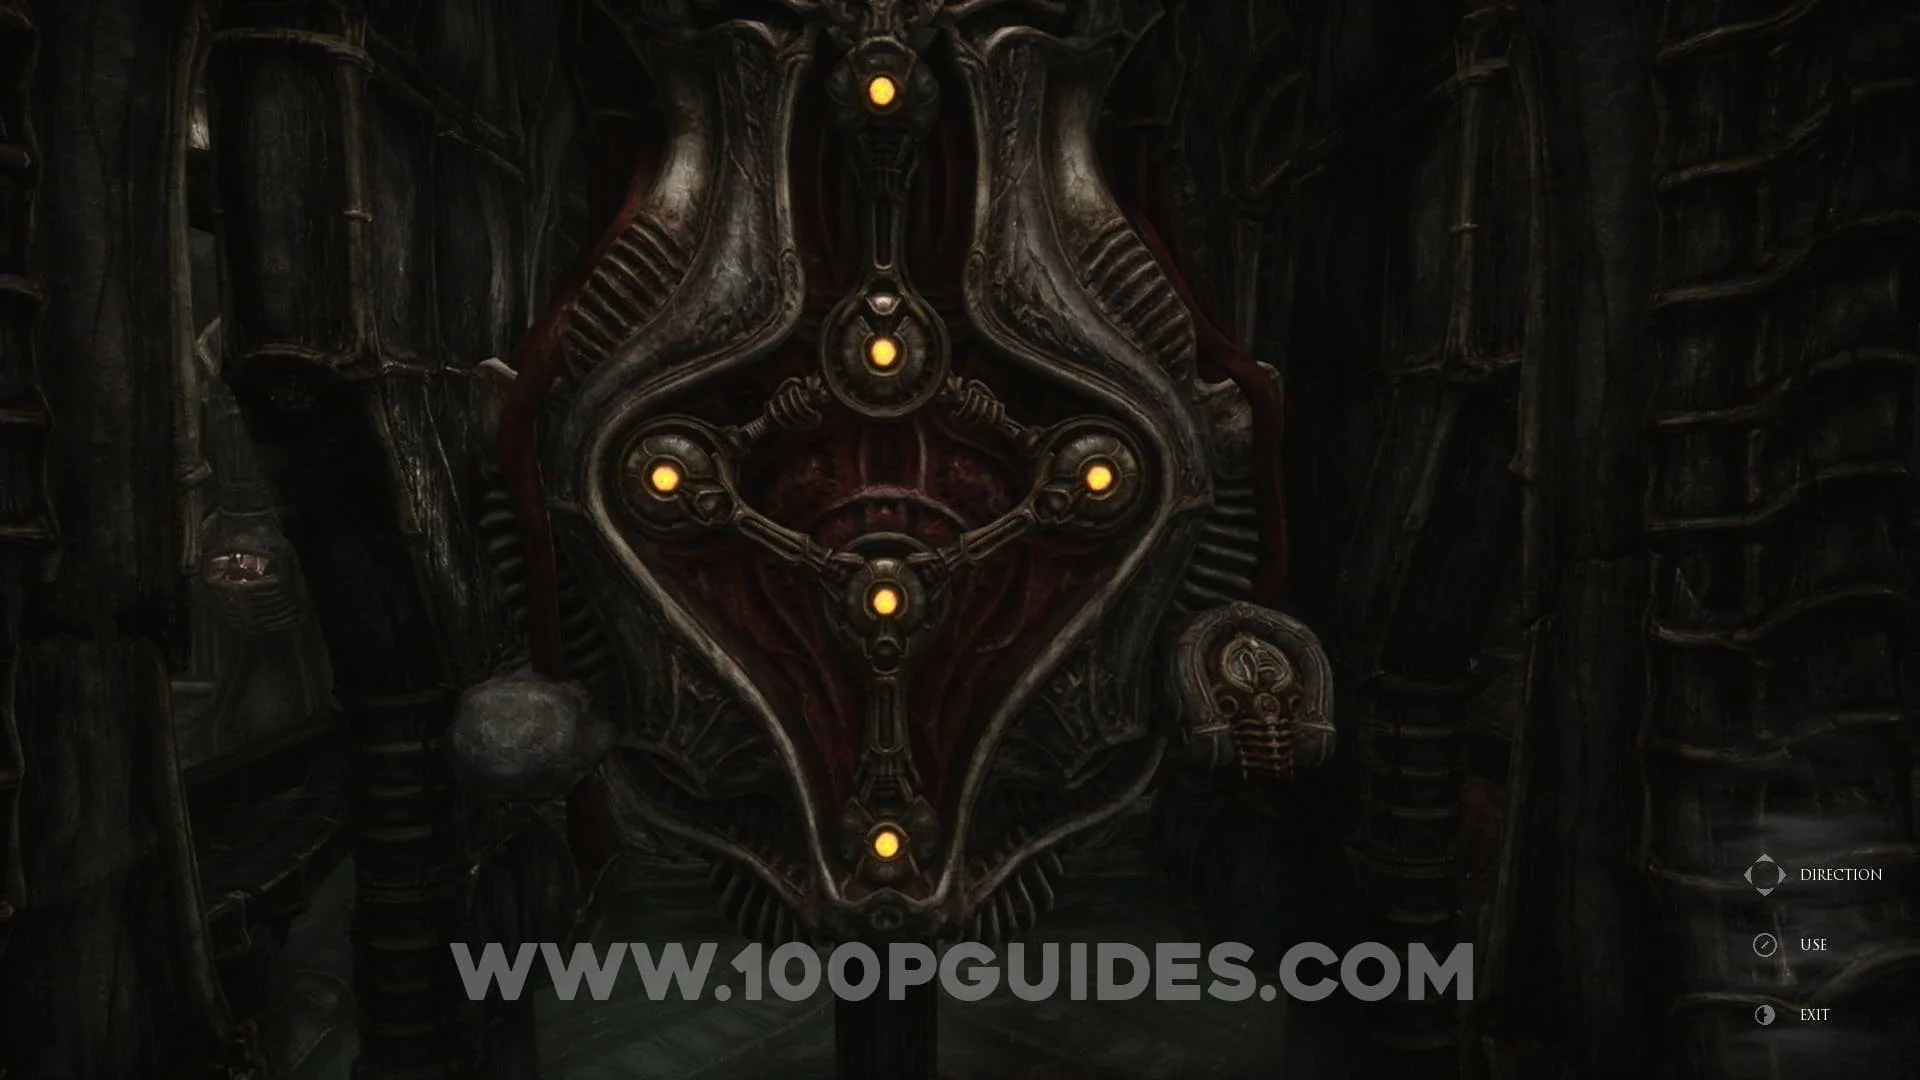
Once inside, first go to the mechanism on the left of the room and interact with it. Then activate the mechanism in the center of the room. Here first activate the left side of the door and then the right side. You will then have to quickly run though the door before it closes.


In the next room, head through the door to the right and use the elevator to go up.
Here you will have to solve the crane puzzle. You will have to move the pod on the right with yellow markings on it to the crane. You can find the solution by watching the video below.
Once you have moved the pod to the crane and activated it, go back down to the main room on the bottom floor. Then go to the right and activate the crane to grab the creature and place it in the chair below.


Now push the chair around the tracks until it stops below another device. Use the control panel to activate it.
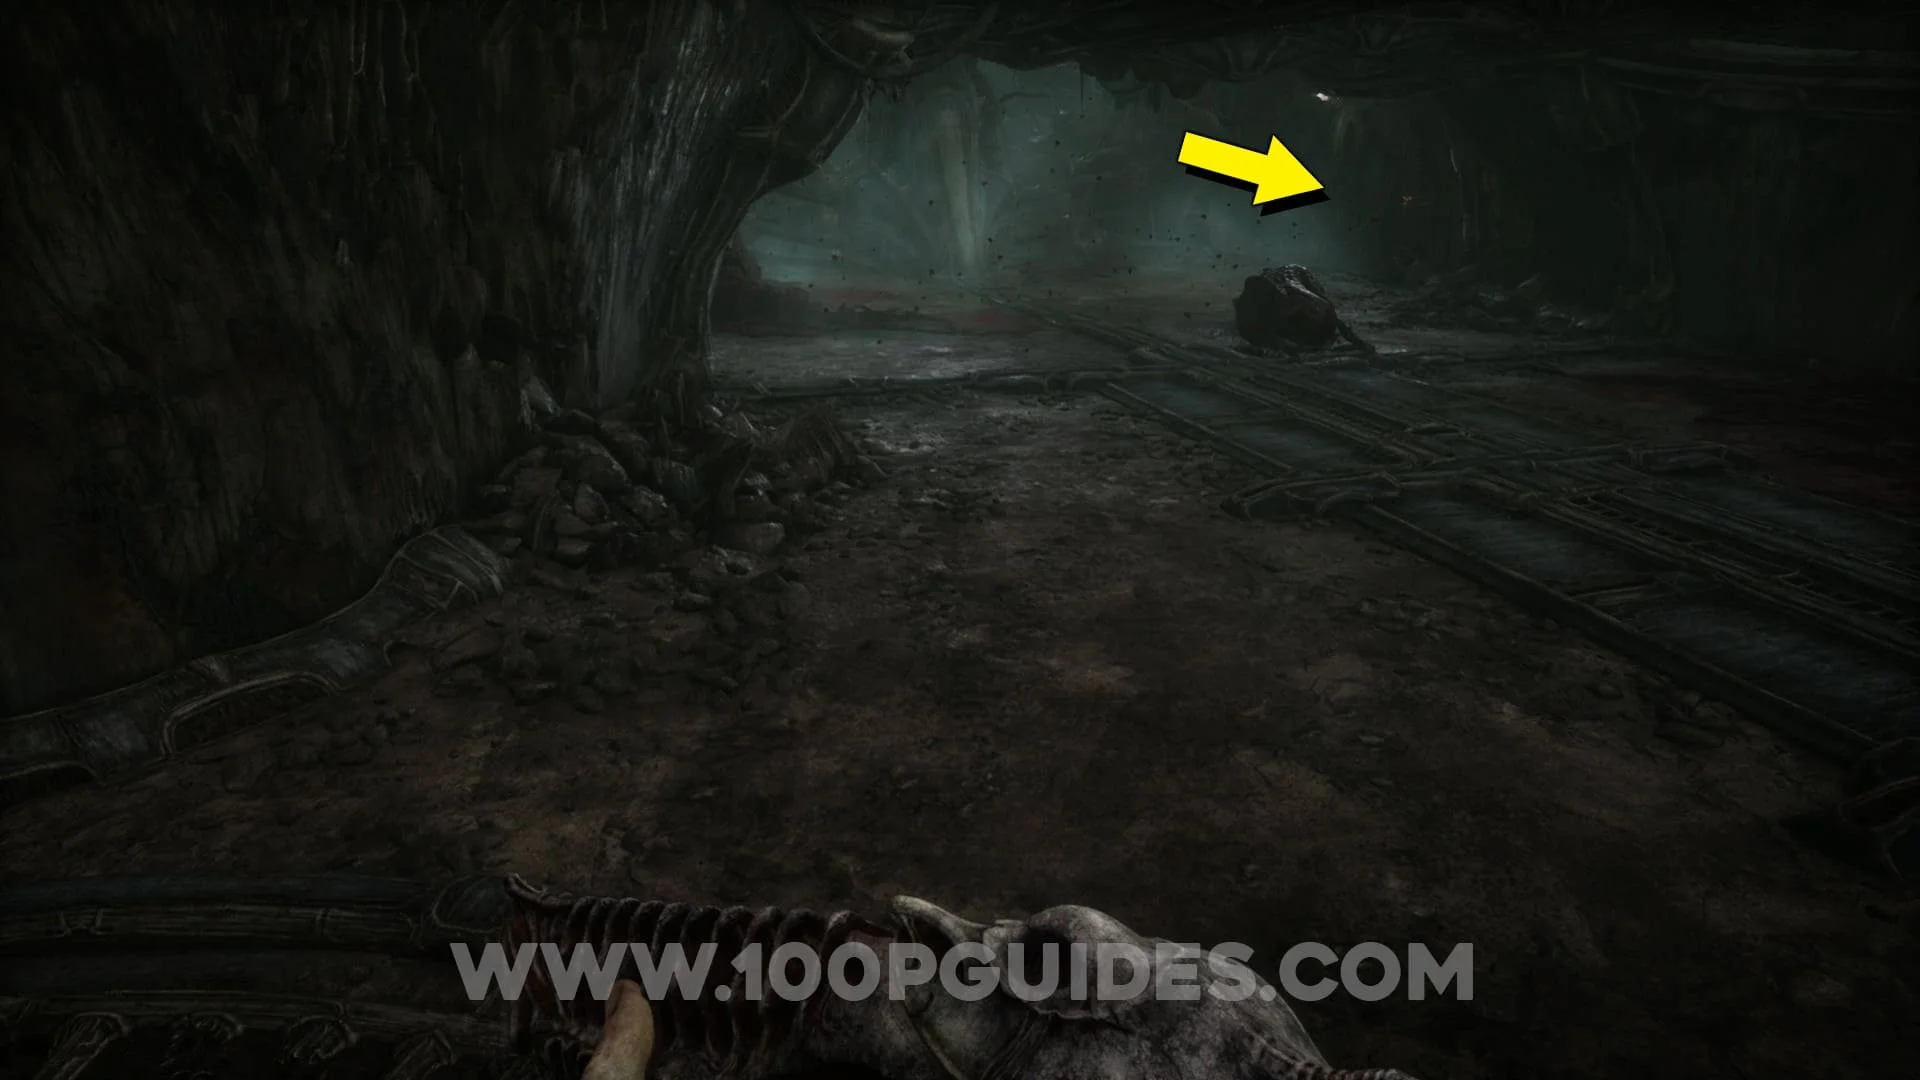
Next go up the hill in the middle and use the mechanism to guide the tracks in to the room with the elevator you used to get to the top floor previously (OPTIONAL: you can also place the tracks so that you take the creature through the door on the top right of the screen where you can set it free. This will get you the “Extraction” achievement).
Once the chair stops moving, use the crane to place the creature in the new device in the middle of the room. Then activate the other switch and examine whats left of the creature to get an arm. This will get you the "Hand In Hand" Achievement.


Now return to the main room and go through the tunnel to the left of the big door that will not open. Then take the next tunnel on the left and use the mechanism to place the device on the arm that allows it to activate switches.
You will now be able to activate both switches to open the big door in the main room and go up the lift to advance to the next area.


In the new area, first head to the opposite side of the center room to get your first "weapon" (you will also use this to activate some devices). Now head through any of the 2 doors in this area. Once you enter any of them activate the divice with your new weapon. Then go to the other end of this area where the columns are to find another device you can activate. Just watch out for the floating balls, these are enemies and can damage you. Just use your weapon to get rid of them.


Once both switches are activated, head to the center of this area to find another mechanism. Use the crane to grab all 3 capsules and place them in the center structure you will have to press the switch that pops up after you place each one. Once you have to all 3 you will have finished the first chapter of the game and get the "Hazardous Occurrence" achievement.


Act 2
After waking up in a desert type area, make your way along the only possible path until you get to a massive "building" on your left. Circle around it until you can go inside.


Once inside, continue on the only path possible until you get to a circular area (just after the first time you see a creature). Here go around the room until you see a corpse on your left. Examine the corpse to get the strange key device. Now use the key on the device on the wall right next to the corpse. Here you will have to place the pin where the metal circles are on all 3 rings, starting from the outer one. Once you have all 3 metal circles on the pin, take the pin to the top and activate it.


Now turn around and go through the door on the right where you will be able to use the device to acces the elevator on your left.


After using the elevator to go up, continue until you get to a tube with an analog stick in it. Use it and select the tube on the left. Take this path and then go right where you will have to insert the device that you got before.

To solve this puzzle you will have to wait for the round metal part of the spinning circle to stop on an opening. Once you see which opening the metal part stops at, place the pin there and wait for the metal part to line up with the opeining and the pin. Once they all line up, press the A button to move on to the next circle. Do this with all 3 circles and then take it to the top to solve the puzzle.

Now return to the analog in the tube and join up with the tube on the left (the one opposite the original tube). In this area take the path on the left and remove the 3 tubes to stop the fan and then turn around and head back to the previous room to get your "weapon" back.


Make your way back to the tube with the analog in it. Just before you get to the tube, look to your right and go through the now stopped fan.
Soon after going through the fan you will have to solve another ring puzzle (just like the one before).
After solving the puzzle take the lift down on your right. Then use the device to get the hand "key" back. Then open the door to join back up with the area where you got the key from the corpse.


Now make your way back to the tubes with the analog sticks and conect the original tube (the first one you discover) to the one on the left. Go through the tube and take a left to find a device that you will now be able to use. Here connect the central mechanism to the tube that is covered in corpses to clear the path.
Head back to the tube and connect it to the now cleared path. Here you will be able to get the final ring for the key device (the puzzle is the same as the previous ones but with half the puzzle covered).


Now that you have all 4 rings on the key, head back to the bottom floor where the red "plant" is (where you used the elevator to get up to the tubes). Here interact with the device on the right, then with the device in the middle to start another puzzle. For this one you will have to spin the rings (all at the same time) so that the yellow marks are touching the red marks. You can find a video below if you are having trouble solving the puzzle. Once you solve the puzzle you will get the level 1 access key.


Now head back to the corpse where you got the key device in the first place. You will now be able to open the door opposite the body with the access key. Once through this door you will only have 1 path to follow. Soon you will be back in the arera where you did Act 1.
Once you enter the room with the spiral hill on your left, head through the hall on the right to get all the way back to the first room where you woke up at the very start of the game. You will now be able to open this door, follow the path and go down the elevator.


Act 3
You start act 3 as you go down the lift after opening the door that could be seen at the very start of the game. At the bottom of the lift, take the right path until you see a hall on your left where you will be able to upgrade the access key to level 2.


Now head back to the bottom of the lift and go to the door on the left (looking away from the lift). You will now be able to open it with your access key.

In the next room, watch out for the enemy. Then interact with the mechanism so that the gap of the massive fan is at the bottom, allowing you to pass through.
Here you will be able to use another mechanism to turn the 2nd fan. Move it so that the gap is to the right on the catwalk above. Then return to the first fan and turn it so that the gap is also to the right on the catwalk.
Now return to the lift that you used at the very start of this act. Then go down the path straight in front of the lift and go right through the gaps in the 2 fans to get to the next area where you have to interact with a switch to move the claw, allowing you to get inside the moving capsule. Get inside, wait until it stops again and get out.


Here press the switch to advance down the path on your left. Continue on this path until you have to choose between going left or right. First take the path to the left and go through the door straight in front of you down the ramp.


On this path you will soon see a switch that you can press to move a capsule and clear the path ahead. After doing so, watch out for the enemy. The best strategy to take these guys out is to poke them twice and then run back to dodge their attack. Then run back in and hit 2 more time.
Continue down the only path forwards where you will find a new type of device. At these stations you will give some charges to the strange creature we go in act 2. With these charges we can press the "RB" button (E on keyboard) to recharge a small amount of HP.
Now advance down this path all the way to the end where you will find another switch identical to the one you used to move the capsule up a level before. Use this switch to do the same again. This will also clear the path forward. Watch out for the 2 enemies and go down the path on the right.


In the next area go around to the right and interact with the capsule that will get the elevator pod moving. Then wait until the pod is at the top and run through it to get to the other side. Here you willget your first firearm from the "rack" in front of you. As well as some ammo from the recharge station.


Once you have the firearm and ammo, continue out the other side of the room and watch out for the enemies. Here you will have to solve a puzzle that consists of lighting all 4 nodes. To do so you can spin any node as well as any node directly connected to it. Check out the video guide below if you need a hand!
Now take the capsule back around to where you activated the pod that is going up and down to gain access to the next floor down.
Once you use the pod to get down to the new area, watch out for the multiple enemies, I recommend running past them in to the next area and use the coulumn where the puzzle is to cover yourslef as you pick them off. Once they are defeated you will have to solve another puzzle like the previous one with a few more nodes. Again, you can check out the video guide below for help.
Now that you have the final capsule, head back to the area with the lift going up and down to place the final capsule and unlock the lowest level.

Once you go down to the lowest level, head up the ramp and do a U-turn to your right. Here use the control panel to grab the pod with the claw.


Now leave this area by going to the right where you will be able to control another claw to move the pod to the upper level and pass it on to the next claw.
Leave the platform by going to the right where you can use a switch to move the claw with the pod. This will allow you to use the pod as a lift to get to the lower levels.
Once you get to the lower levels, after the small "cutscene" head in to the room to the right to get some ammo. Then continue on the only possible path (watch out for the enemies in this level).


Soon you will get to a switch that can only be activated with your "melee weapon". After activating it, advance through the path on your right (watch out for the new type of enemy, you can easly ignore this one by running past it.


After dodging (or killing) the enemy go through the only door possible, then go left (watch out for another enemy) and then enter the door on your left. Here you will have to activate another switch.


Now head around to the opposite side of the circular area and go right. Then go right again to go up an elevator. At the top go right to activate the switch that will spin the fan, allowing you to go back down and pass it.


Go past the fan and activate the switch to access the key upgrade.
Now head back up the lift (the one you used to get to the switch for the fan) and go left to open the door that will take you lower.


Once you reach the bottom, stick to the right path until the end. Here you will find another large enemy as well as the elevator that will take you to the end of Act 3!


Act 4
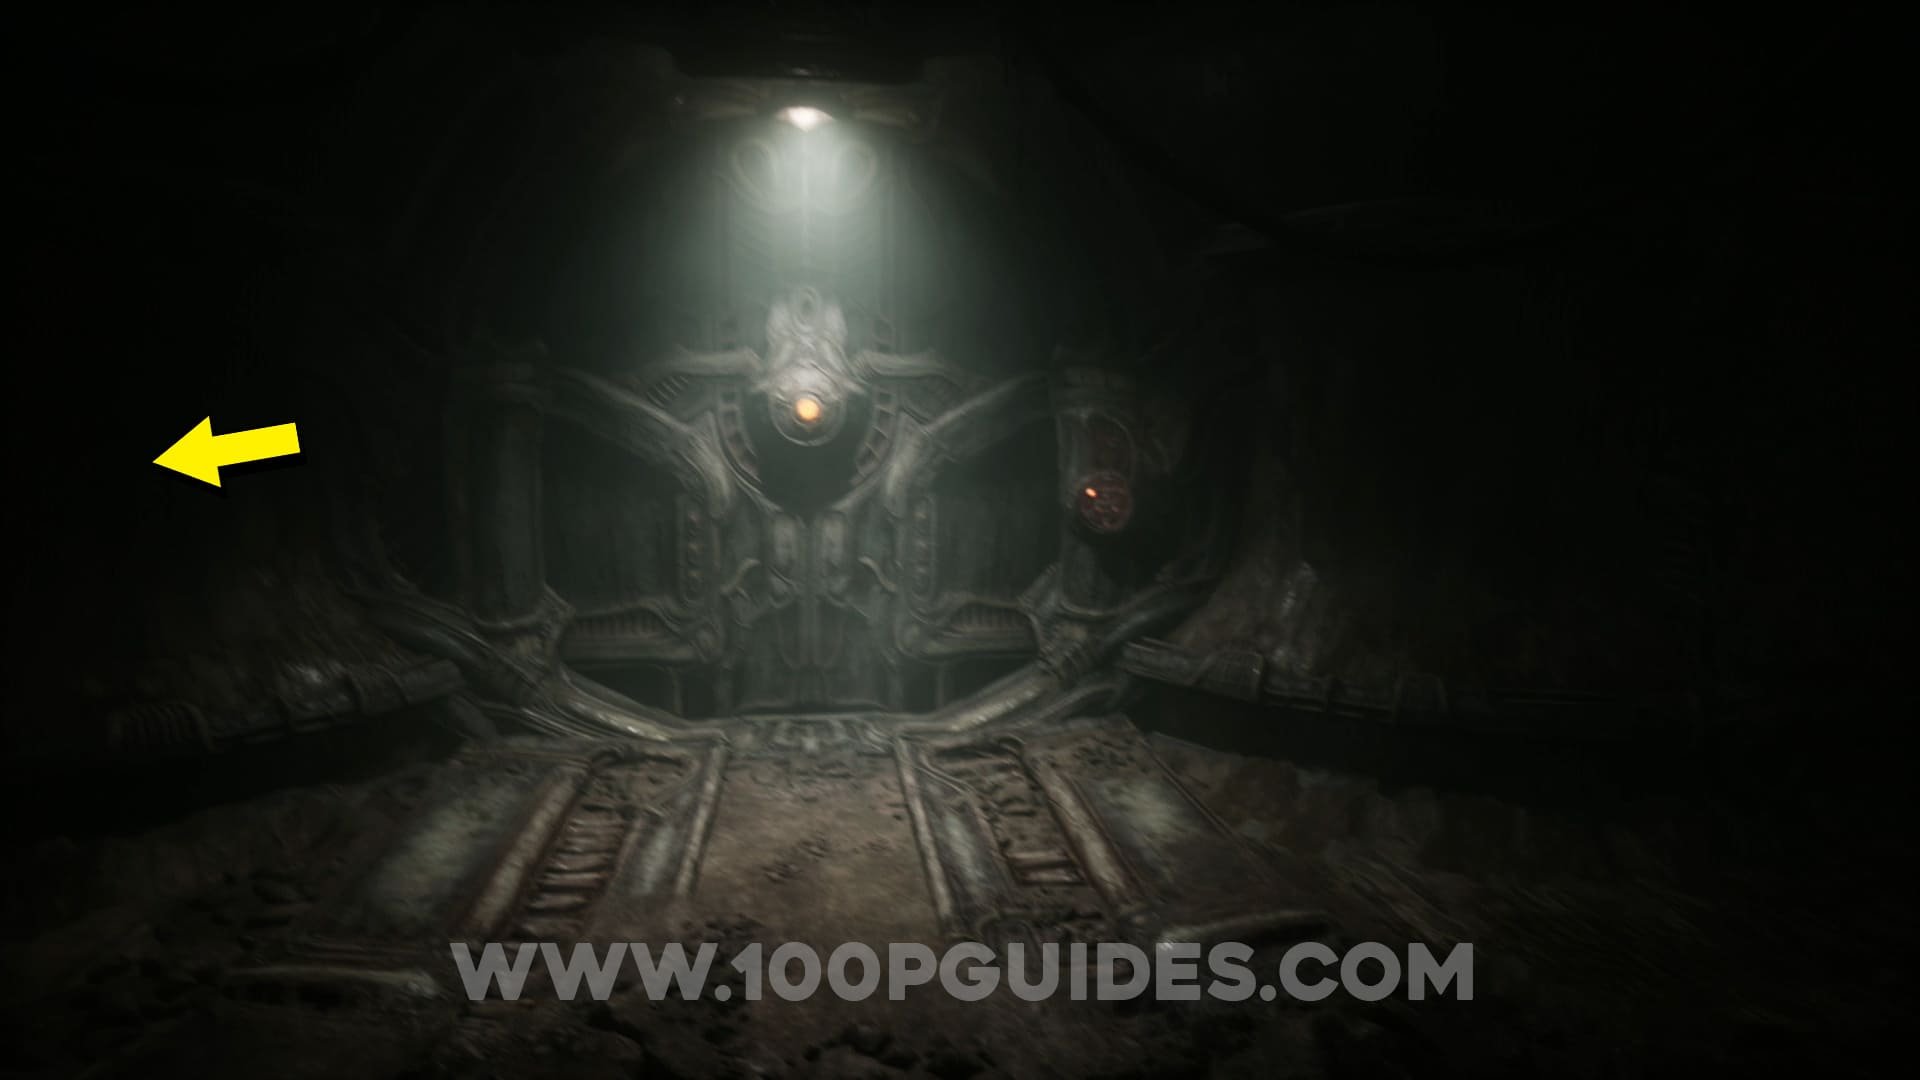
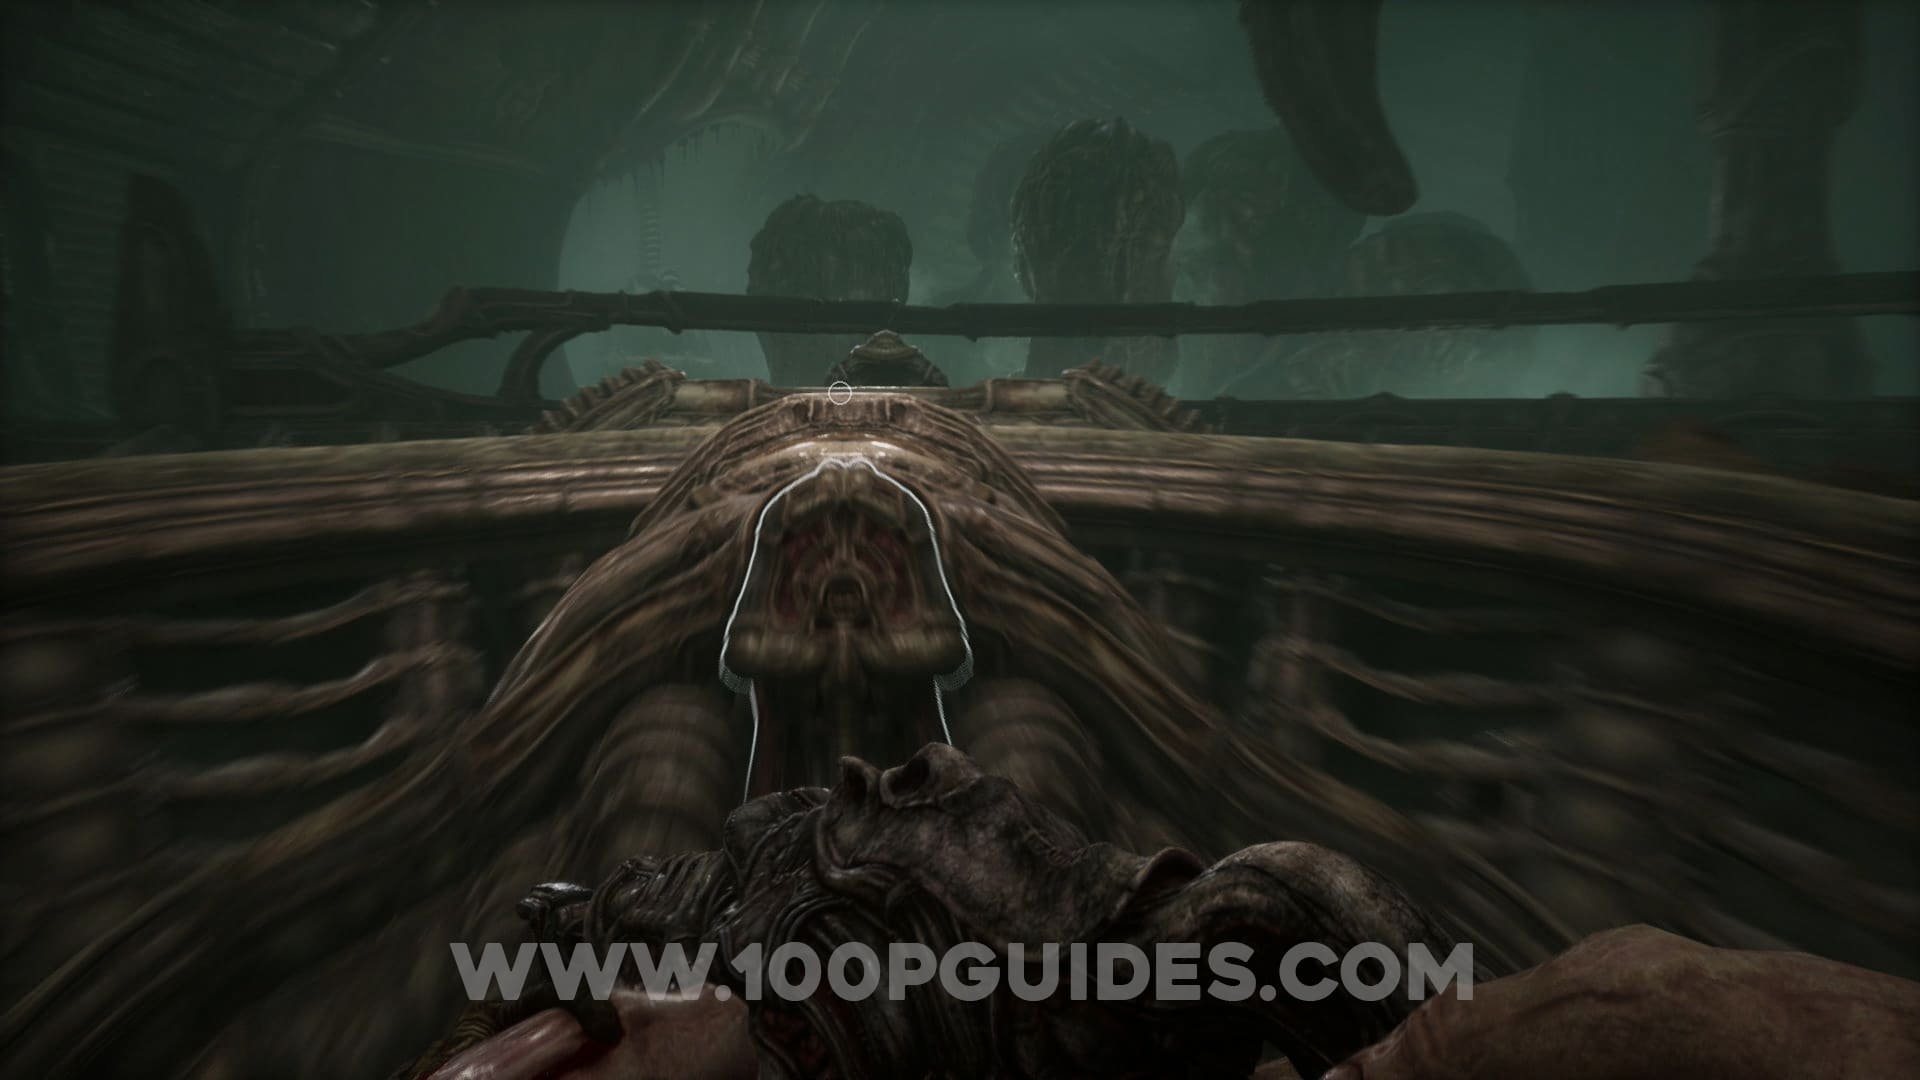
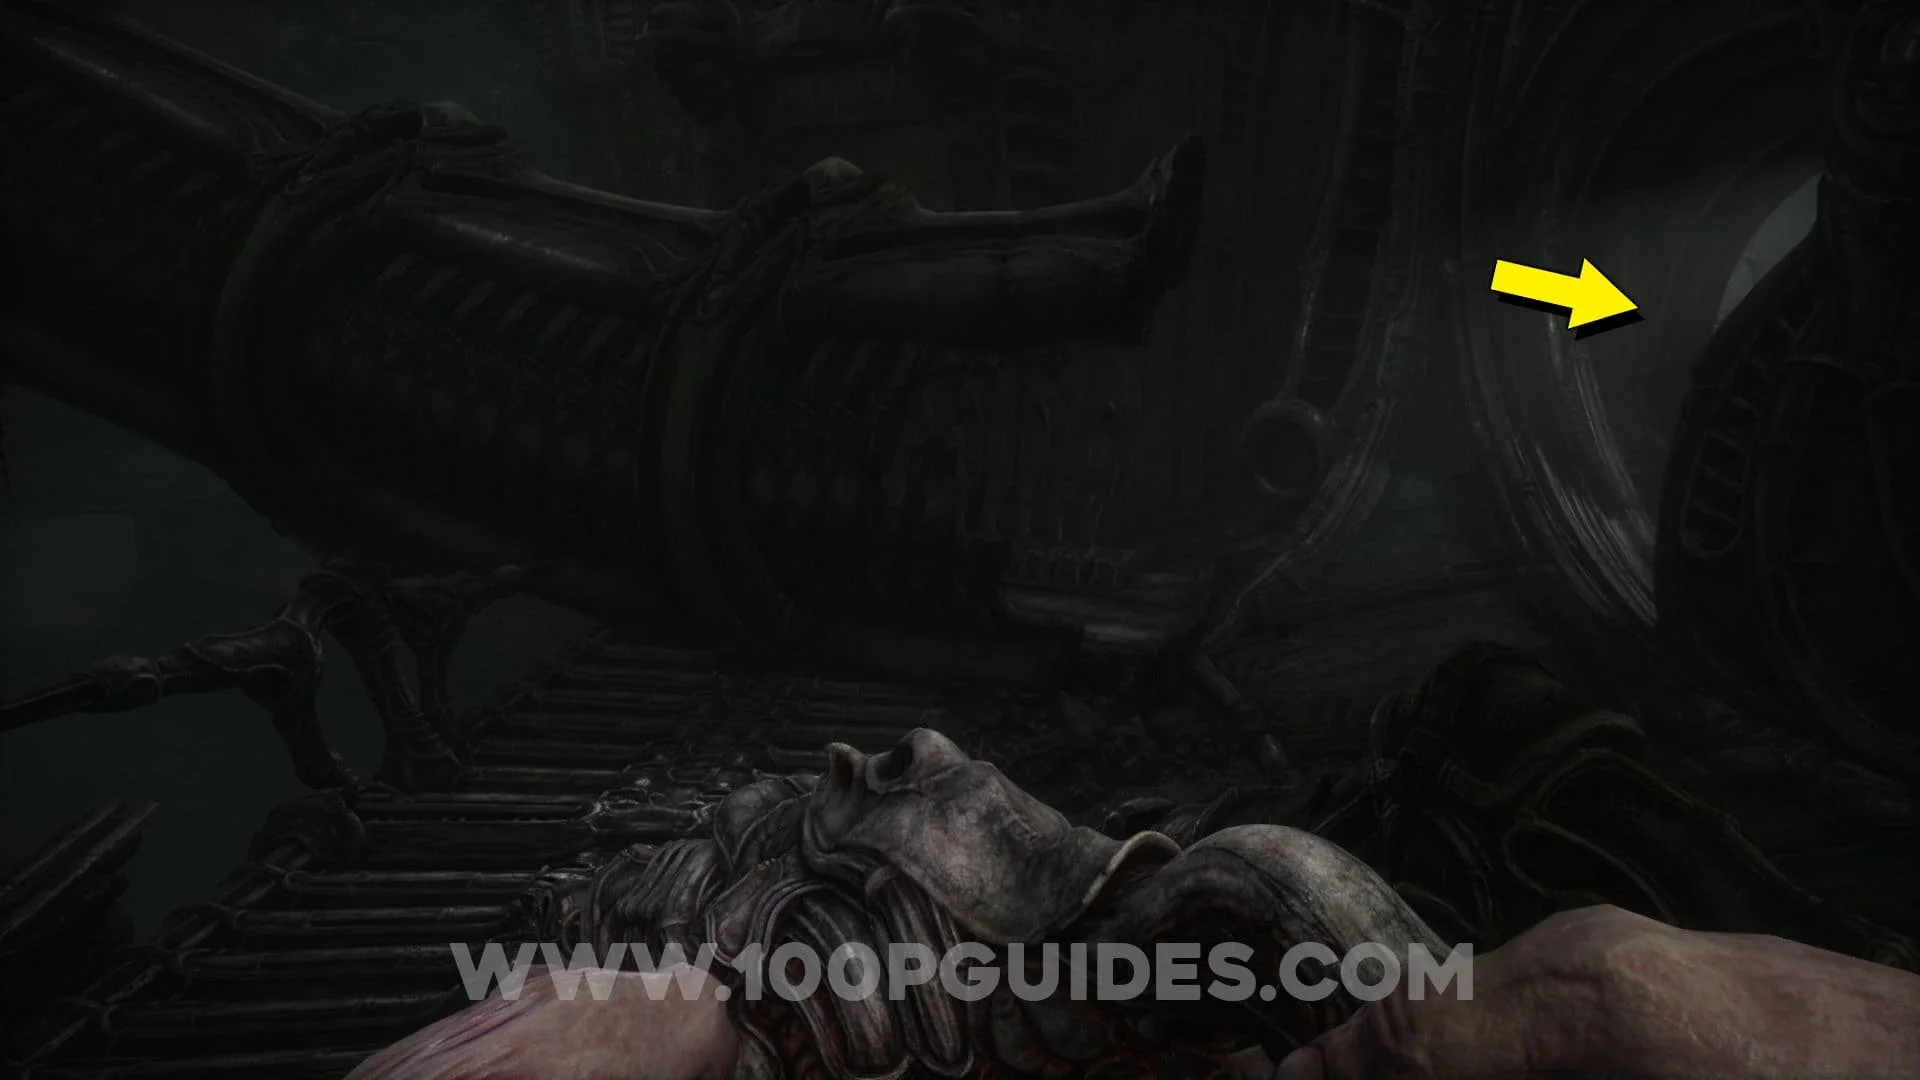
At the start of this act you will soon have to choose the left or right path. The correct one is the right one. At the end of this path you will find a switch. Press it to open a hole in the massive creature that is overlooking the area. Then go back down the stairs and take a right to go inside the hole.


Once inside press the switch that will send the maze shaped device up. Then use the exit on the right and continue on this path until you get to a fork in the road. At the fork take the left path and continue straight until you see a switch to your right. Interact with this switch to open another hole in the creature.


Now return to the fork and go down the middle ramp. Then continue straight and go down the ramp and through the tunnel behind the maze puzzle. At the end you will find a new powerful firearm (and some ammo).


Next take the path to the right (looking at the gun). Here watch out for the enemies and then take the lift up. Now go through the tunnel to the left.


As soon as you come out of the tunnel go up the ramp to your right to find the key upgrade to level 4 (watch out for the large enemy in the area).
You can now open the door in this area that will take you back to the area where you pressed the switch to open up the 2nd hole in the creature.
Make your way back to the fork in the road and go down the slope in the middle. Then take a left to find a door that you will now be able to open with the access key at level 4.


Here you will be able to enter the creature through the 2nd hole that you made to send up the 2nd part of the maze puzzle.

Now return to where you got your new weapon and take the path on the left. Here take the elevator up (and watch out for the enemies). Here you will be able to open a shortcut back to the area next to the maze puzzles or go the other way and take another elevator up to find the switch that will rip open another hole in the massive creature.


Once the hole is open, head back down the elevator and take a right to send the final part of the maze puzzle up.
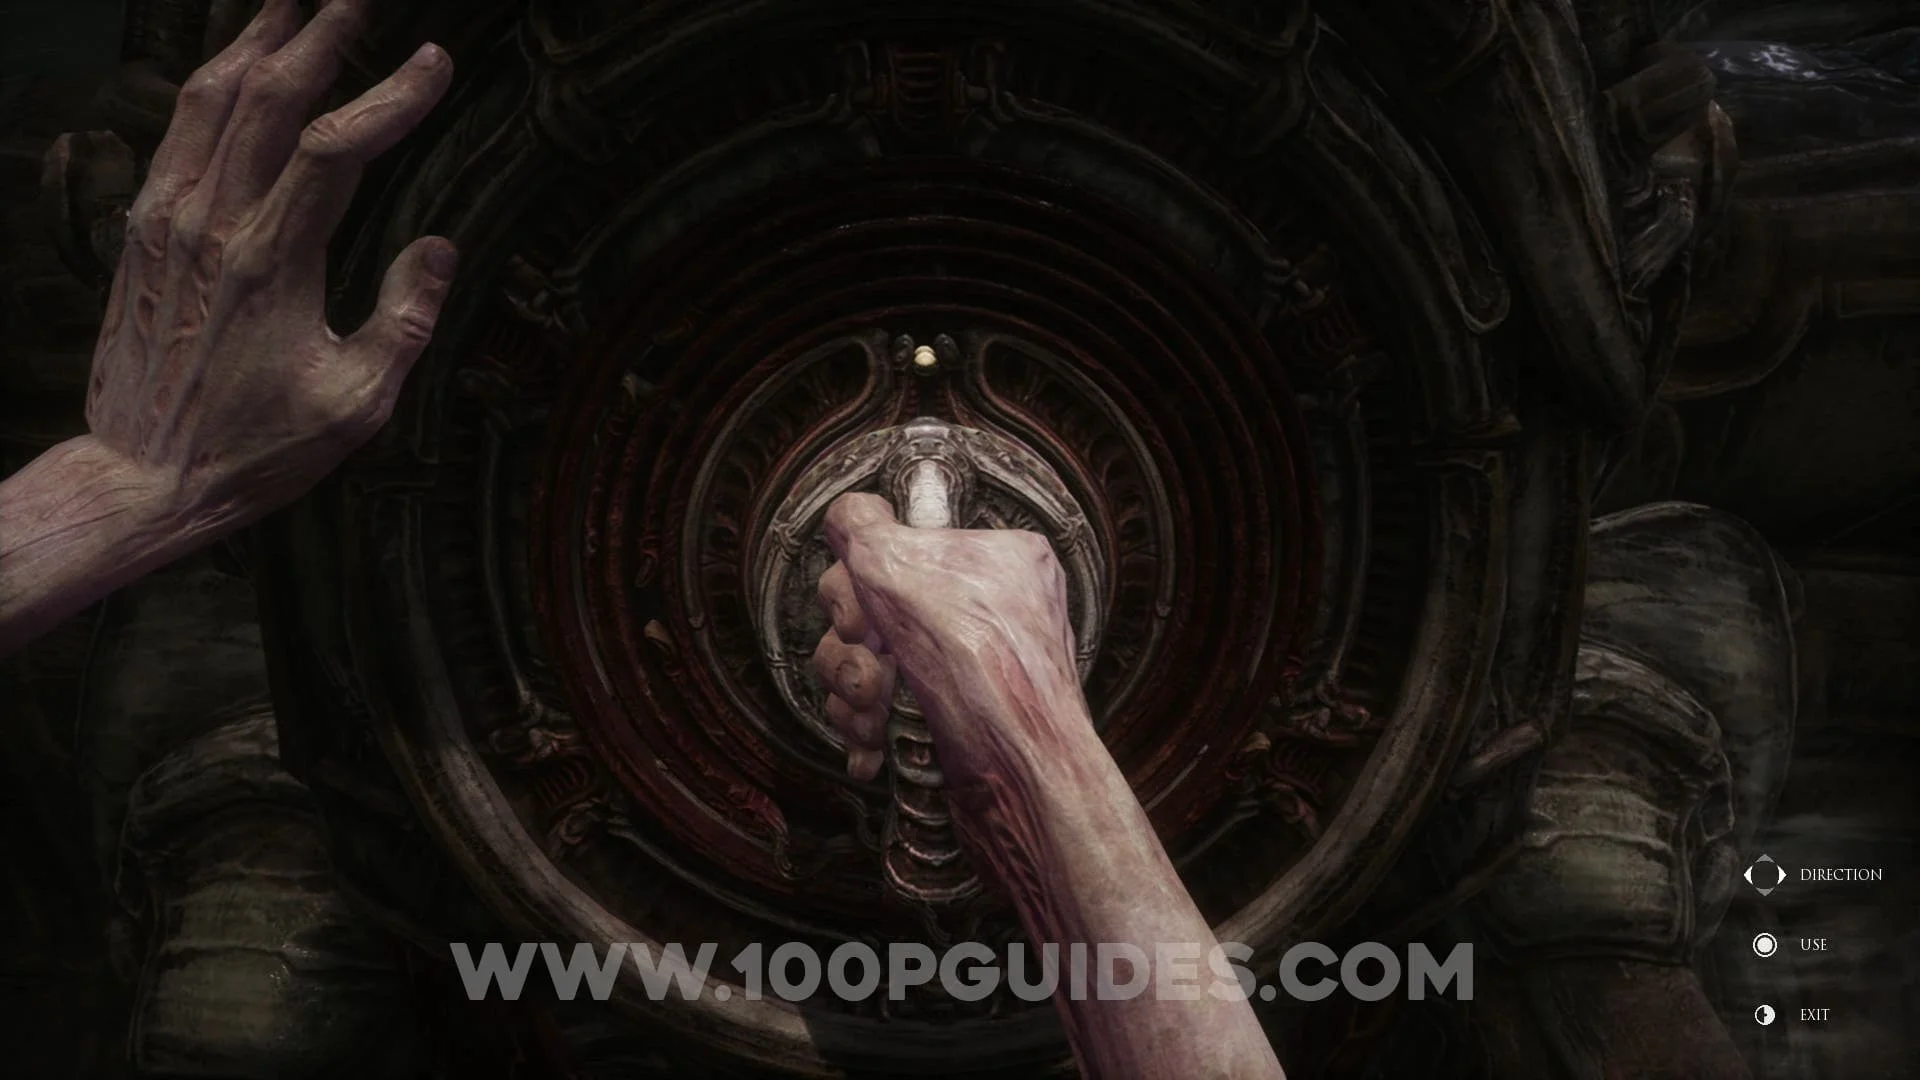
Now go back to the maze puzzle that can now be solved. This can be done by getting the ball to the top of the middle of the mazes. The balls position will save across all mazes. Check out the video below if you are having trouble solving it.
Once you have solved the puzzle, go up the path on your left. Follow this path until you get to the monorail. Ride it to finish Act 4.


Act 5
You will start the final act by getting off the monorail at a station just outside a massive palace type building.
Head inside and take the spiral stairs on your left.


On the stairs, get off half way down to get to a circular room. In this room go up the stairs to the center and take the capsule from the strange device next to one of the "beds".


Now head trough the hall straight ahead as you go down the short set of stairs. At the end insert the capsule in to the device on the wall to open the door.


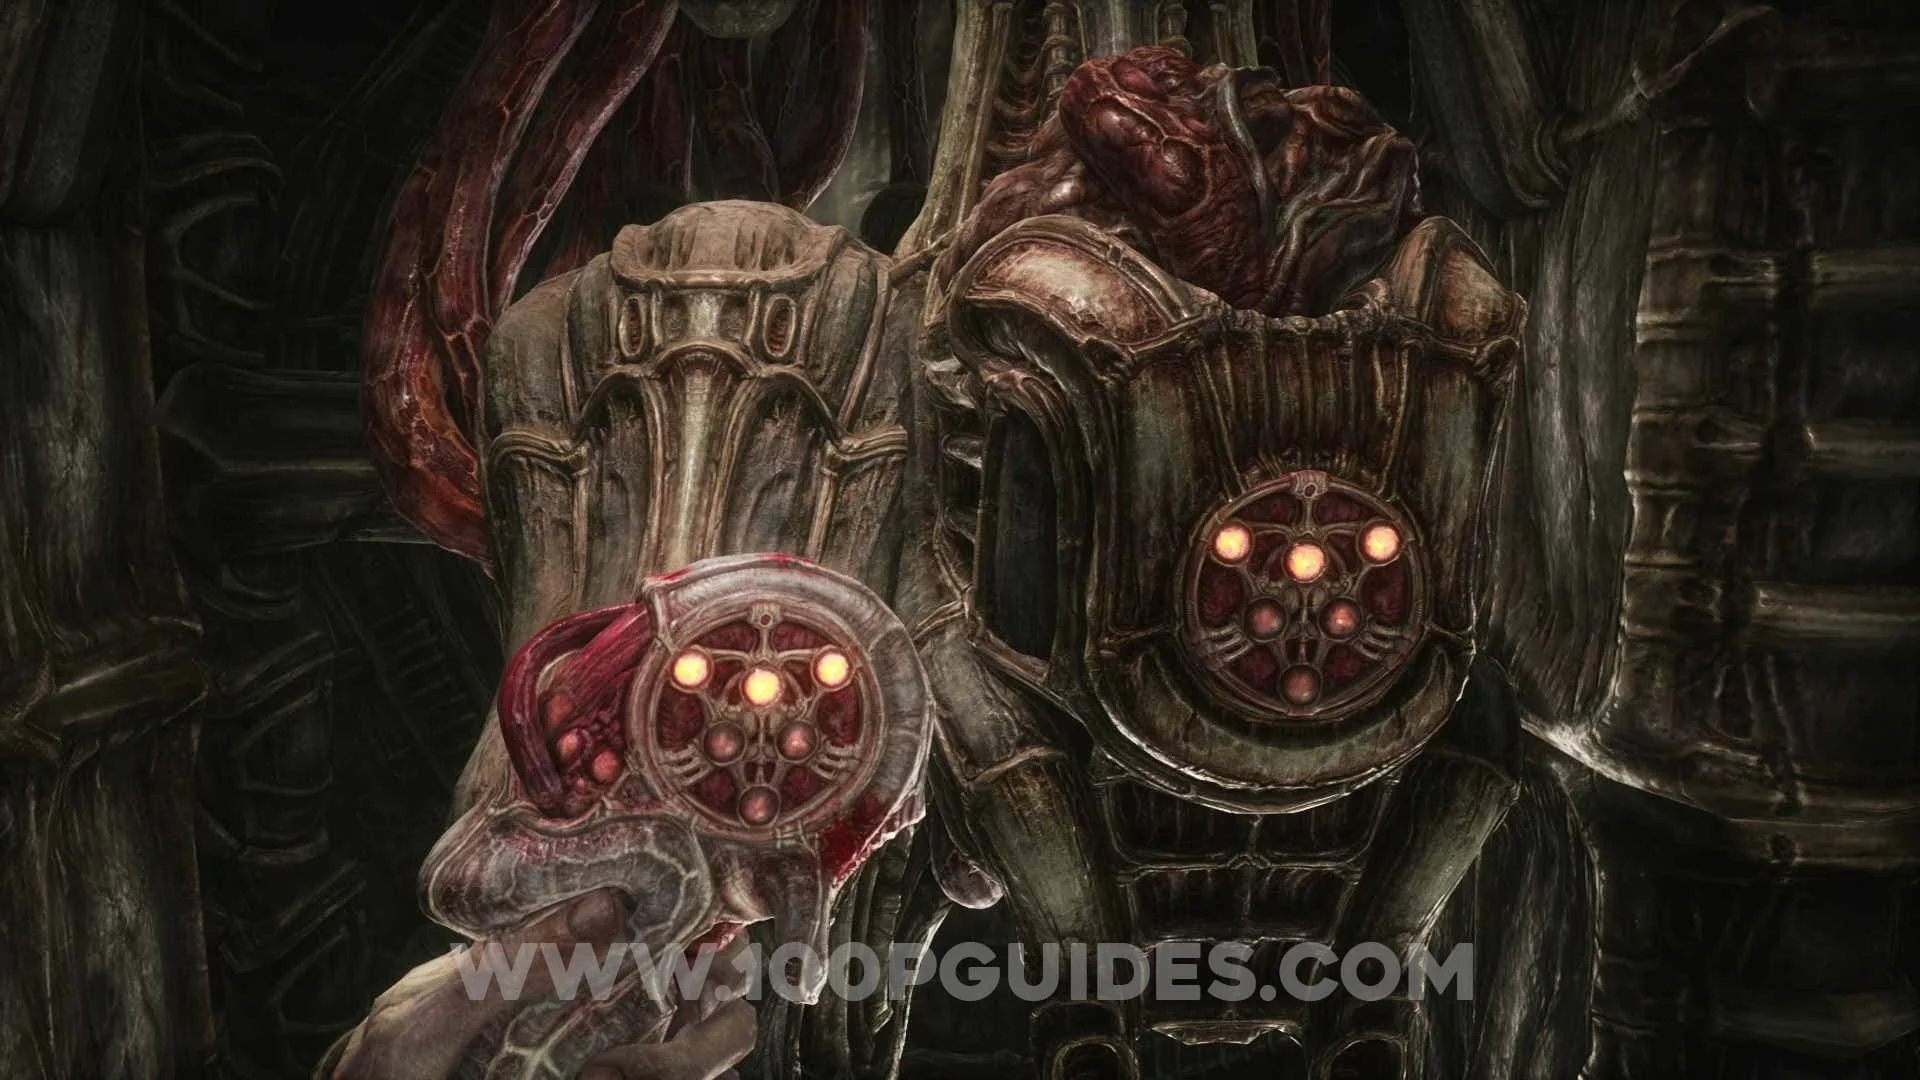
In the next room go to the right and pick up one of the pink pods (You can also get some hp potions and ammo here) and place it in the creature on the other side of the room. Then shoot the pod a few times until the creature is dead. Pick up the "whatever you want to call the thing in the pod" and take it back to the device on the wall that you used to open the door to this room. Doing this will fill the capsule with "blood".


Now take the capsule back to the device next to the bed in the circular room (same place as you got it from).
Next head back in to the room with the pink pods, take the other pod and place it in to the creature at the same wall as the previous one. This time the creature will become a boss fight. In the first stage, wait until it goes to reload after dodging the grenades and strike the pink blobs coming out of each side of the body. Once you get rid of both of them, the stage of the boss fight will start. During this stage you will have to hit the pink pod that you inserted in to the creature. You will be able to do this when the creature is going for a melee attack or gets exhausted after some time. Once you defeat the boss you will get the grenade launcher and the corpse of that thing in the pod.


Take the "baby" to the device on the wall outside to fill the capsule half way. Then return to the room where you just defeated the boss and stand on the switch on the ground to the right of the pod that can be seen behind some bars. Once you are on the switch, wait until the wall opens up in front of you and then shoot a greande through the hole to gain access to the pink pod.


Once again place the pod inside the creature in this same room. This time you will have to fight it but beating it will be much easier and quicker. All you have to do is wait for it to reload and shoot a grenade in to the capsule on the bosse's back. If you need more ammo, you can get some from the capsule of the previous boss that should still be around the arena.
After defeating the boss, take the corpse to the device on the wall outside to finish filling the capsule.
Now make your way back to the spiral stairs jsut past the room where you would normally place the capsule with the beds and go all the way to the bottom. Here stand on the switch on the ground and launch a grenade through the gap that just opened in the wall to open the gate.


Go through the gate and take the right path. Here use the device on the wall that will release your arm for a few seconds. While your arm is free, open the door with the access key.


In the next area, stand on the switch and wait for an opening to fire a grenade through the gap in the wall to open the gate. Then go back and release your arm with the same device as you used previously. Then run back to where you opened the gate to upgrade the access key.


Now go back and release your arm one more time with the same device now exit through the door the way you originally came in to the room. Then take a right across the "bridge" and open the door with the upgraded access key.


Before entering the door you just opened, turn around 180º and go straight until you see another device on the wall that will release your arm. Use it and run back through the door you opened with the upgraded access key. Here interact with the chair and then aim at the characters head to remove the attached alien.


Next you will slowly have to go back through the door that you opened with the upgraded access key and then go right. Here open the gate that will take you back to the very start of the level.


Make your way back to the room with the beds and place the capsule in the one on the right.
After waking up, turn around and examine the strange circular device. After a cutscene you will now take control of another character.
You will now be in control of 2 characters (lets call this character A and the other one B). With character A go over to the main original character and rescue him.
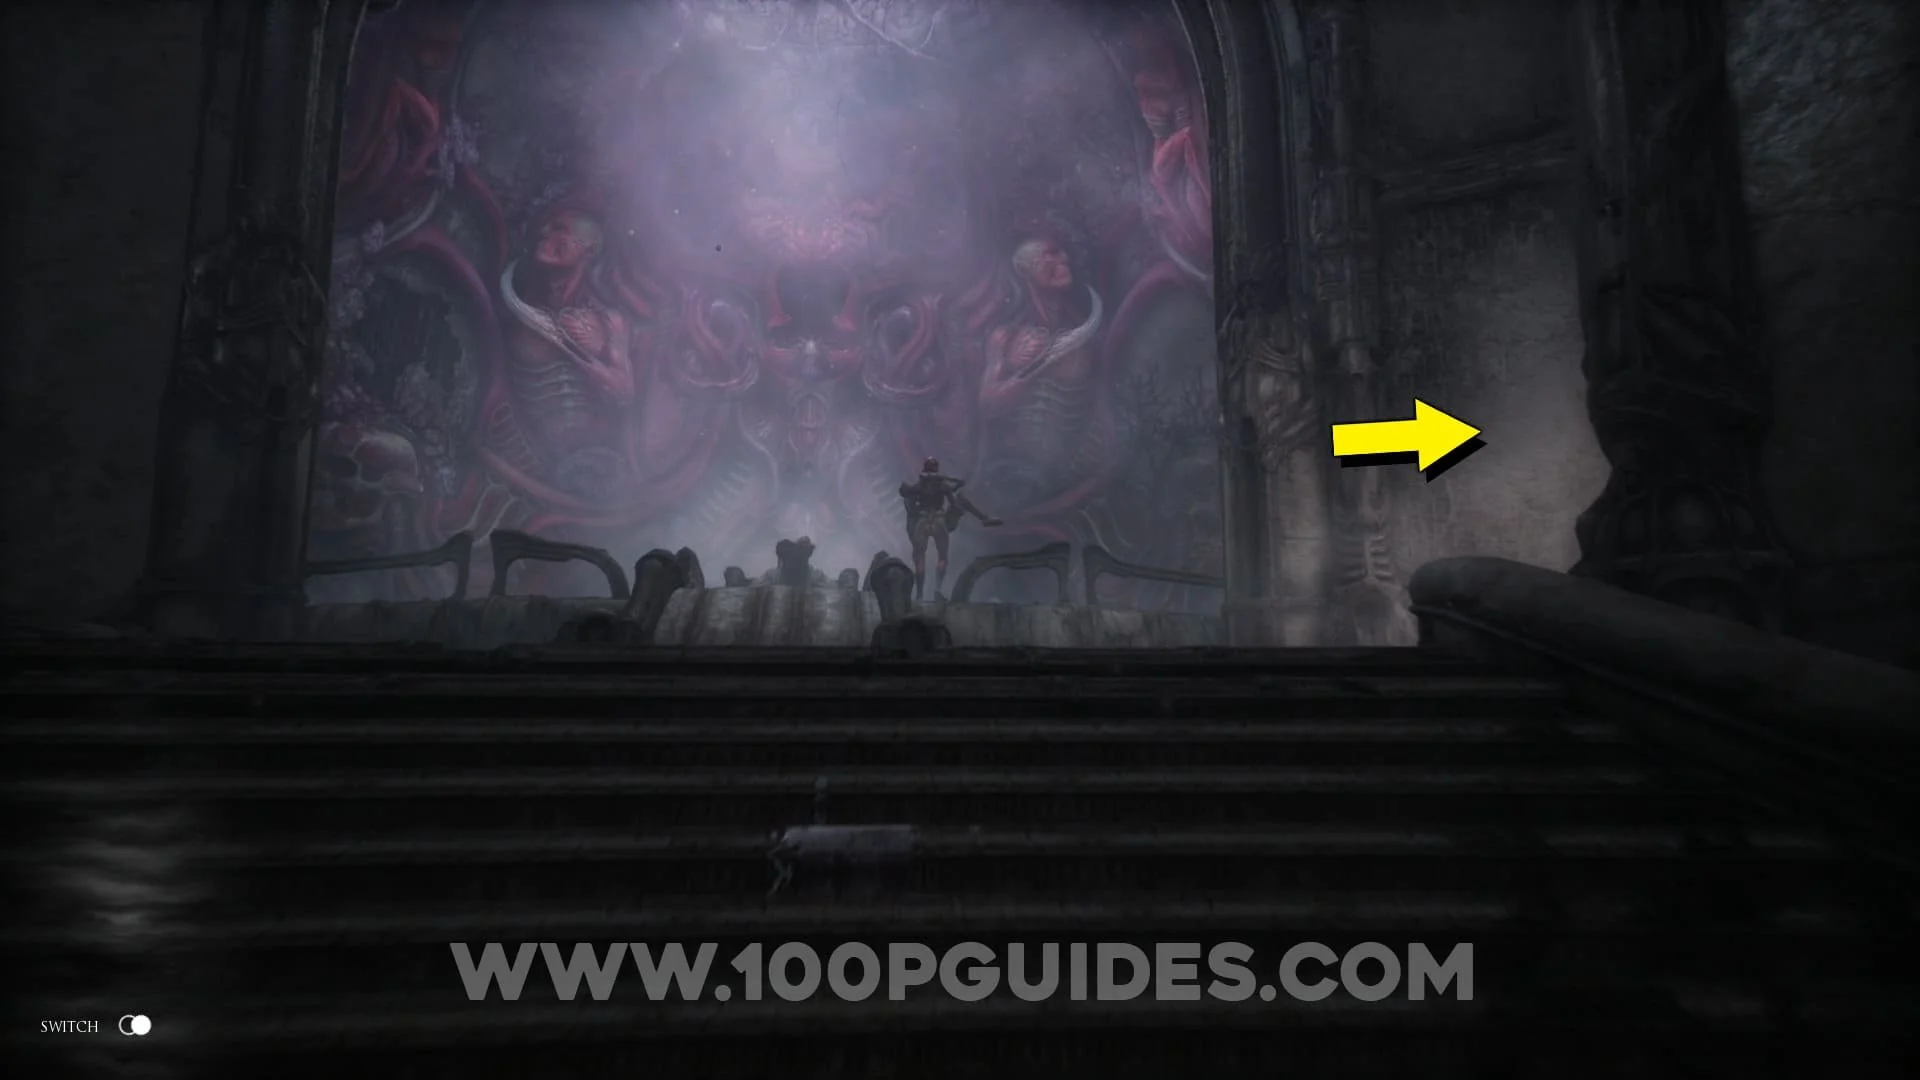
You will now be able to change between controlling characters A & B with the "X" button. So first take character B towards the massive mural at the end of the room. Just before the switch in front of the mural, look to your right and place your arm inside the device. You will now have to activate the switch in front of the mural and leave this character there.


Now the mural door has been opened, take character A (the one holding the main character) through the door and walk straight until you trigger the final cutscene of the game!