Madison 100% Walkthrough


We start the game in a room with our dad knocking on the door. The first thing you want to do is pick up the tin can on the floor in front of us. Then turn around and go behind the TV, turn it until it's facing the sofa (if the TV is off you will have to turn it on). You will now be able to pick up the handle from under the sofa. Use the handle on the little door to the right of the TV to get the hammer. Use the hammer to exit the room through the blocked door to the right.


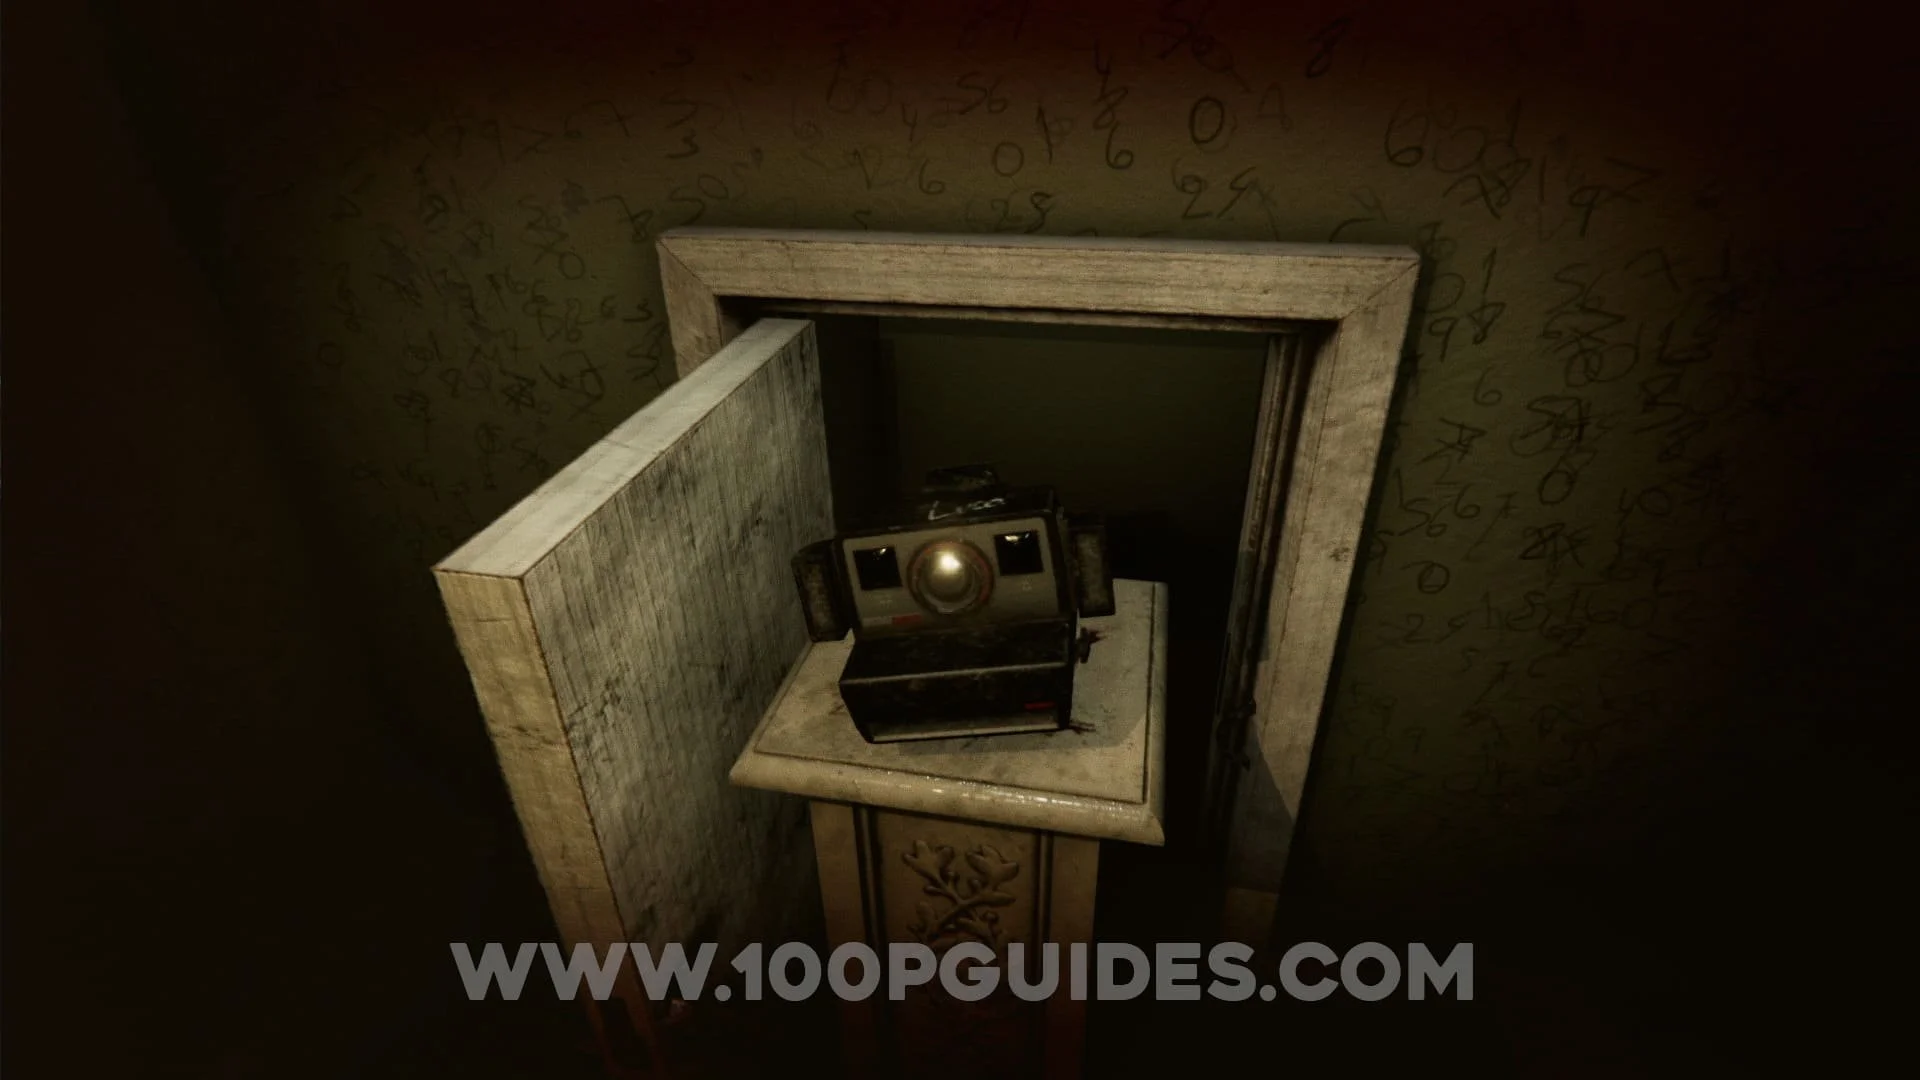
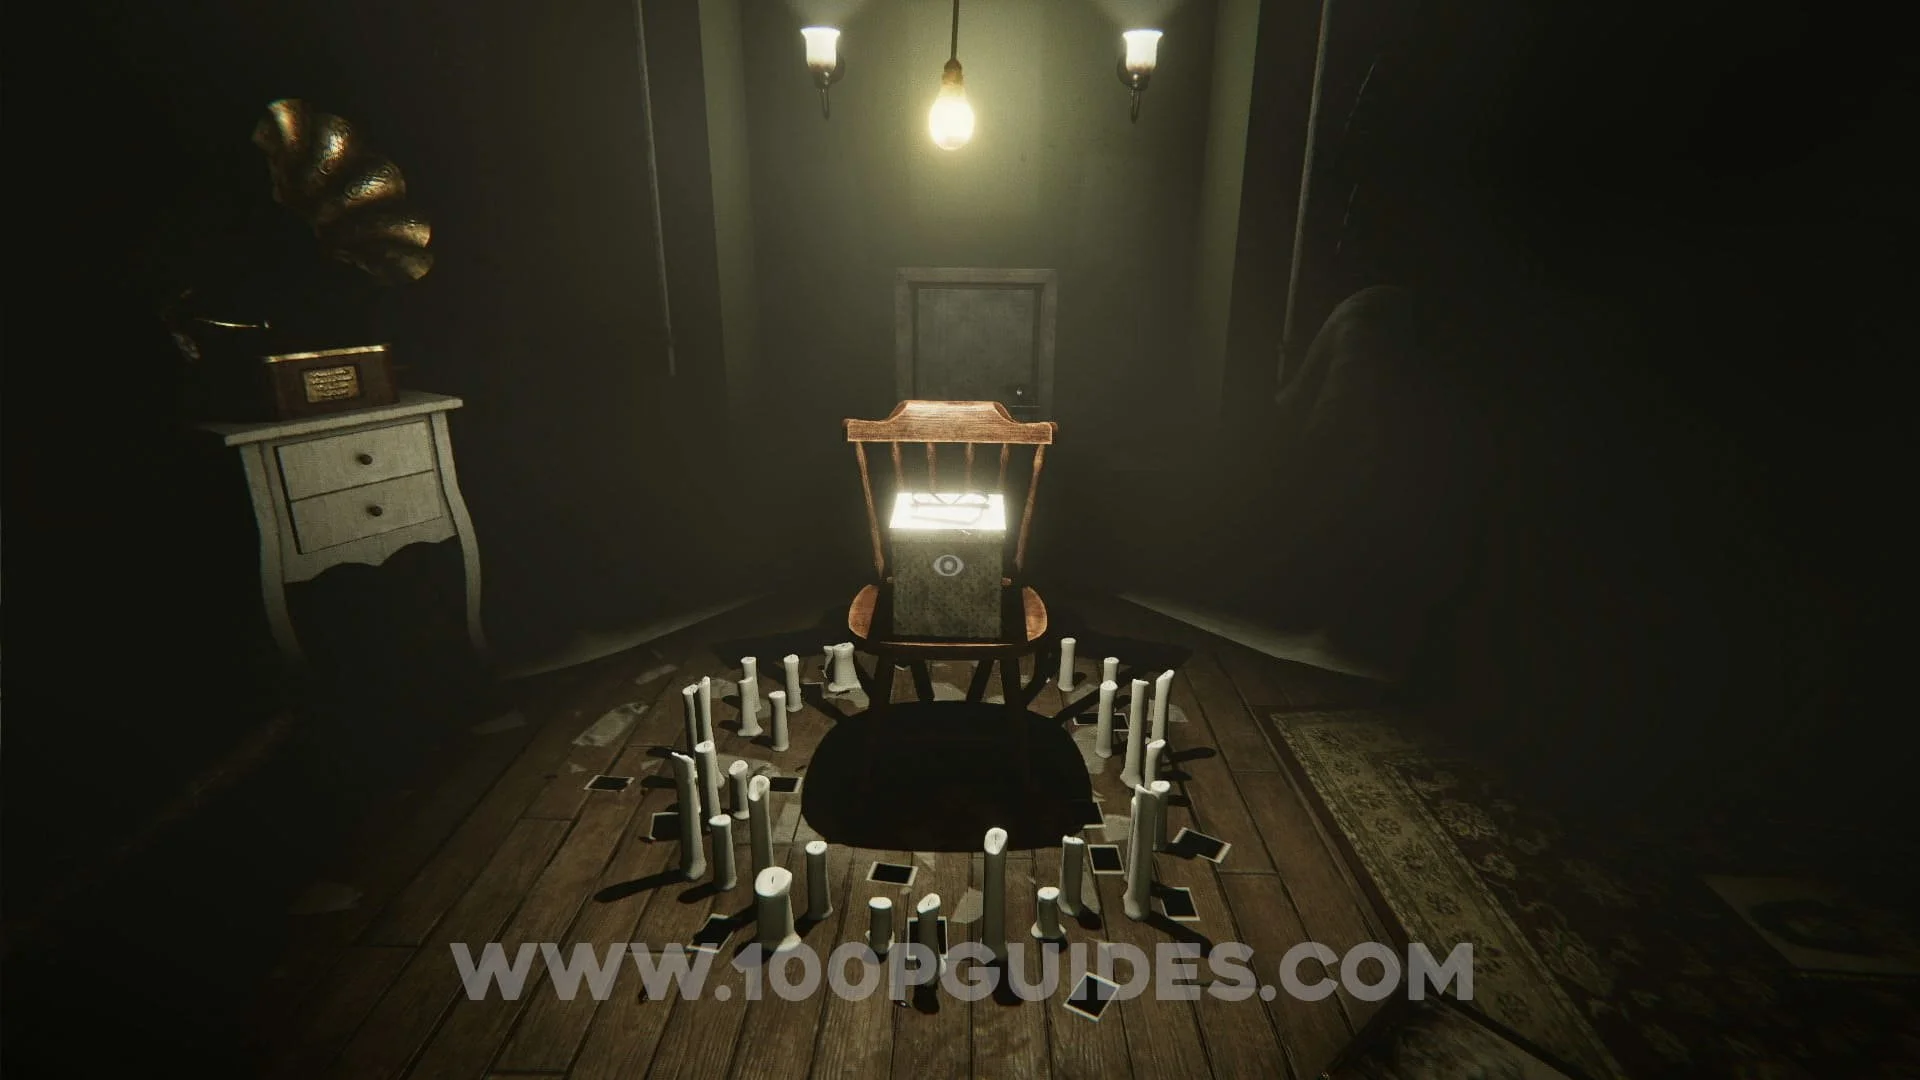
Once in the hall, go all the way to the end and then turn around. You will see something covered at the other end of the hall. Go up to it and reveal a clock, this will also open the door behind you on your left. Here pick up the box on the chair and open it to get the camera. Aim the camera with L2/LT and then take a photo of the chair with R2/RT.

In this room ignore the padlock on the little door (you will not be opening this until the end of the game) and open the draw below the gramophone to pick up the study key. Before you leave this room, also pick up the big picture on the wall.


Now exit the room back in to the hall and go to the left. Once the lights come back on turn around and interact with the floating cloth. Now go back to the end of the hall where the hanging clock is and interact with the empty circular space on the wall. Now go to the other end of the hall and uncover the clock by removing the cloth again. Take the nail from the clock and use it to hang the picture that you got from the other room over the circular space at the other end of the hall.


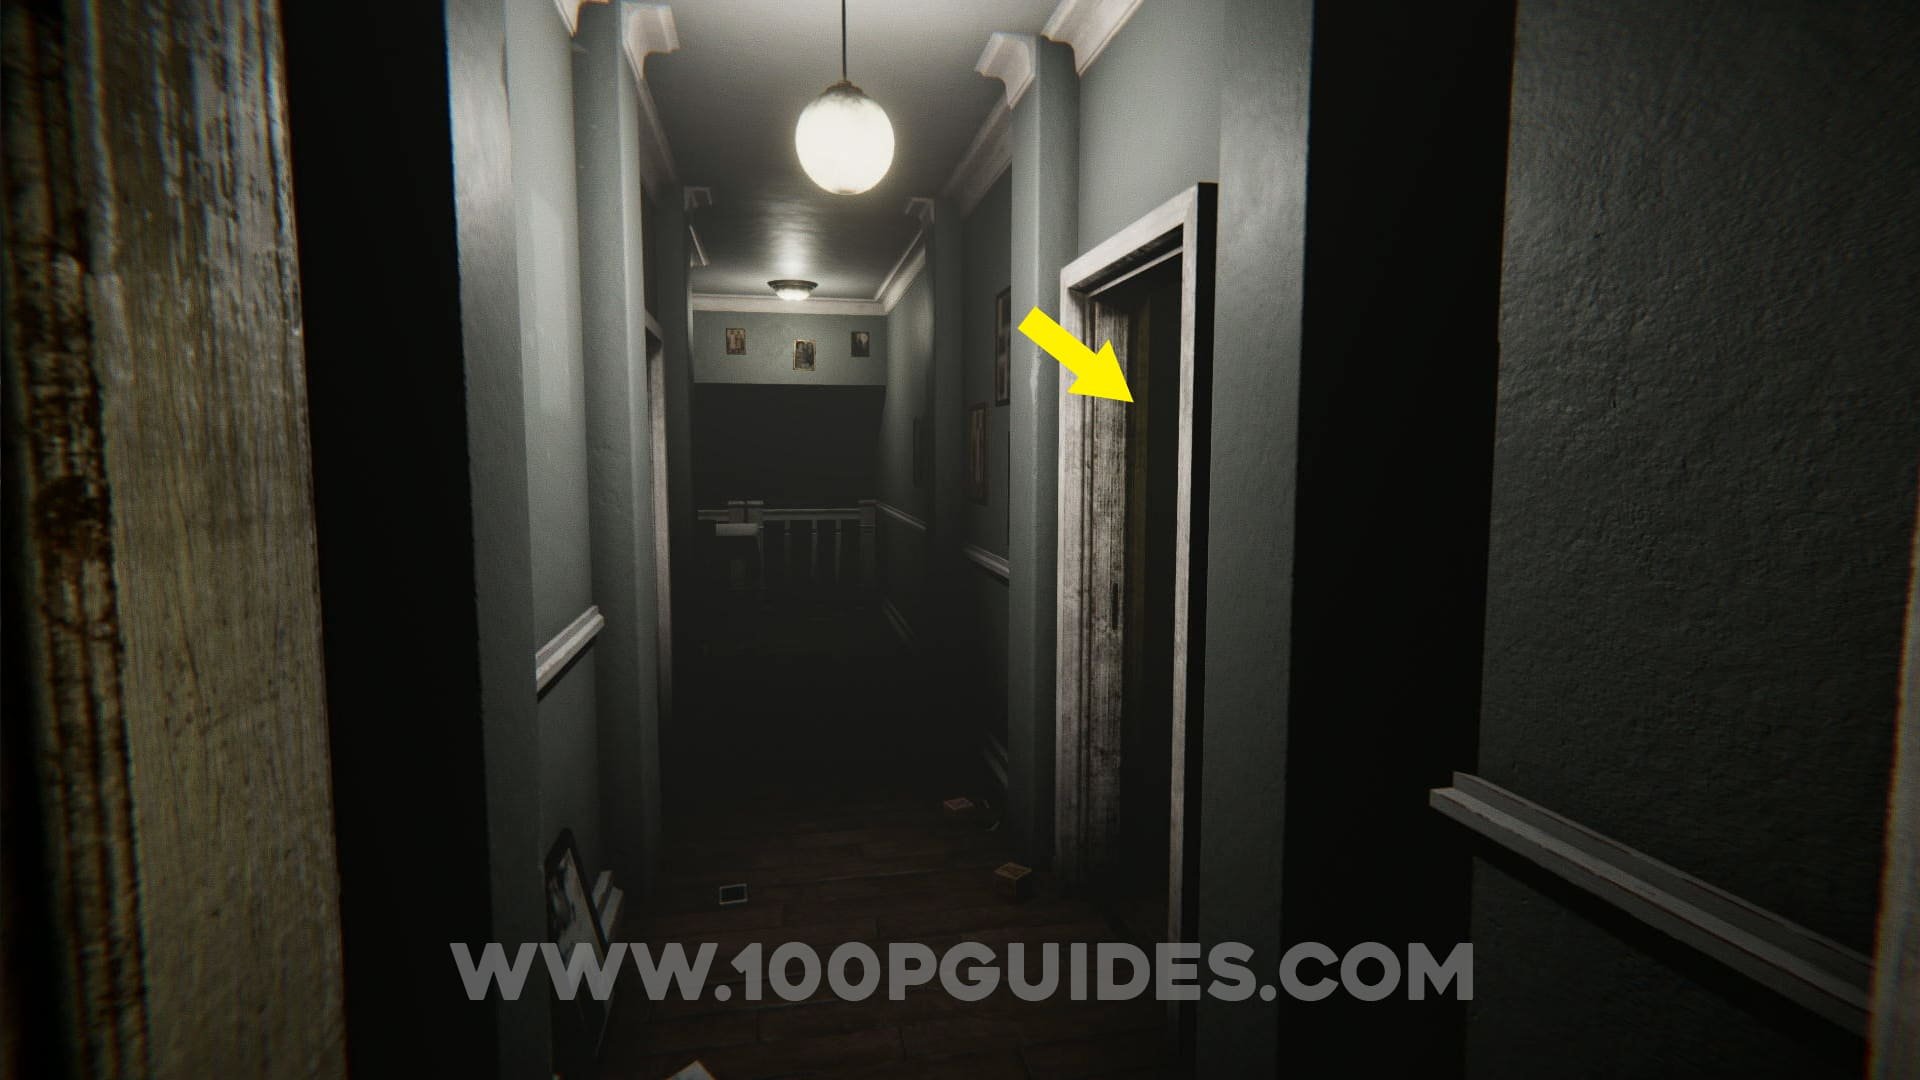
Next you will have to take a photo of the picture that you just hanged on the wall. This will spawn a door behind you. Use the study key that you got from the other room to open it.


In the new room, first take a photo of the strange symbol on the wall (this will reveal other symbols in the circles that will be useful a little later on). Now pick up the box of matches next to the TV and interact with it to get a key. Go in to the door to the left of the symbol on the wall. Here pick up the cassette and open the safe with the key you just got to get the notebook. You will now be able to exit through the door to the right of the tv.


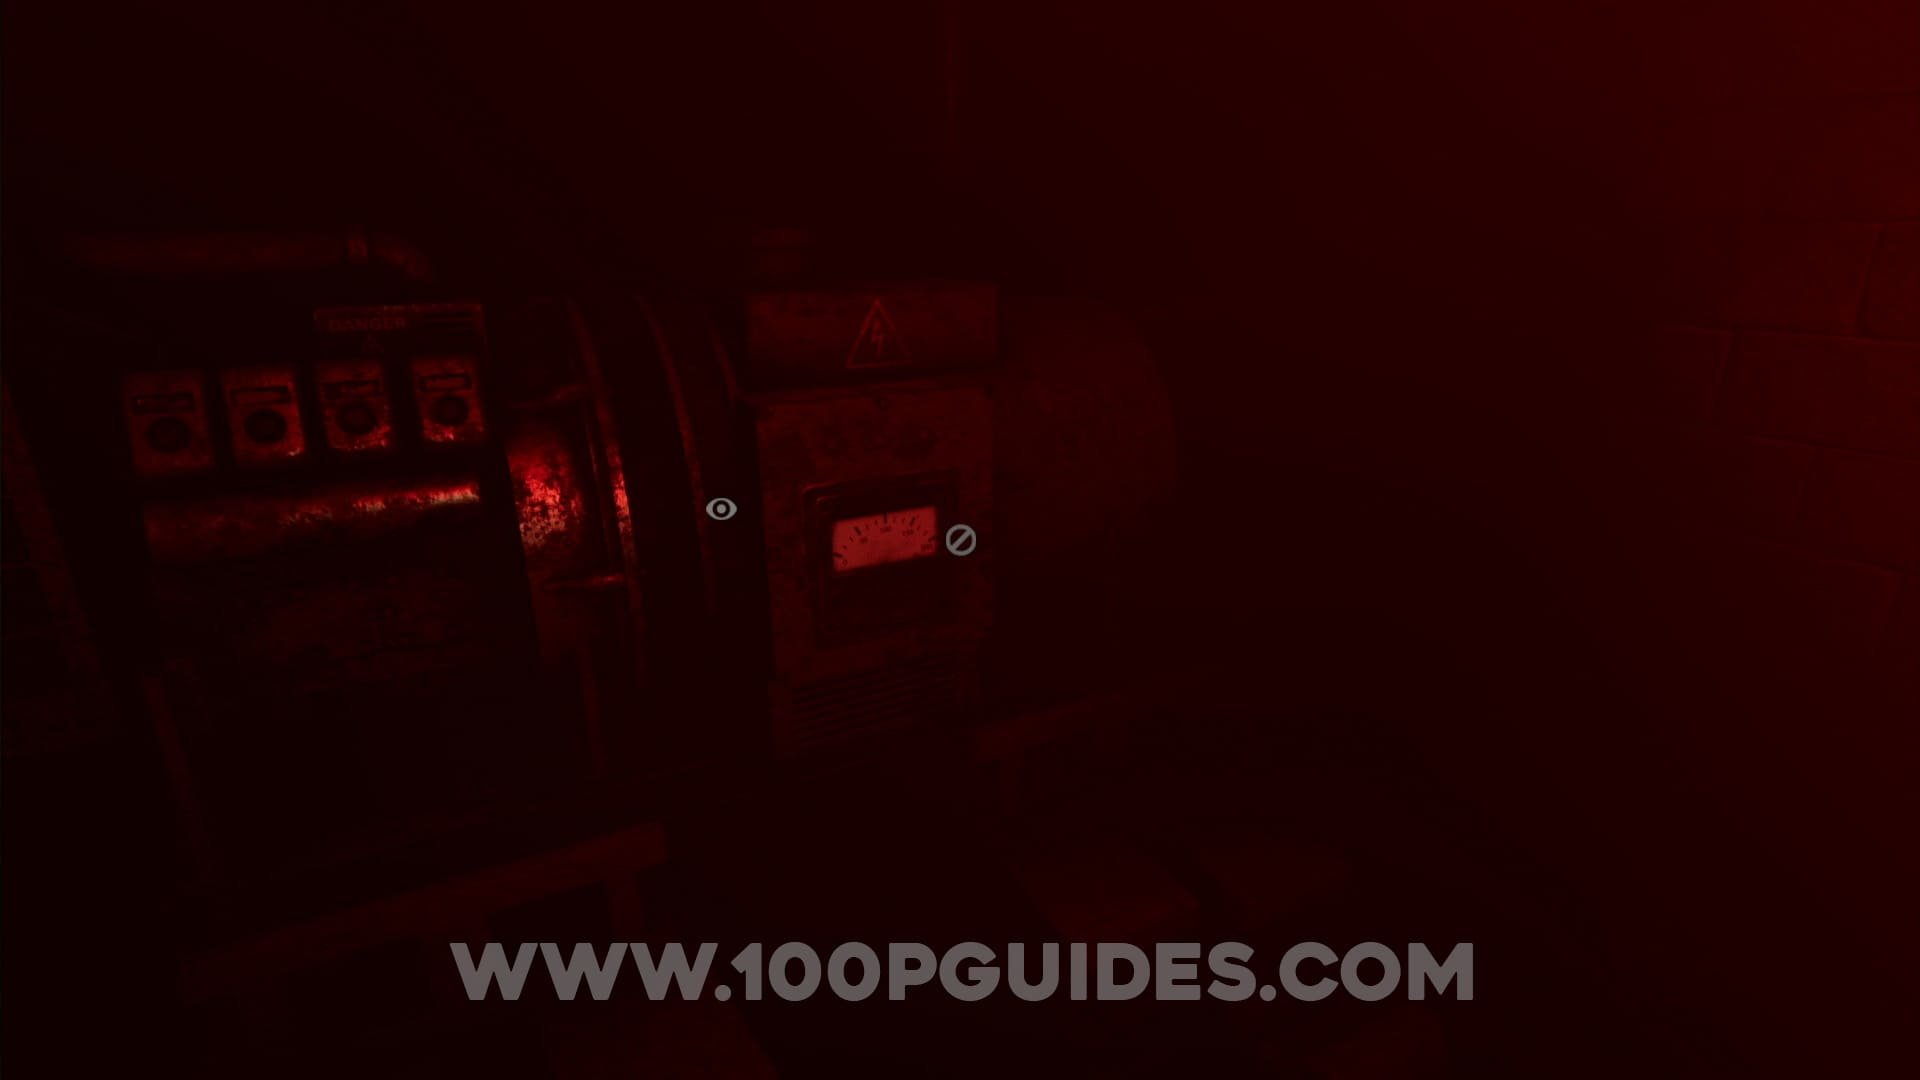
Soon after entering the kitchen the power will go out. You will have to exit the kitchen through the door opposite the one you used to enter. Go down the hall until you see some stairs going down to the basement. Here use the little switches on the wall (this is a memory puzzle, just keep trying until all switches stay in place) and then use the generator to turn the power back on.


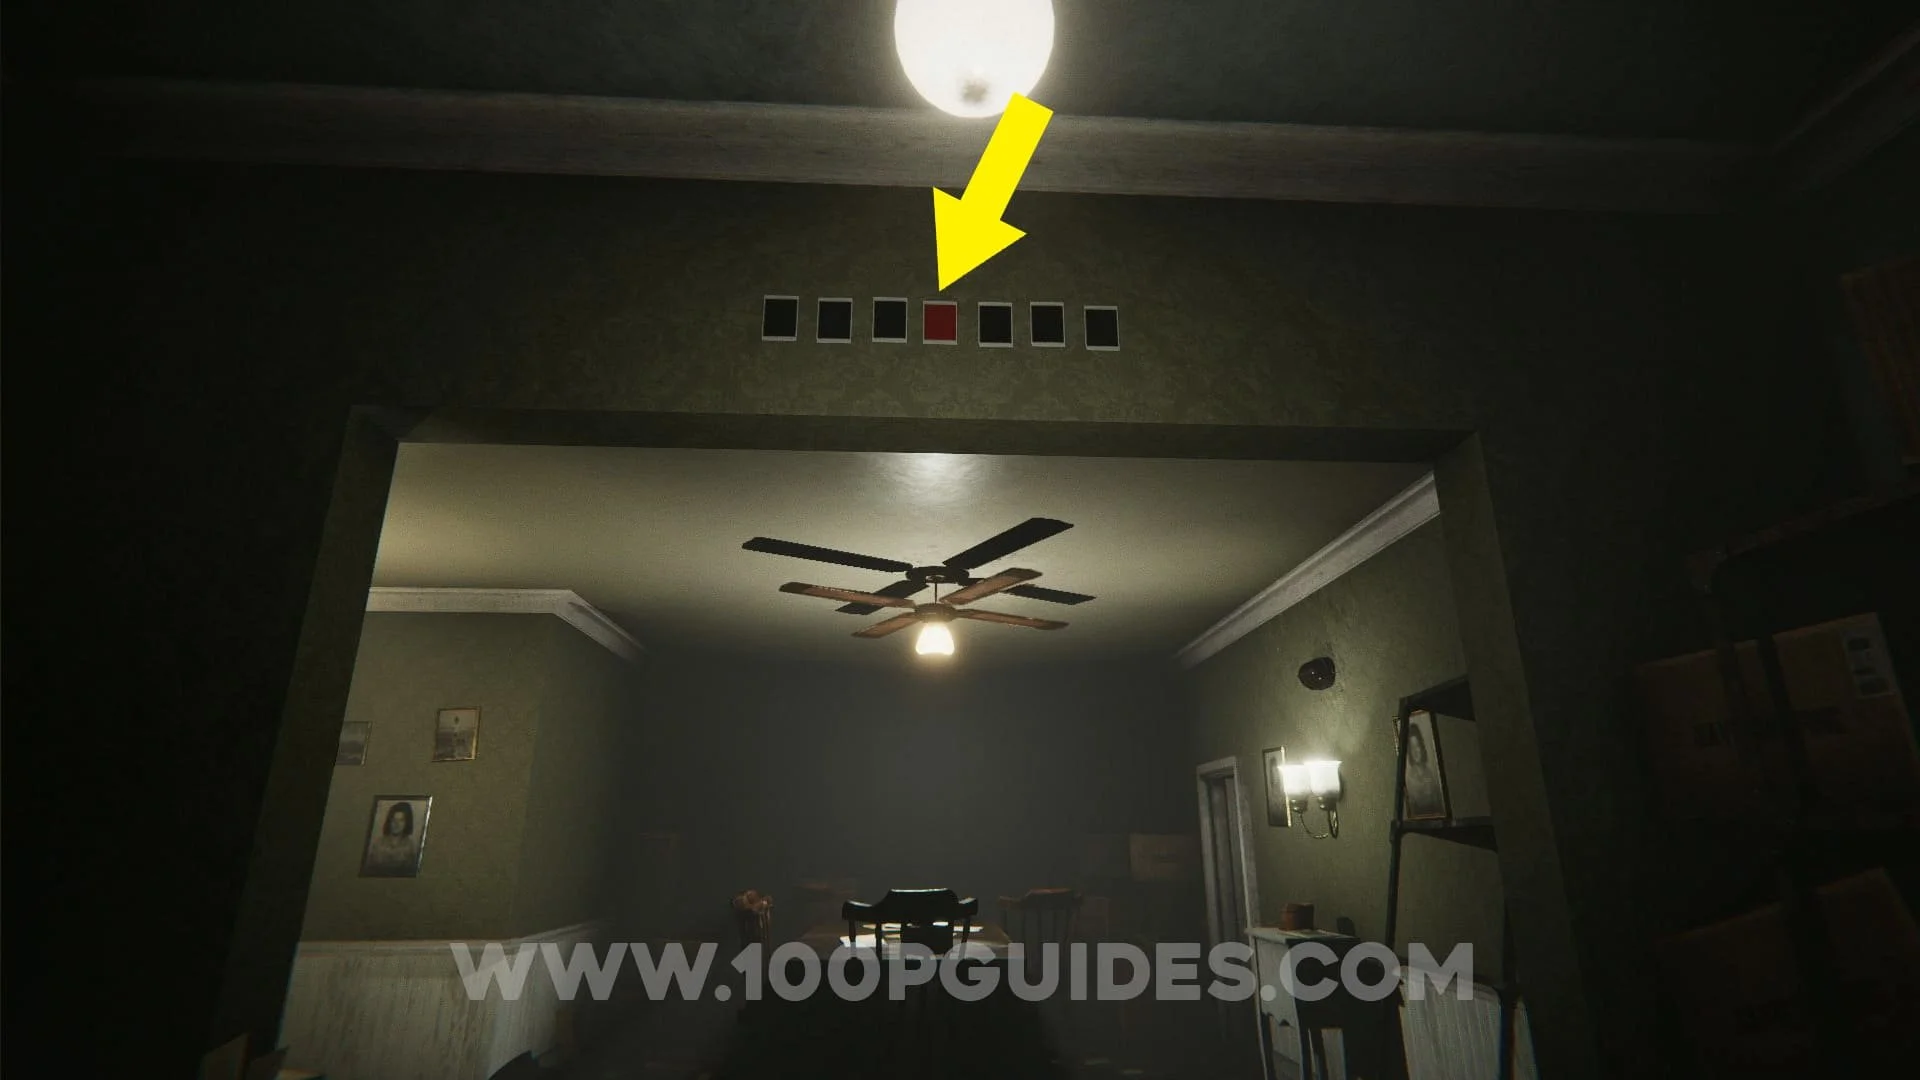
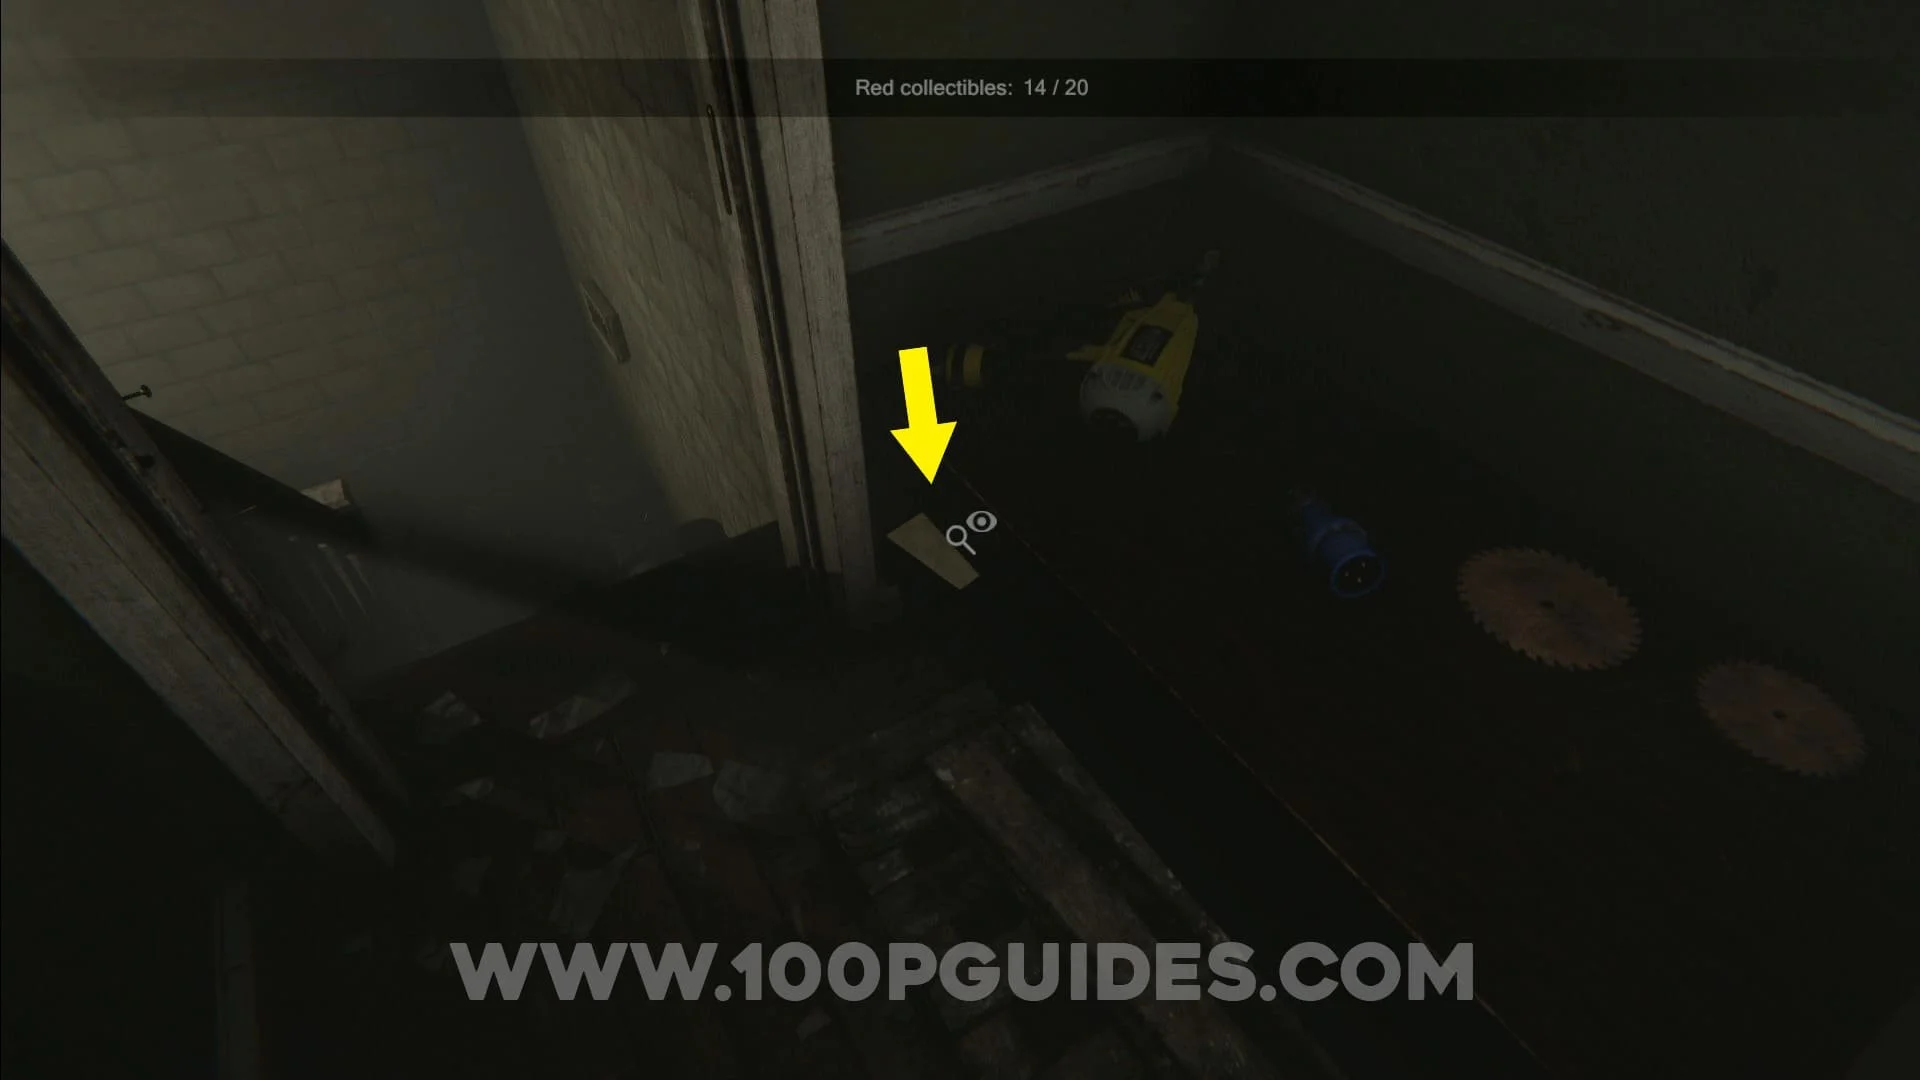
Make sure you also pick up the red photo collectible found above you in the same room as the generator (you can collect these collectibles by taking a photo of them).
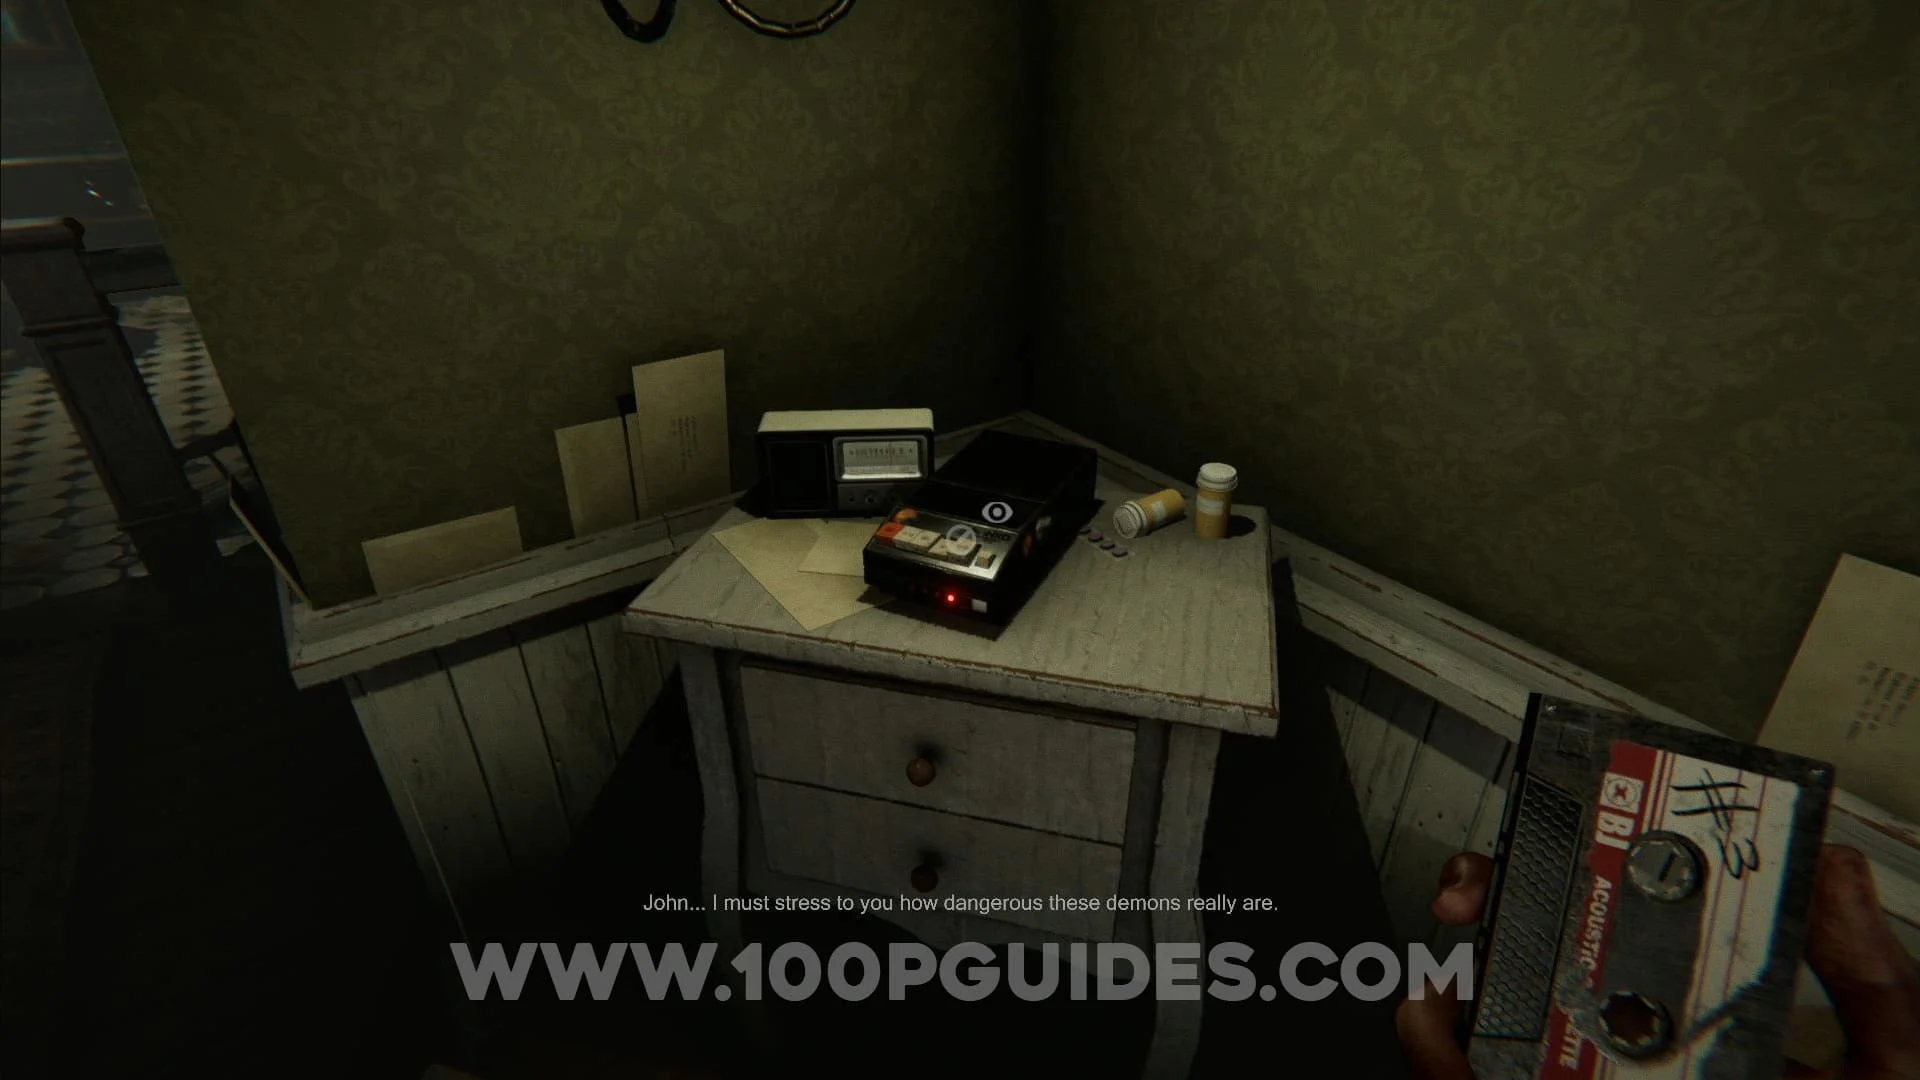
With the power back on, make your way back to the kitchen and use the tape player to listen to tape #1.


Walk in to the kitchen, turn around 180 degrees to find another collectible above you. Then open the cupboard to the left of the oven to get a triangular key (I recommend leaving this in your storage since you will not be needing this for some time).

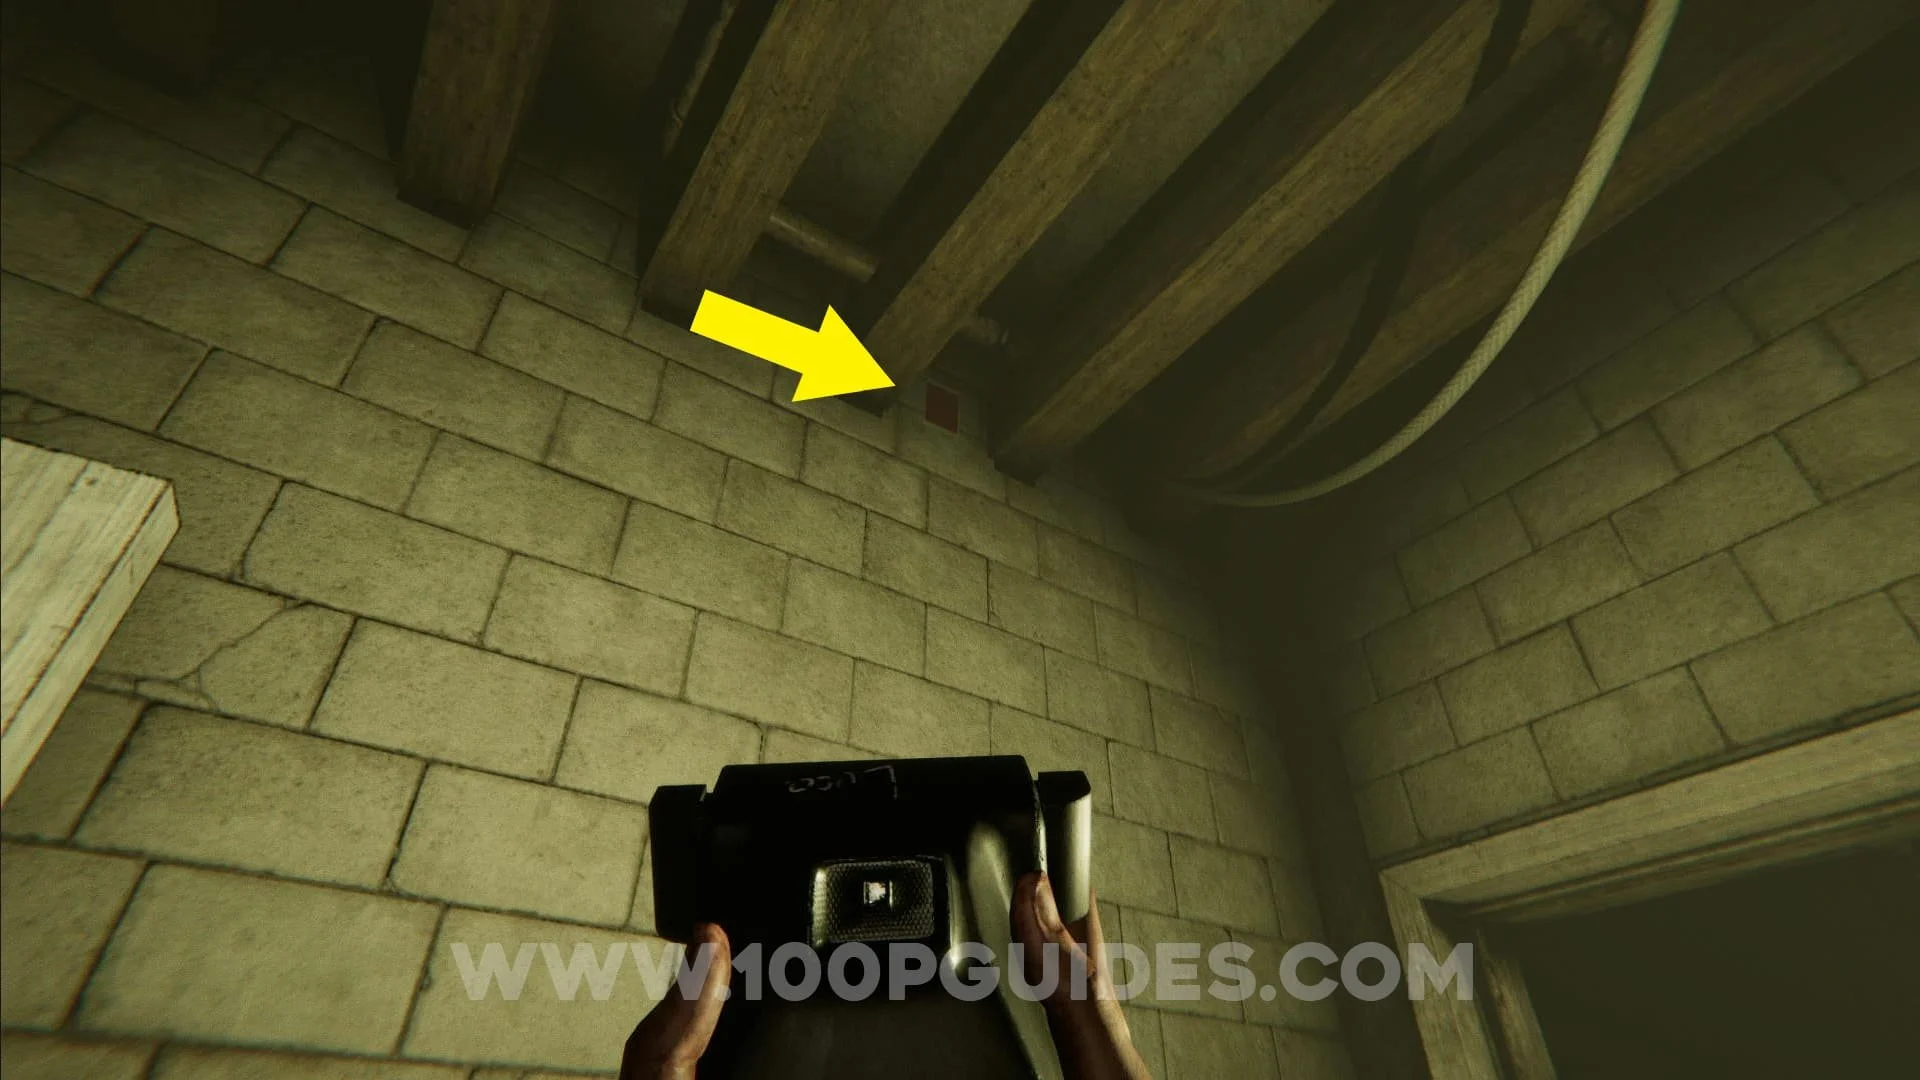
Now exit the kitchen through the door to the right of the oven, turn around and look up to find another collectible (almost impossible to see 👀).


Go back through the kitchen / dining room and exit through the other door on your left. In the hall enter the first door to your left to enter the bathroom. In here take a photo just above the bath tub to find another red collectible. Since you are here you can also examine the rusty mirror and rotate it to get the "Blue Knees?" trophy / achievement.


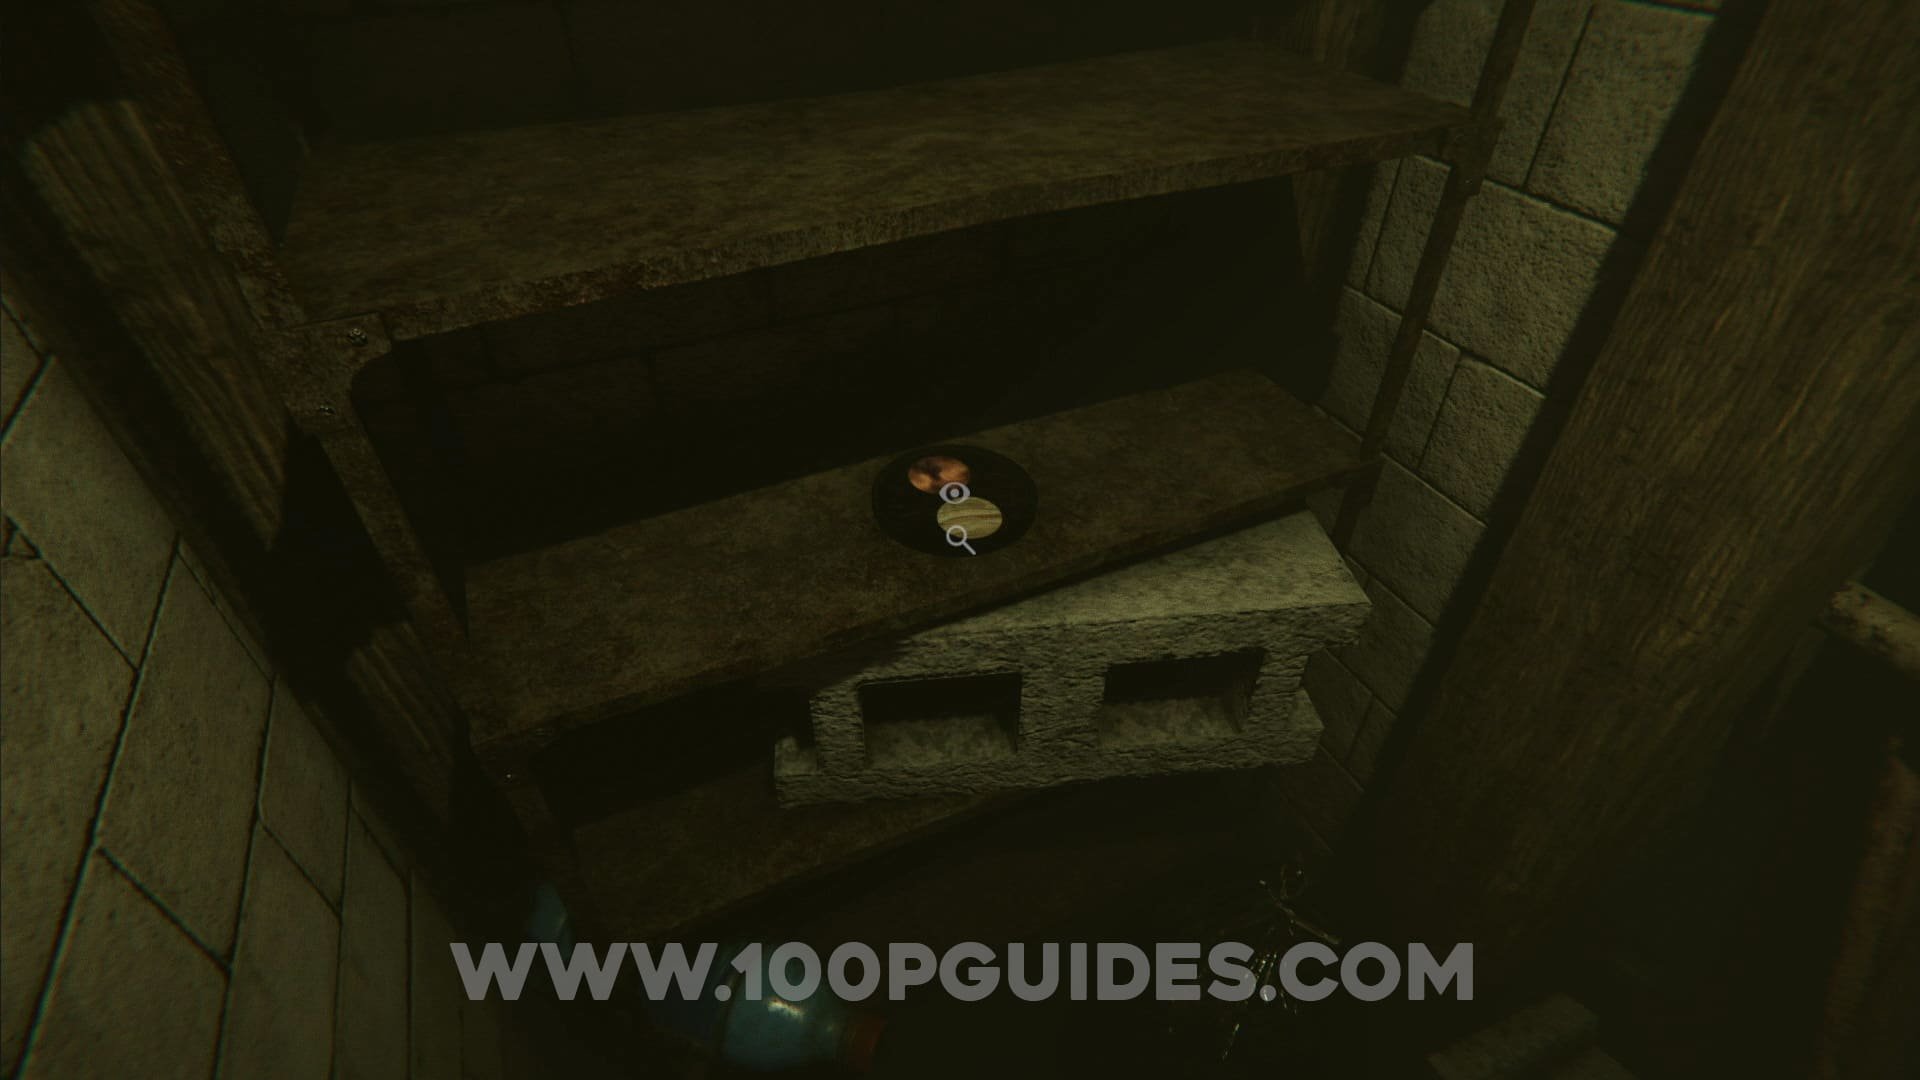
Next you will have to go down to the basement, past the generator you used to restore the power. On the way down, pick up the solar medallion from the shelf. Then continue down to the red door. Take a photo of the door to unlock it.


You will now be in an outside area with a well. First pick up the shovel and use it to try and open the well to get the "Grandpa's Tools" trophy. To actually open the well you will have to check the photo you took of the symbol on the wall in the area with the storage safe. Enter the 3 symbols that appear in the circles in the photo in to the padlocks around the well (looking at the well from the front, tran and imagine the padlocks forming a triangle), then take a photo of the well to open it.


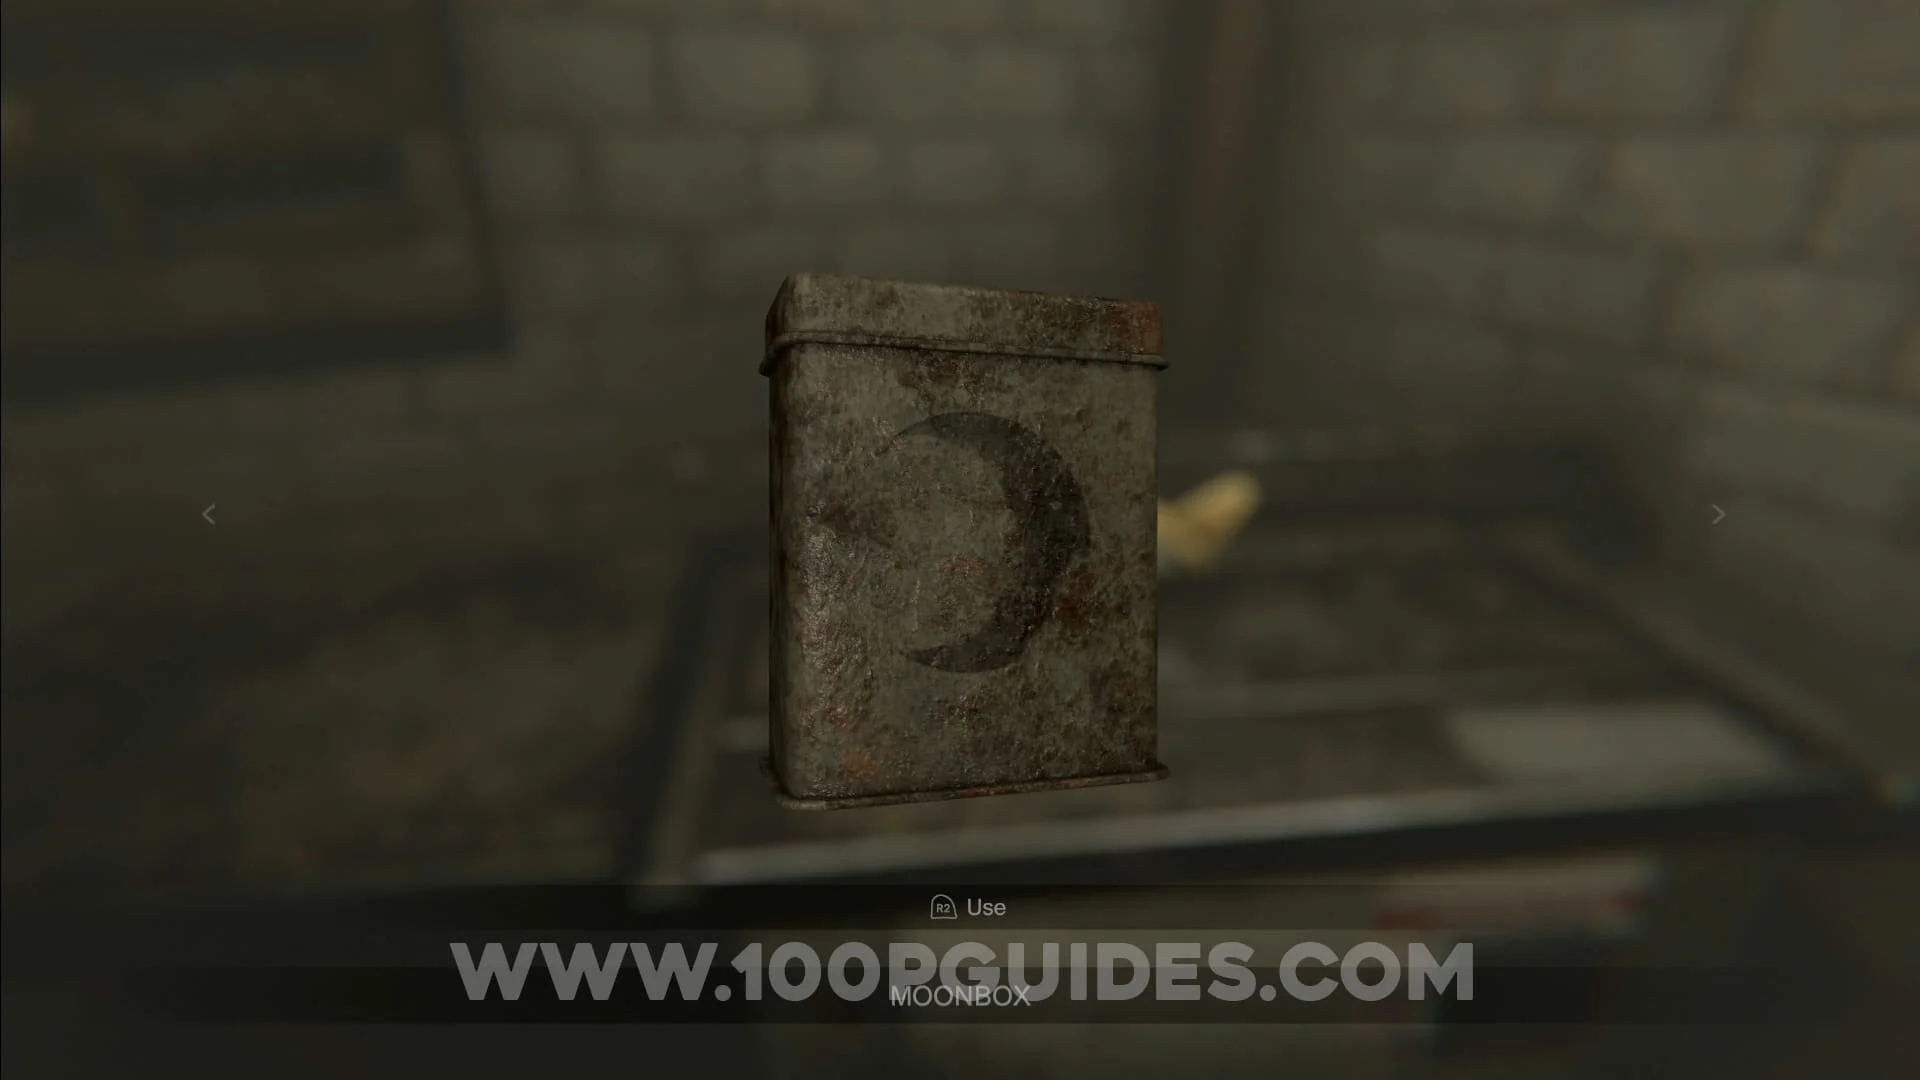
Once you go down the well, head in to the big open room and pick up the moonbox, found next to a column. Now turn around to notice that the door is now covered with yellow tape. Before heading to the door, check the column behind you on your left to find another red collectible.


Now go to the taped door and pick up the radio and head back to the center of the room. Now you will have to go to the side that the sound is coming from an snap a photo. You will have to do this a few times until you hear officer Russell on the radio. After she finishes talking and the static comes back, snap one more photo from where the noise is coming from to end this section.


You will now be in an area surrounded by red doors. First open them all, then you will have to take a photo of the door that all the cockroaches are coming out of to return to the house.


Once you are back in the house you will have to go to the attic. You can get there by taking the hall to the left of the virgin statue or by exiting the kitchen through the door to the right of the oven. In the attic you will have to take the Heart Key from the wooden pole close to the bed.


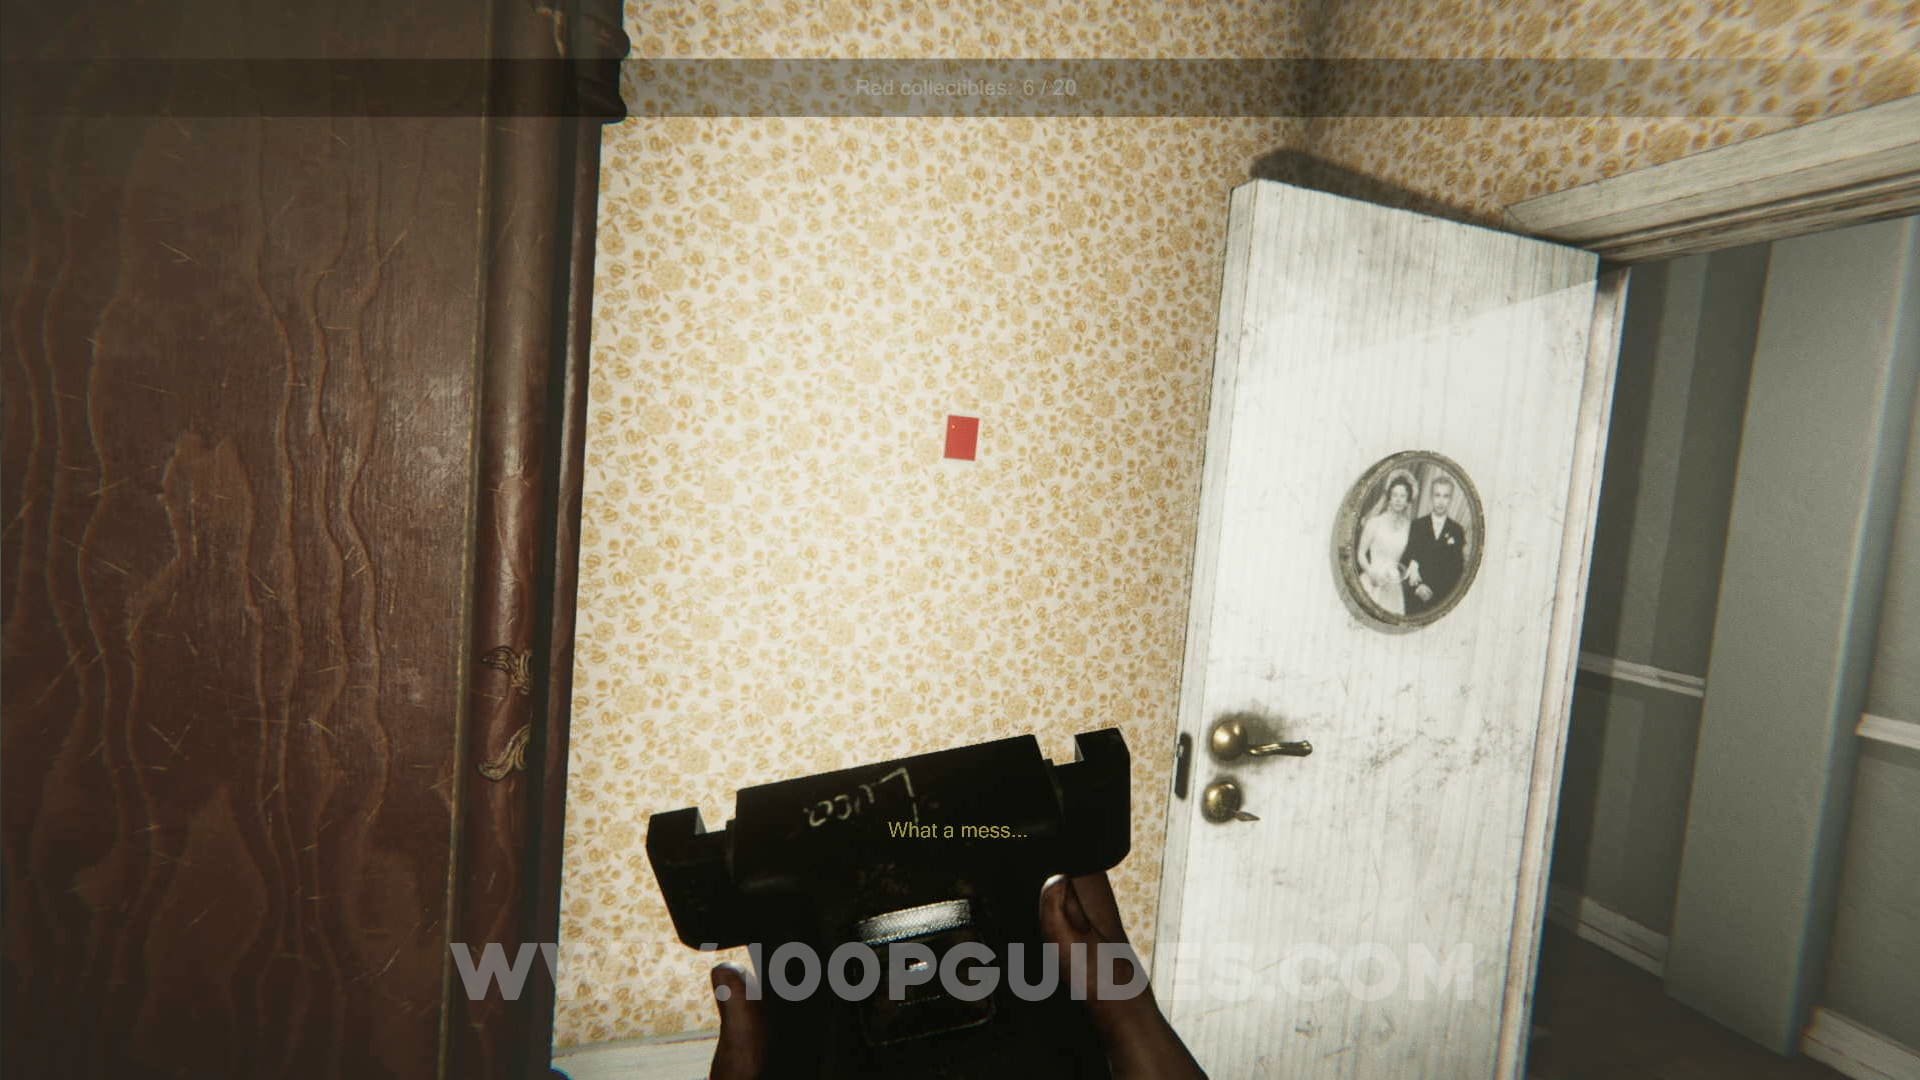
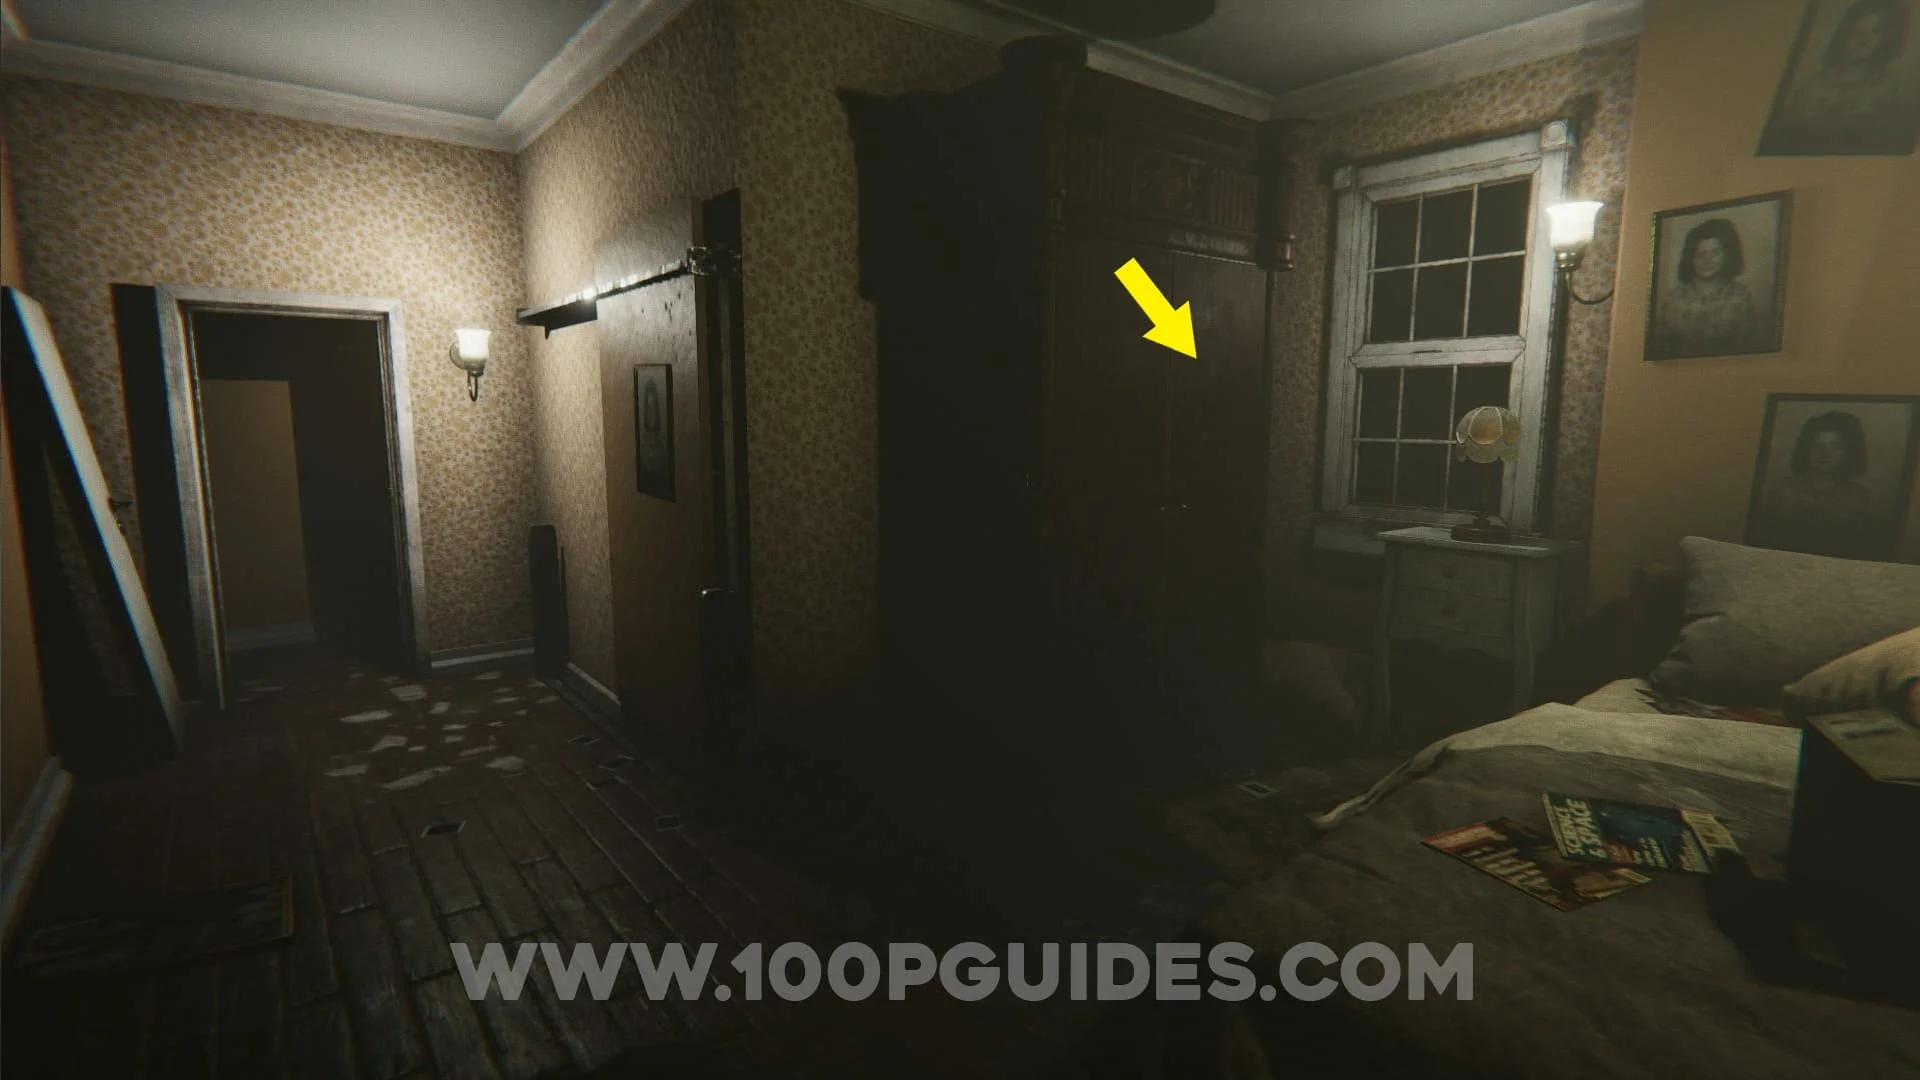
Now go to the grandparent's room (this is the first door on the left in the hall after you exit the dining room). As soon as you enter the room take a photo of the wall behind the door to get another red collectible. Then open the wardrobe on the left side of the bed to pick up the Old Slides.

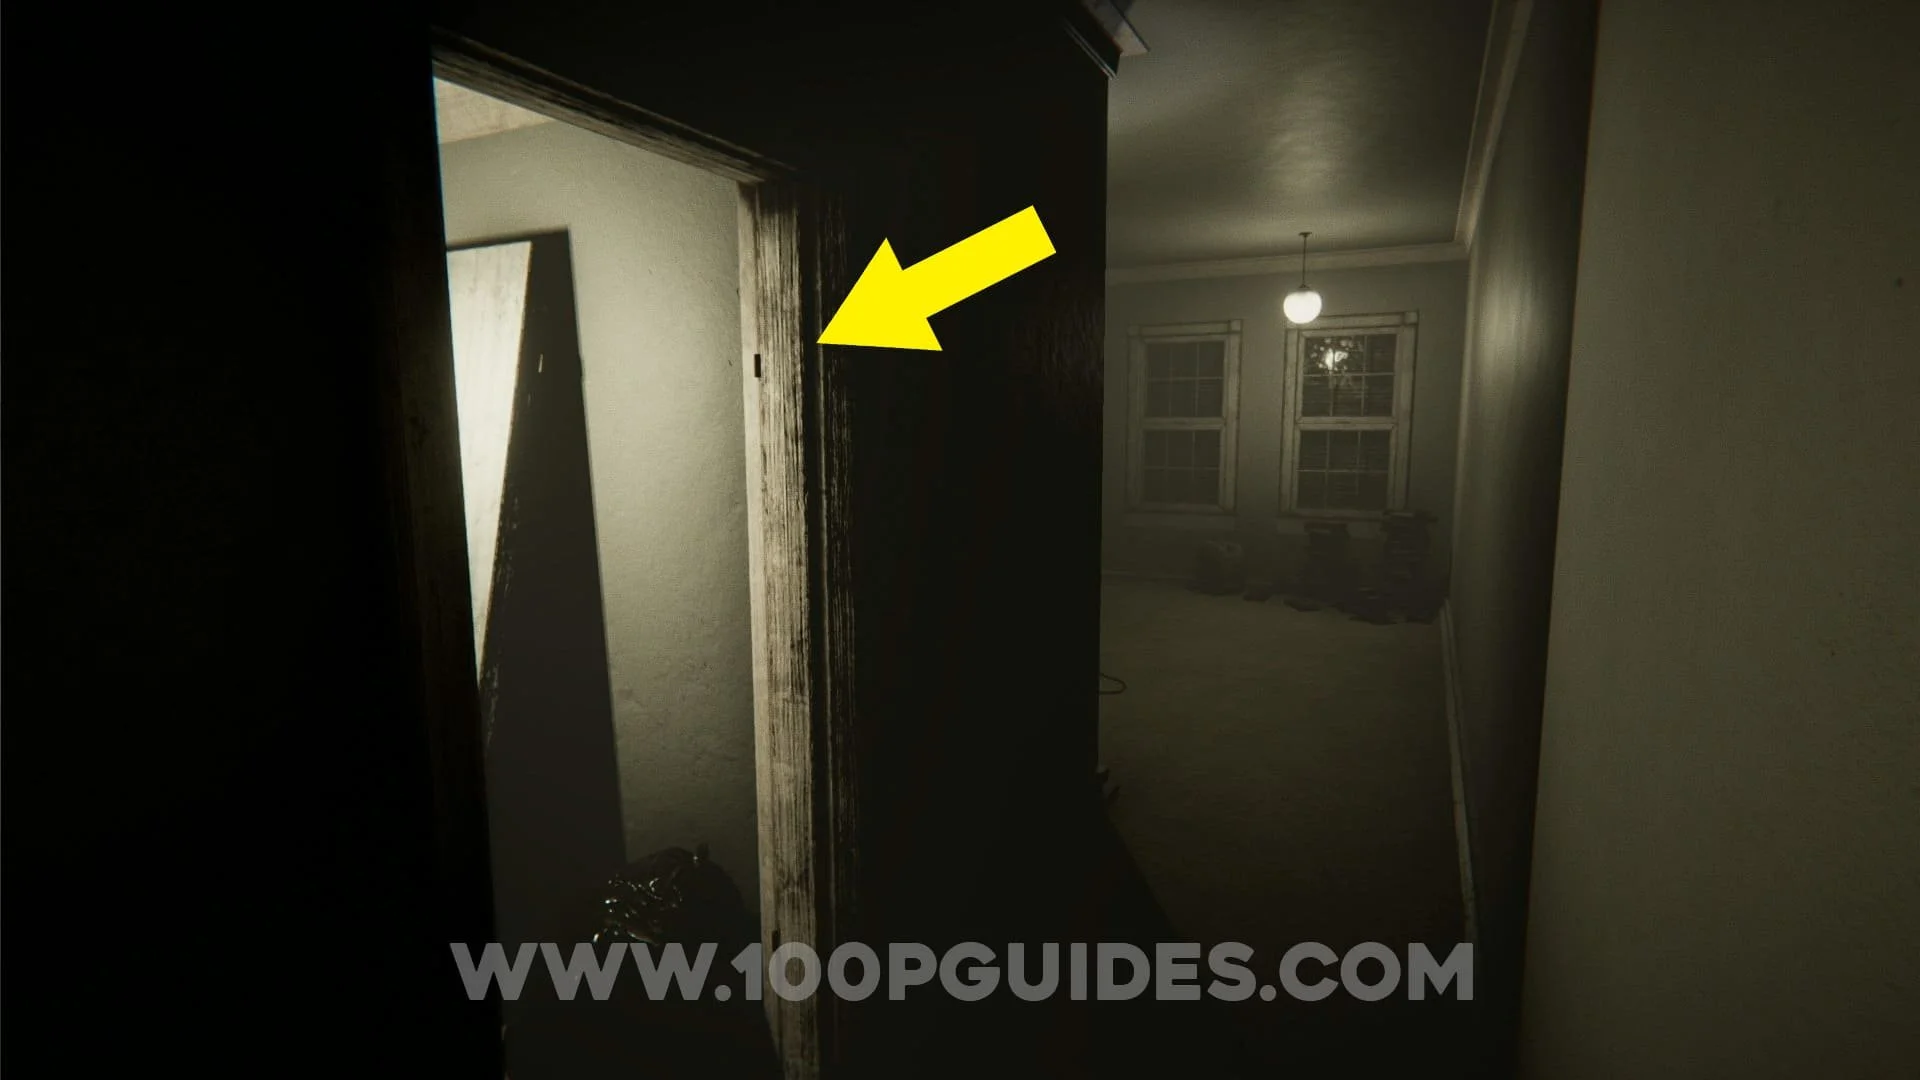
Next you will have to go down the hall that is found by going through the door that is now open in the living room (the area with the tv and animal trophy with horns). Follow this hall all the way until the end, then go through the door on your right in the room with the piano. Now enter the small bathroom to your left to find a red collectible above the door.


Continue in to the next room and place the slides on the proyector. Then keep interacting with the proyector until you have seen every slide. Now go up to the wall where the slides are being proyected for the proyector to start flashing. During the flashing take a photo of the circle that is revealed on the wall during the flashing and pick up the solar medallion.


Now go down the red hall to the right of this room and enter the small office. Here pick up the portrait from the wall.


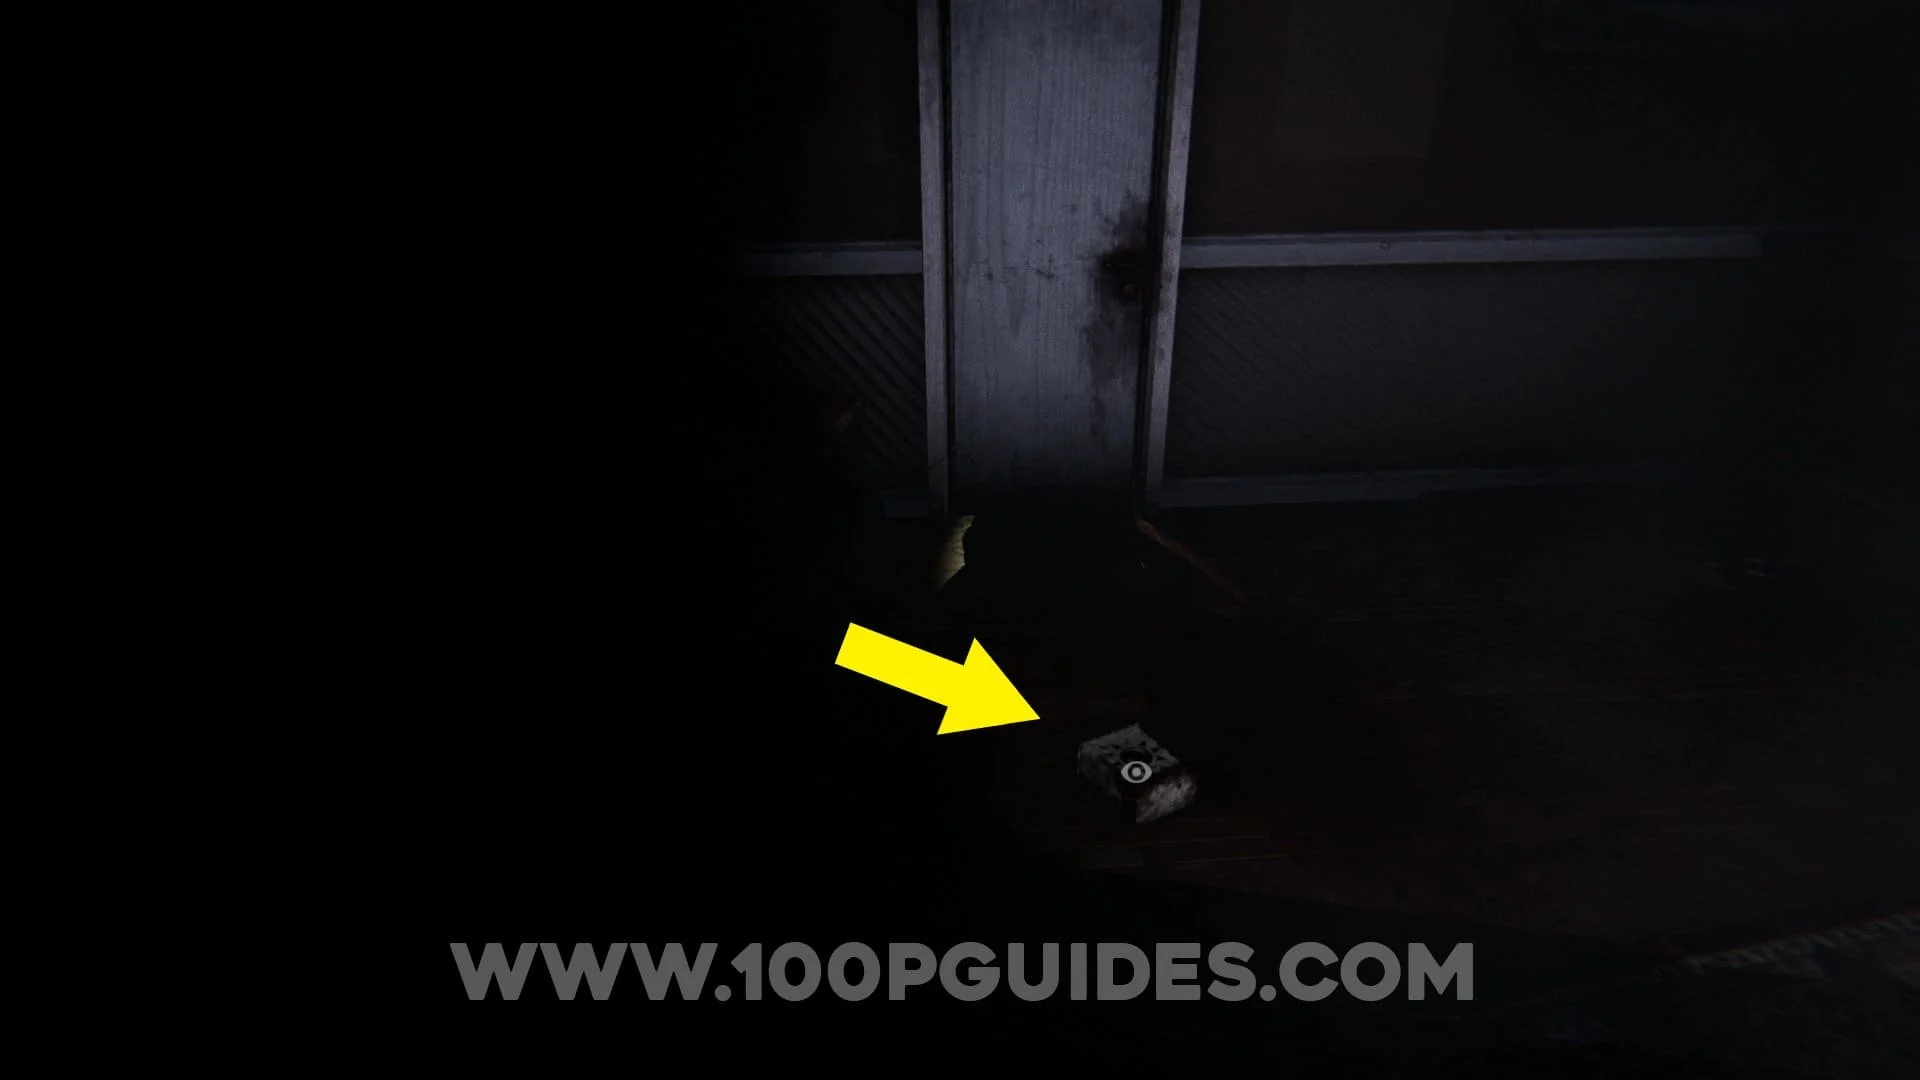
On your way back to the living room pick up cassette #2 from off the floor in the middle of the hall that you followed the statue down. Then take it to the player in the kitchen and listen to it.


Return to the grandparent's room and enter the small room at the end. Here place the solar medallions in the order shown in the photo you took of the circle during the proyection of the slides (it will always be the order of the IRL solar system planets, however sometimes it can be inverted).


Now go back in to the bedroom and remove the wooden planks with the hammer to get the potrait from the small room as well as examining the locket in the small door behind the portrait.


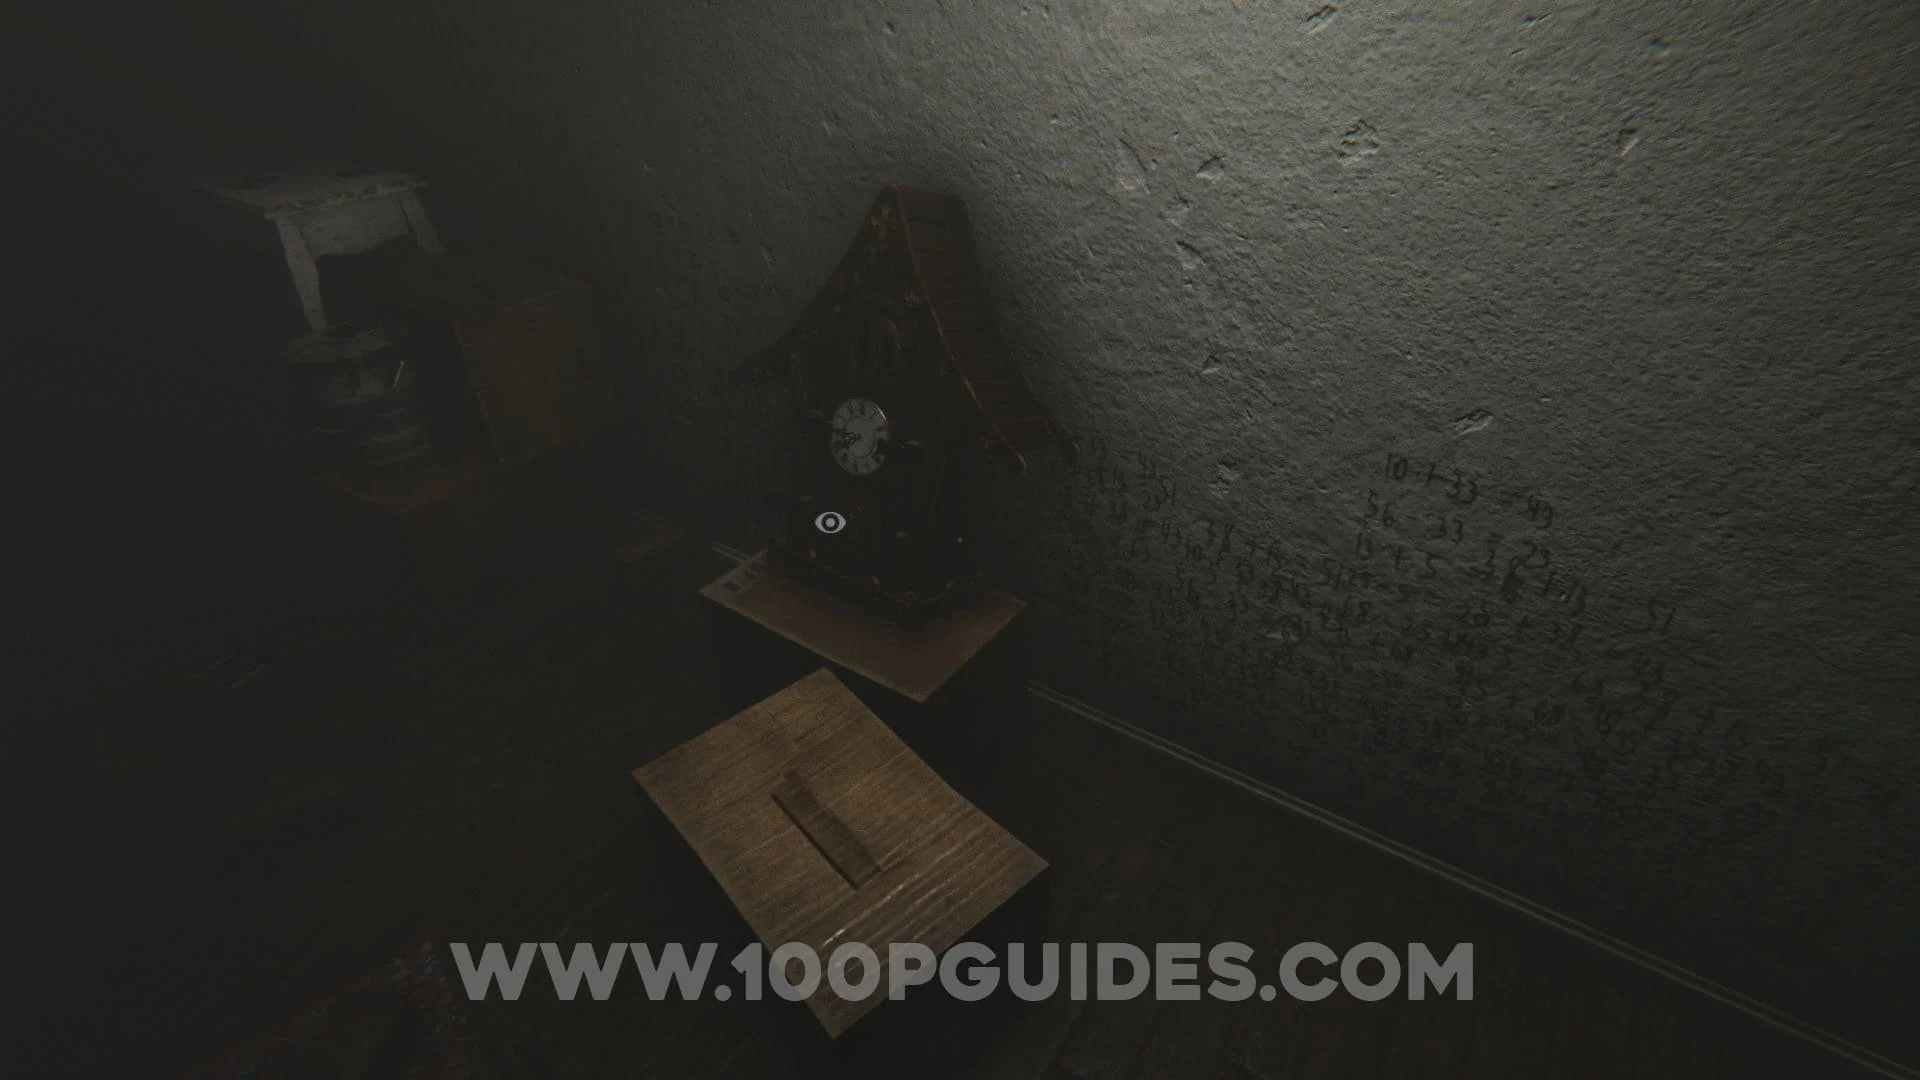
Now you will have to head back up to the attic and solve the potrait puzzle. First take a photo of each empty space (there are 4 around the room), you will then see a number on the photos (this number will be different for each player). You will then have to add or subtract that number to the age of each person found on the back of the portraits (you should have a total of 4 portraits, 2 that where in this room and 2 that you found around the house) until you get 43 as the answer. If the answer is 43 then that is the correct portrait (e.g. if the number on the wall is 38 then place the potrait of the 5 year old kid, since 38+5=43). Once all 4 potraits are placed you will then be able to look through the wall where the number 43 was to open a red door.


Before heading through the red door, take the lighter from the table to the left (you will be able to press R2/RT to have a little extra light). Now head through the red door in to the tunnel section.


Once in the tunnels, head straight until you find a red collectible at the end.


You will now have to make it through the tunnel system. Here are the directions you have to take to make it through(starting from the hand prints): Left, continue straight to the end, right, left, right, left, right and a final left to exit the tunnels. If you did this in less than 3 minutes you will get the "Follow Me" trophy / achievements.


Once outside you will come to a graveyard. Go through the middle of the graves until you see the exit of the graveyard. Before you leave go right and look for a tall thin tombstone with a red collectible on it.

After leaving the graveyard, go down the well to enter the cathedral section. As soon as you land look for the red collectible on the bottom of a column in the corner.


Now pick up the yellow candle next to the 2022 sign and then continue through the hall to find a sign with 1987 on it. Take a photo of the sign to travel back in time to that year.


In the new location, go to the main church area and continue straight to enter the bell tower. Just before you go up the stairs to the bell you will see 2 painting, take a photo of them to reveal what color each painting represents.


Now continue up to the bell where you will find the red candle as well as a red collectible behind it. Then head back to the room where you time traveled and take a photo of the 1951 sign to travel again.


Pick up the blue candle from the bench after time traveling. Now head in to the bell tower area in this time period and take a photo of the 2 painting (just like you did in the other time period) to reveal the colors they represent.


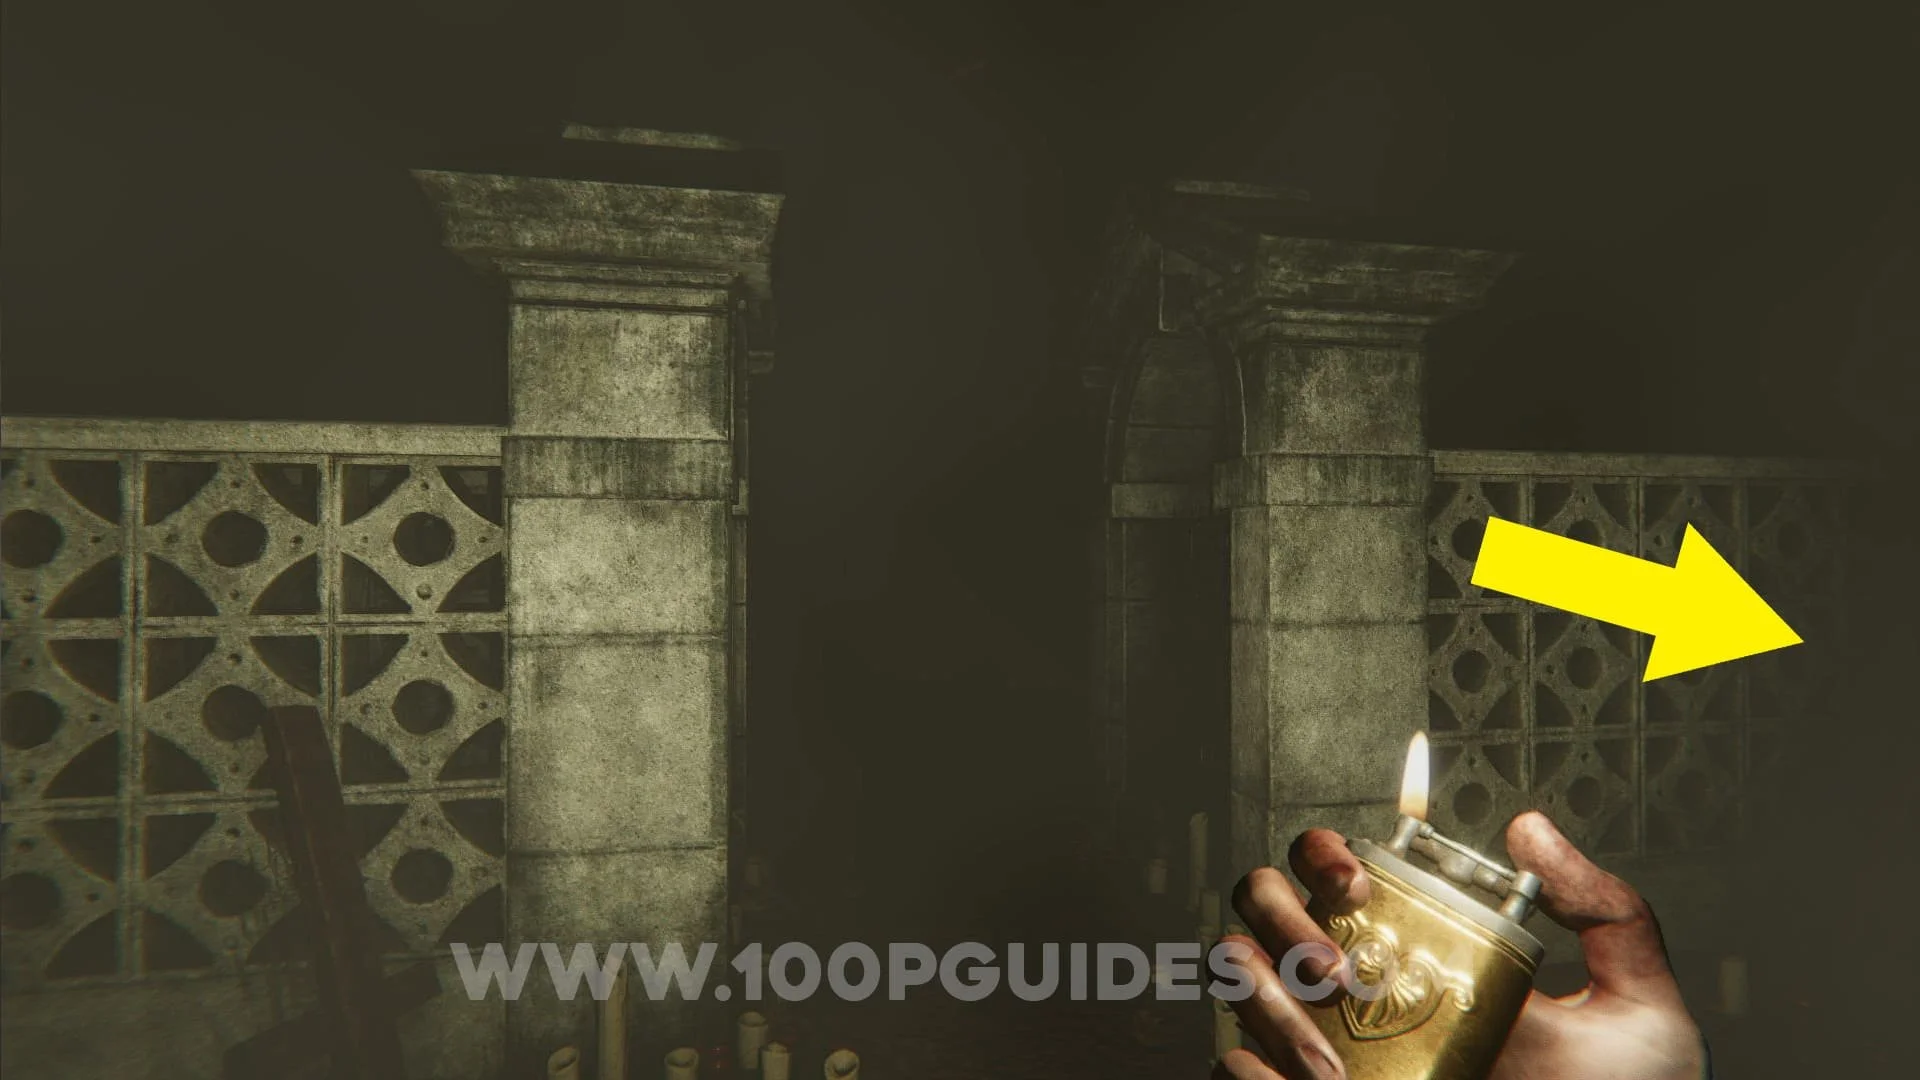
Now head back in to the main church room and talk to the woman through the confessional booth. Once she finishes talking you will be able to find a piece of paper outside the booth. Read it to get the green candle to spawn in the middle of the main church hall (after picking up the green candle do not hang around the main area too long or Hans will try and kill you). You can also find a red collectible on the floor to the left of the confessionary.


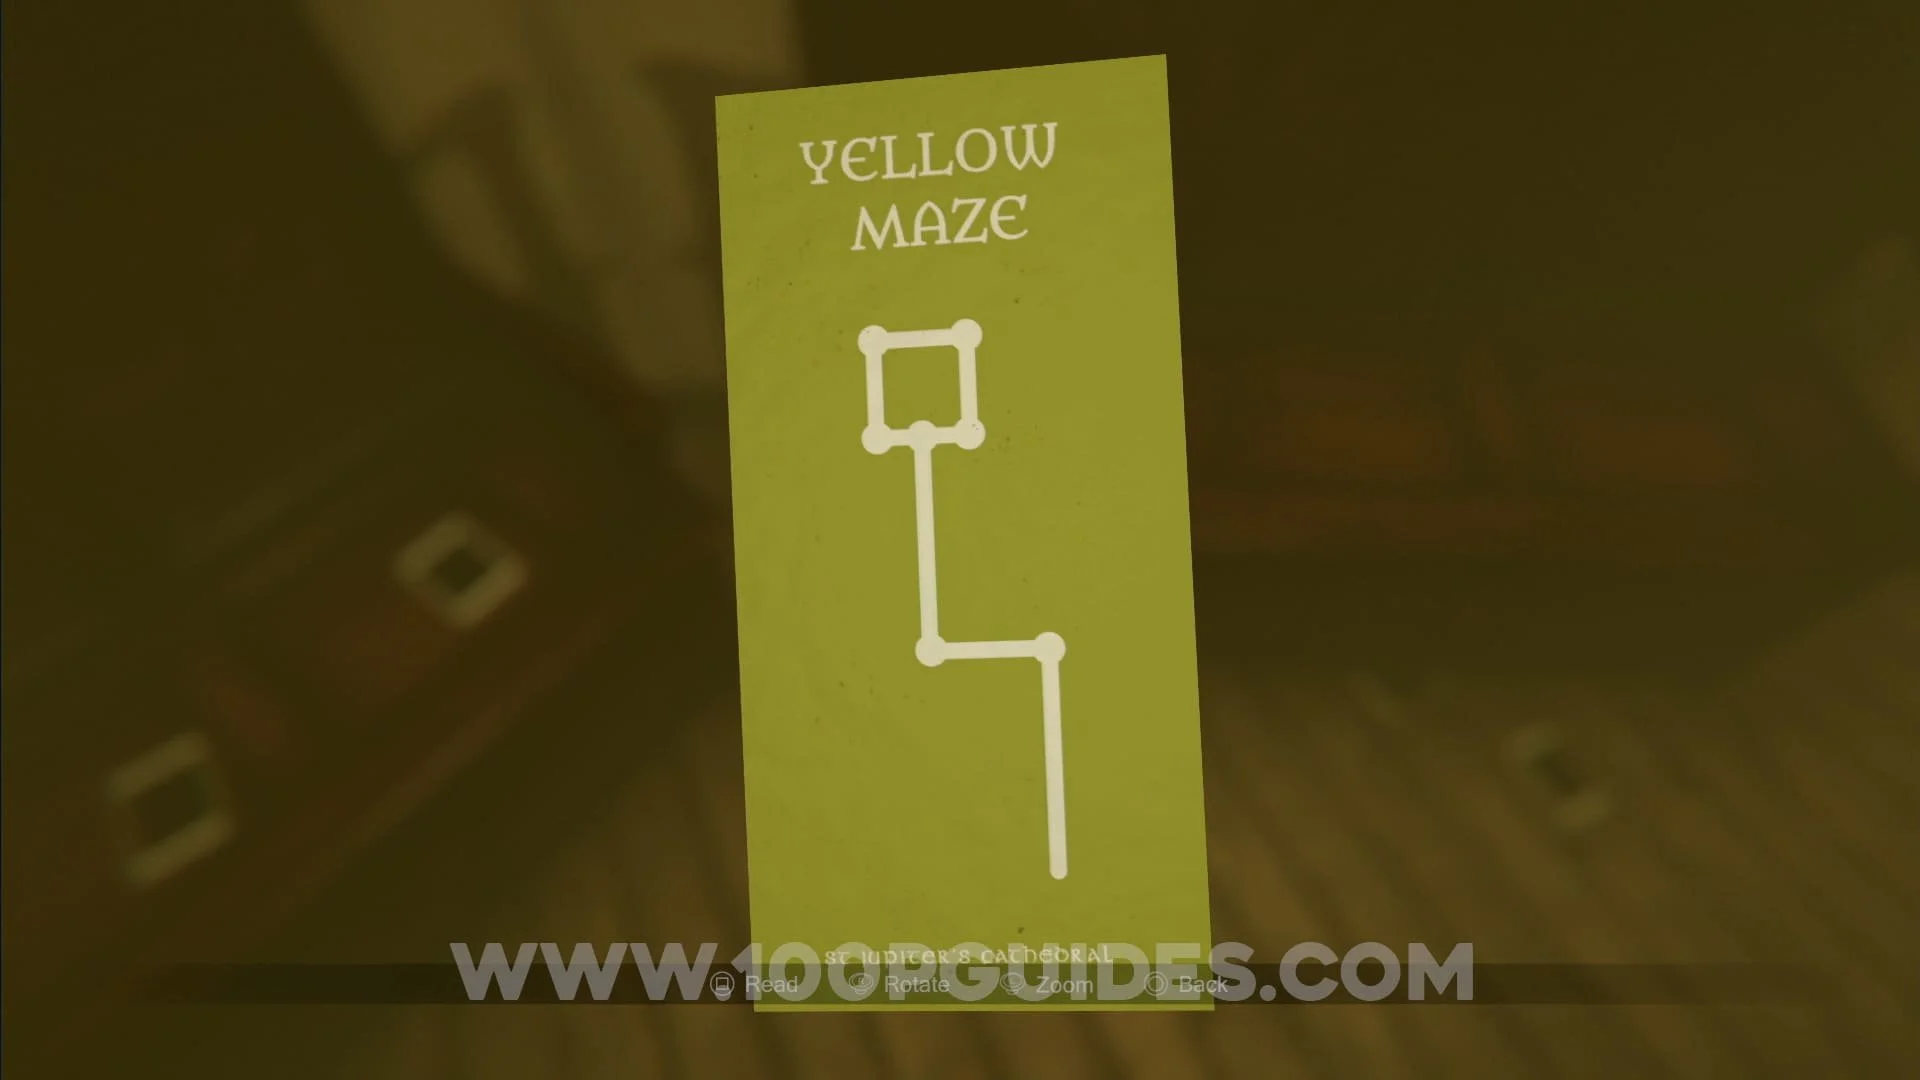
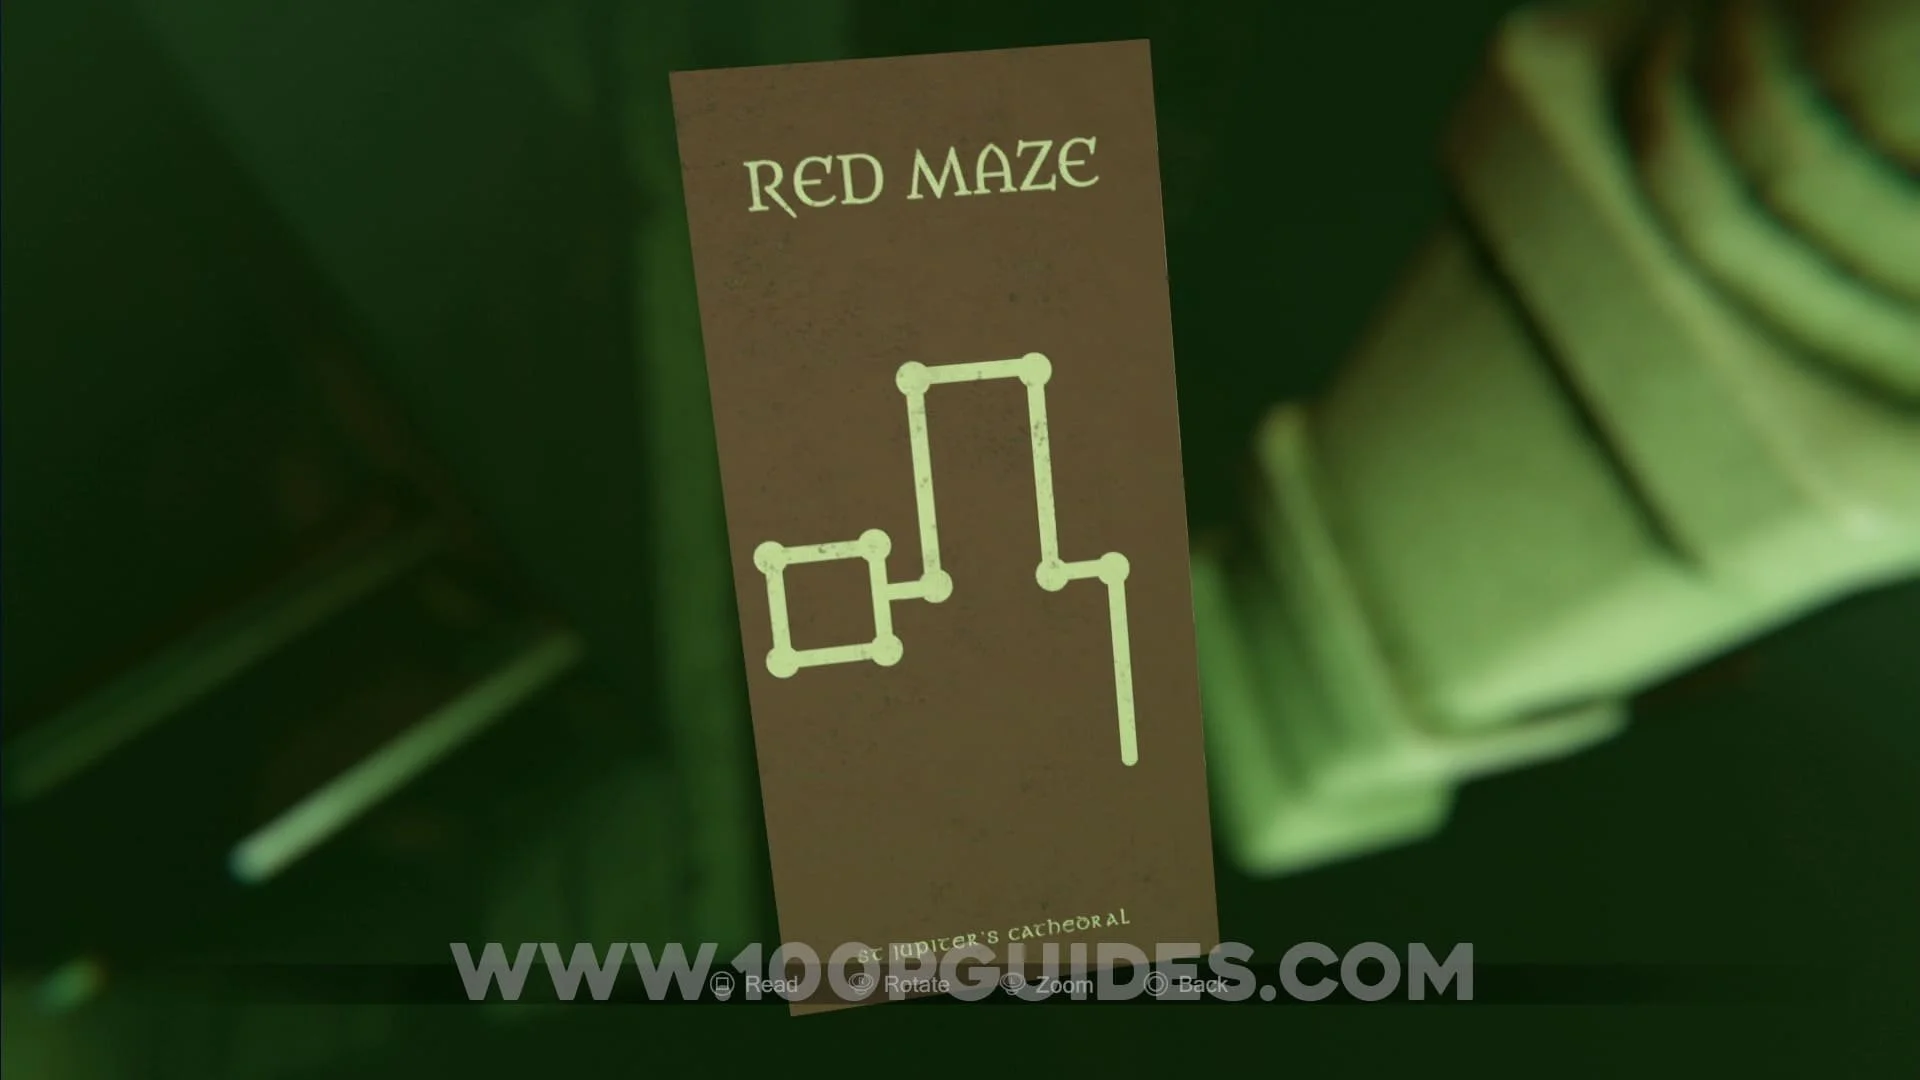
Now you will have to go through the colored mazes until the color of the maze matches one of the paintings at the end (the photos you took of the paintings represent the color of the maze you need to find them in). There are 4 mazes (1 of each color) in each time period, so if none of the paintings match the color of the maze you will have to go to the other time period. This will be different fort each player. Once you find a painting that matches the color of the maze you will have to place that same colored candle below the painting (find the correct maze paths below).


Once all 4 candles are placed under the paintings, return to the bell tower to get a key.
Now use the key to open the confessional booth. this will get you the letter "i".


Now return to the 1987 time period and place the “I” in the pedestal below madison’s coffin. Then take a photo of the coffin to get the skull.


Finally use the door to exit the church (if you did this without getting killed by Hans you will get the "No Time To Die" trophy / achievement and if you die by Hans you will get the "He Is Here" trophy / achievement.)
Now in the long hall, go all the way to the end and open the door. Then turn around and go to the opposite end to open another door. Keep doing this until Hans appears. When he does turn around and run to the door at the end to enter the house again.


Before you go back in to the attic, turn around and enter the red door you just came from and look up to find a red collectible above a potrait.


Now you are back in the house you will have to go to the grandparent's room. In here go to the little room where you solved the planet puzzle. In the corner you will find a red key.


Next you will have to go back down to the red door in the basement and open it with the red key. As soon as you cross the door you can find a red collectible on a box above you (you can also get this straight after the "scene").


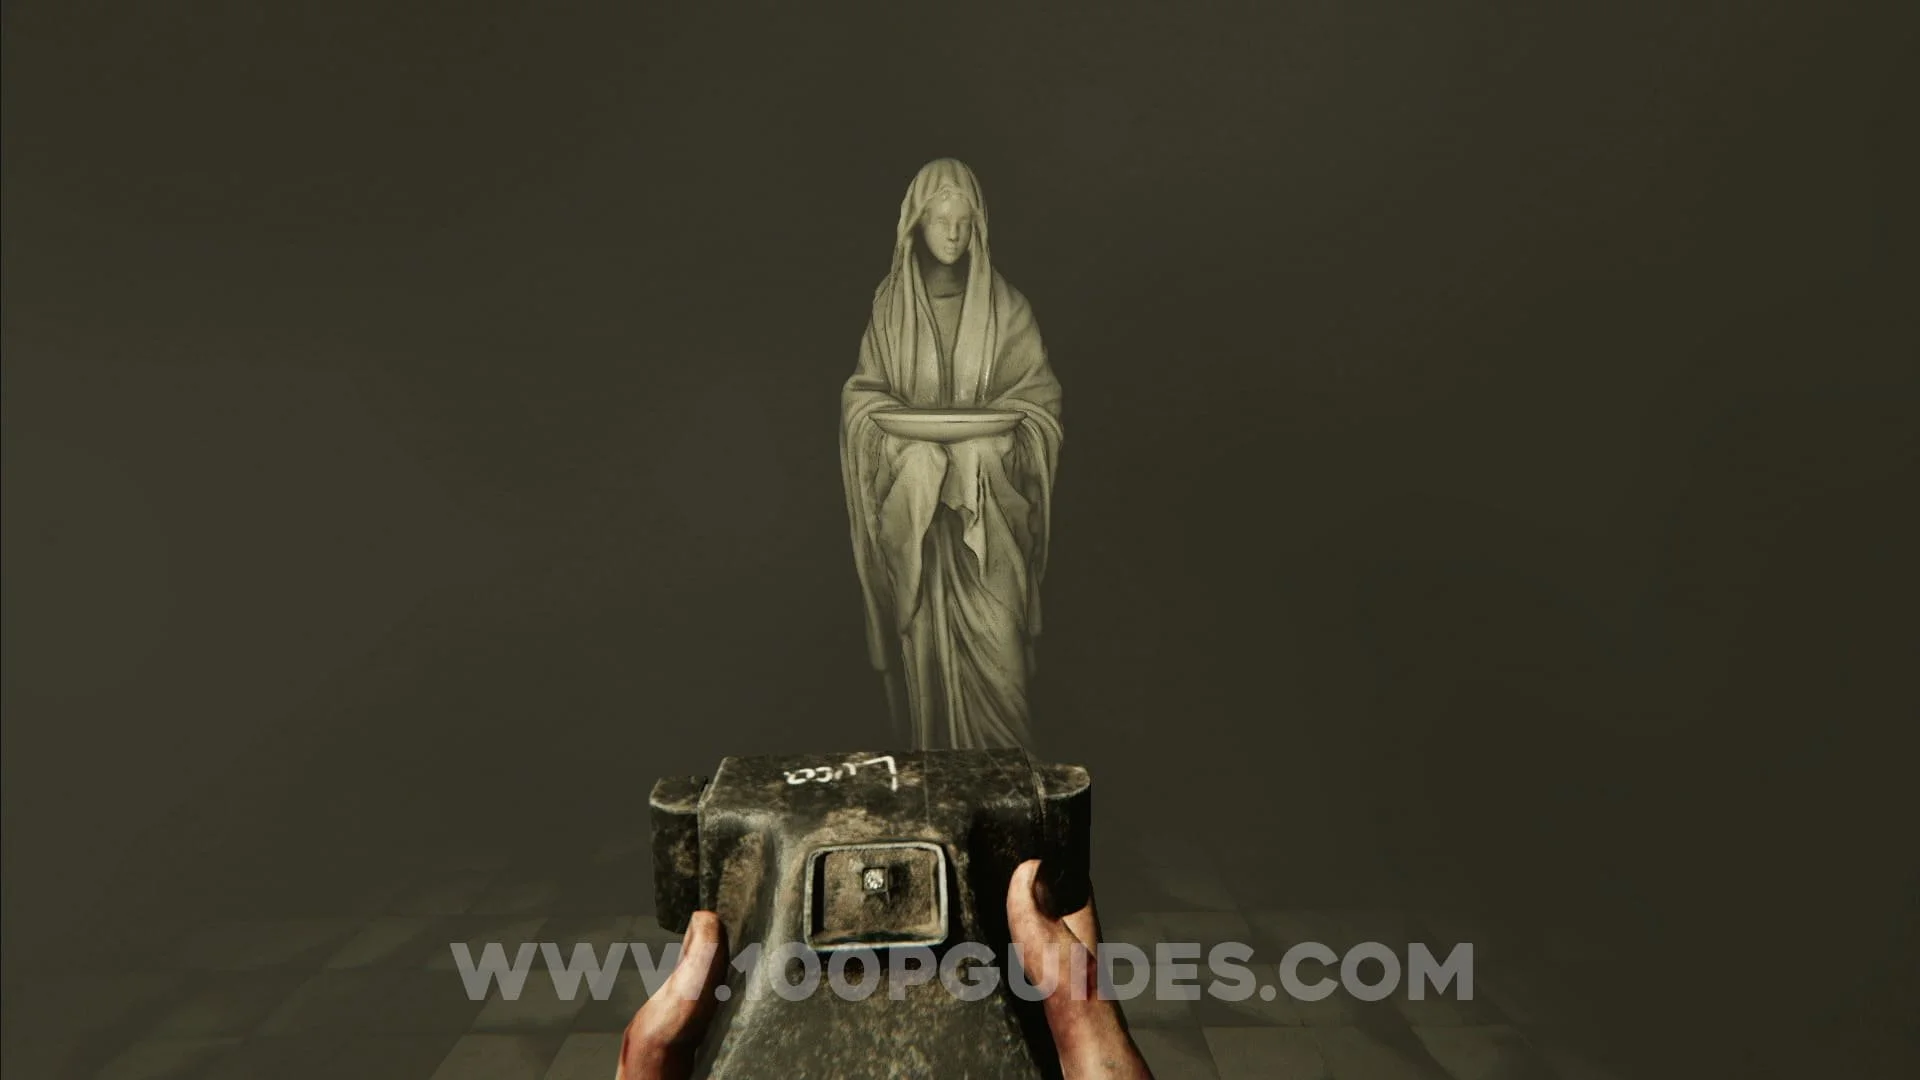
Now go get close to the paper on the wall to get teleported to the shelves scene. Here push the light bulb to change the room layout until you see the crowbar on one of the shelves. After you pick up the crowbar, push the bulb one more time. Now take photos of the statues until the scene ends. If you finished this scene in under 5 minutes you will get the "Found It!" trophy / achievement.


Once you are back in the house you can go back up to the attic and use the crowbar on the loose plank of wood to get a secret cassette. Play the cassette in the kitchen to get the "You Shouldn't Have Listened" trophy / achievement.


Now return to the grandparent's room and use the crowbar on the plank of wood where you found the red key to get a ring.


Next you will have to go to the room where to got the camera at the start of the game. Here pick up the triangular key from the chair. Now exit to the hall and open the white door at the end with the 2 triangular keys (you got the other one from the cupboard in the kitchen close to the start of the game).


As soon as you cross the door turn around to find a red collectible below to your right. In this same little "room" you can also find a file that you can examine to get the "Elizabeth's Memoirs" trophy / achievement.


You will now have to continue down the stairs. Here get the bolt cutter from off the wall, then activate the 2 switches on the walls (just like the one in the generator room) to activate the saw. Now use the rusty moonbox on the saw to open it.


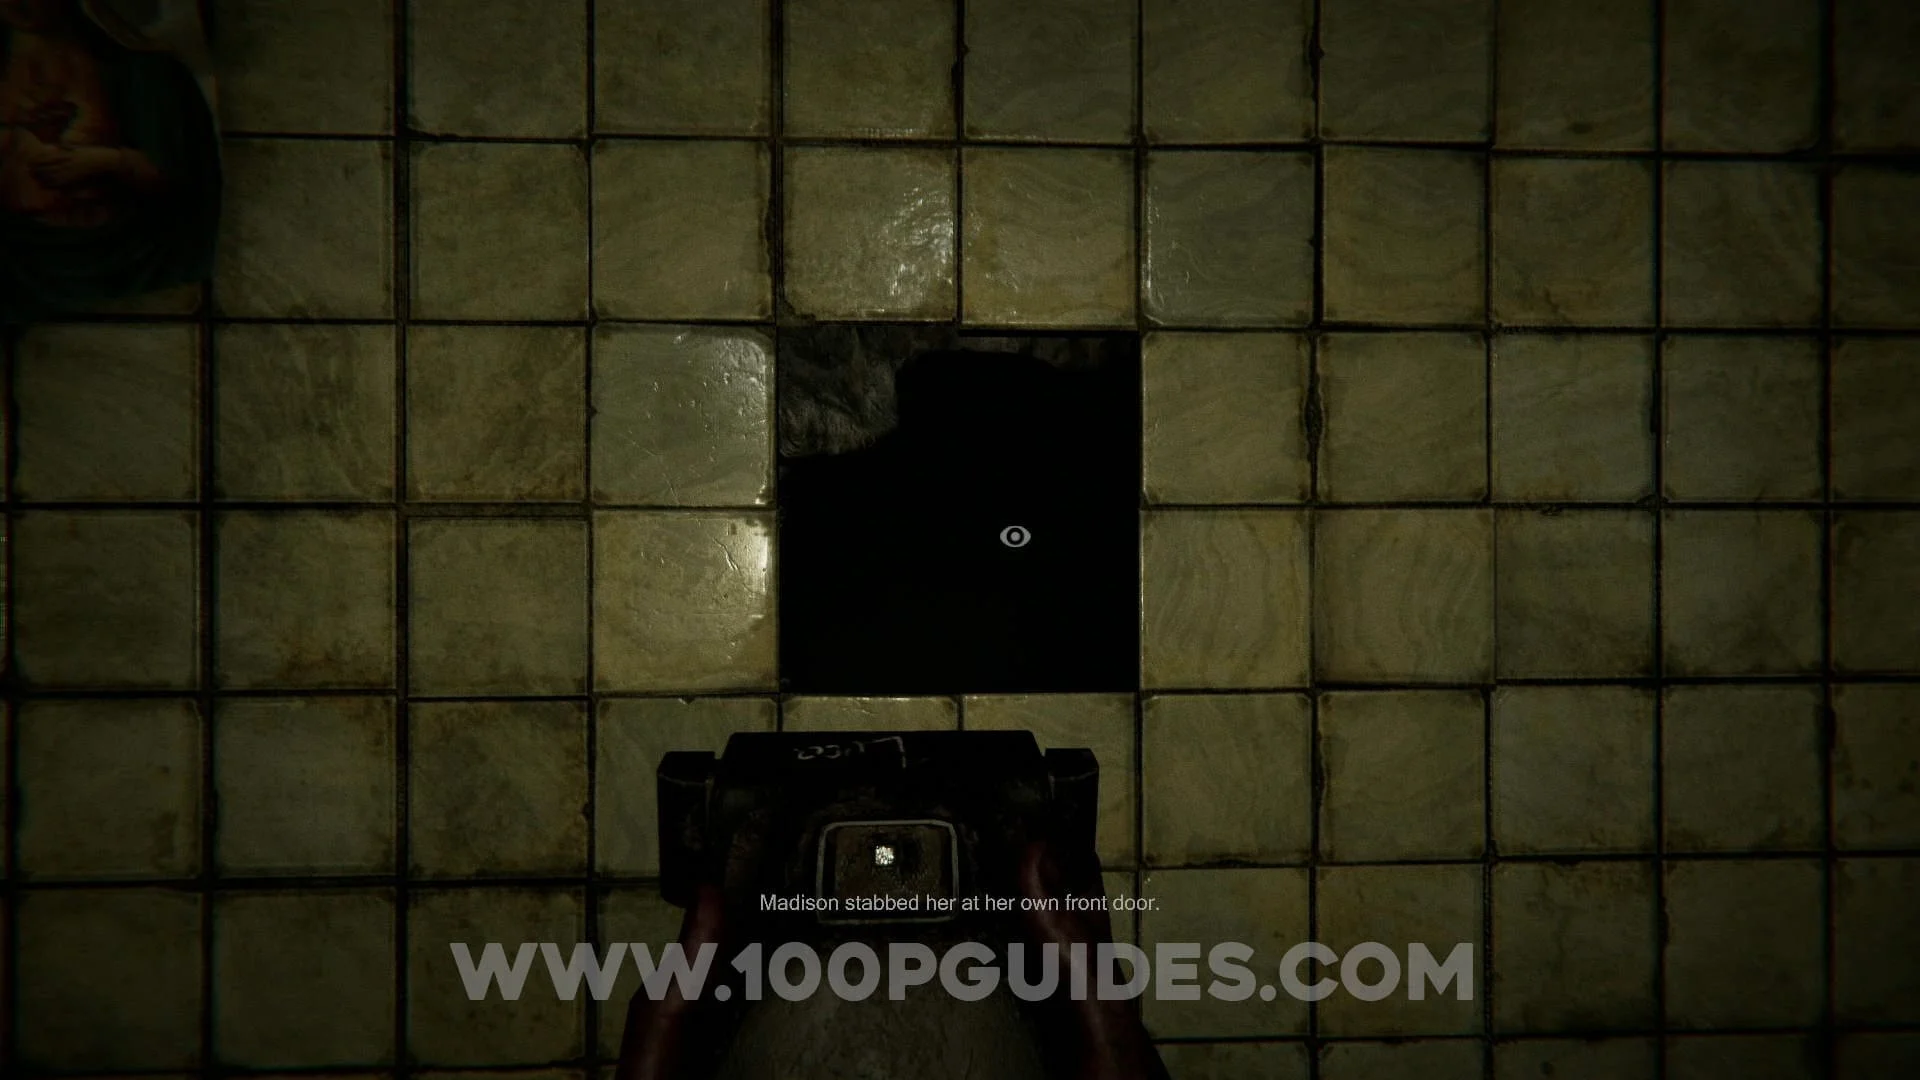
Now return to the room with the chair where you got the camera (that now has the 4 statues in it). Here you will have to place the following items on the statues: Madison's Skull, Sunbox, Moonbox & the Wedding Ring. You will now have to examine the little door with the padlock on it. This will open the door behind you where you can now find cassette #3 on the window.


Head back to the kitchen and open the cupboard above the oven with the bolt cutter to get another red collectible. Then use cassette #3 on the player in the kitchen to listen to it.


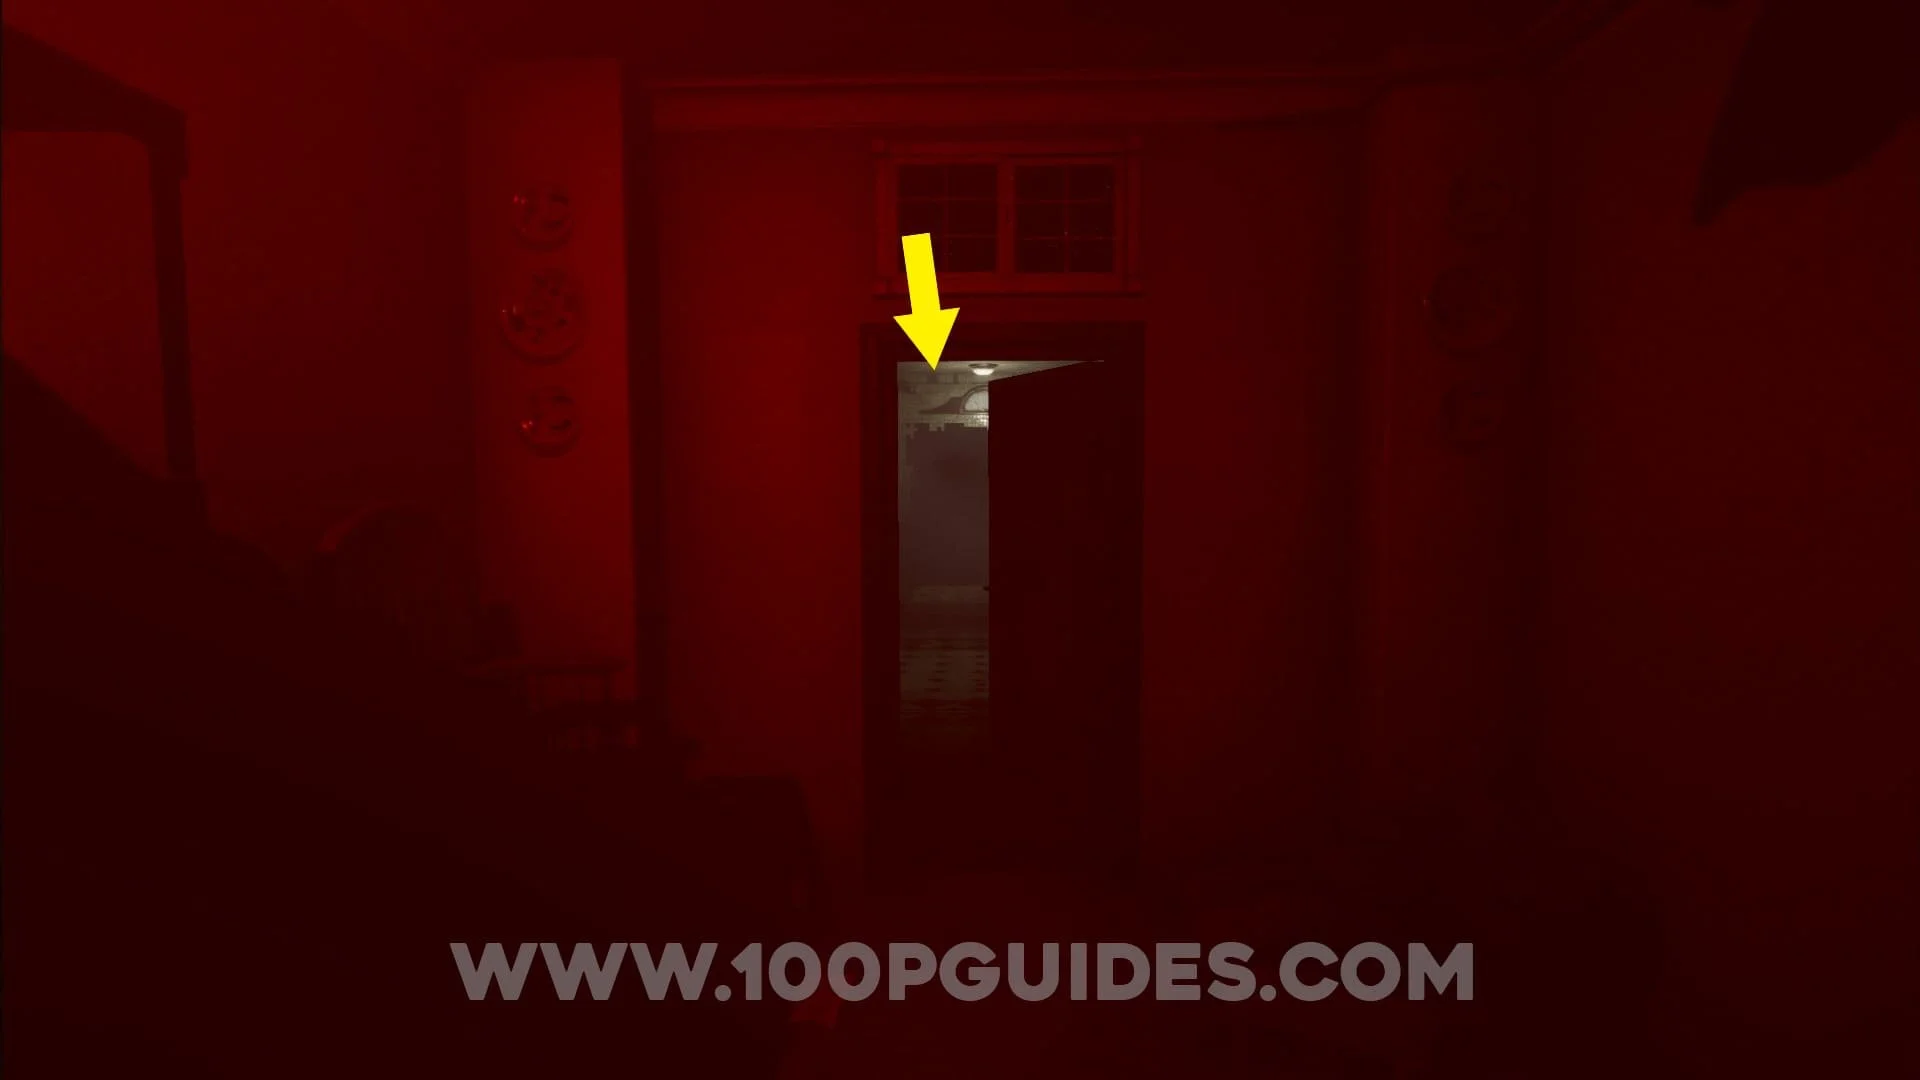
Next, you will have to head to the living room and take a photo of the animal trophy with horns hanging on the wall. Then head donw to the generator in the basement and turn off the lights. Now head to the room where the piano was blocking the door to find that you can now go through that door. You will now be in the mausoleum section (NOTE: go back and get your hammer out of storage if you do not have it on you, since you will be needing it to finish the next section).

To start you will have to enter the elevator and make your way to the 1st floor. Here you will have to take a photo of the hole where Robert Hale's coffin in found.

Enter the elevator and go to the 2nd floor. Here take a photo of the hole containing Judith Hale's coffin, then take a photo of the pillar in the middle of the room to find a red collectible.


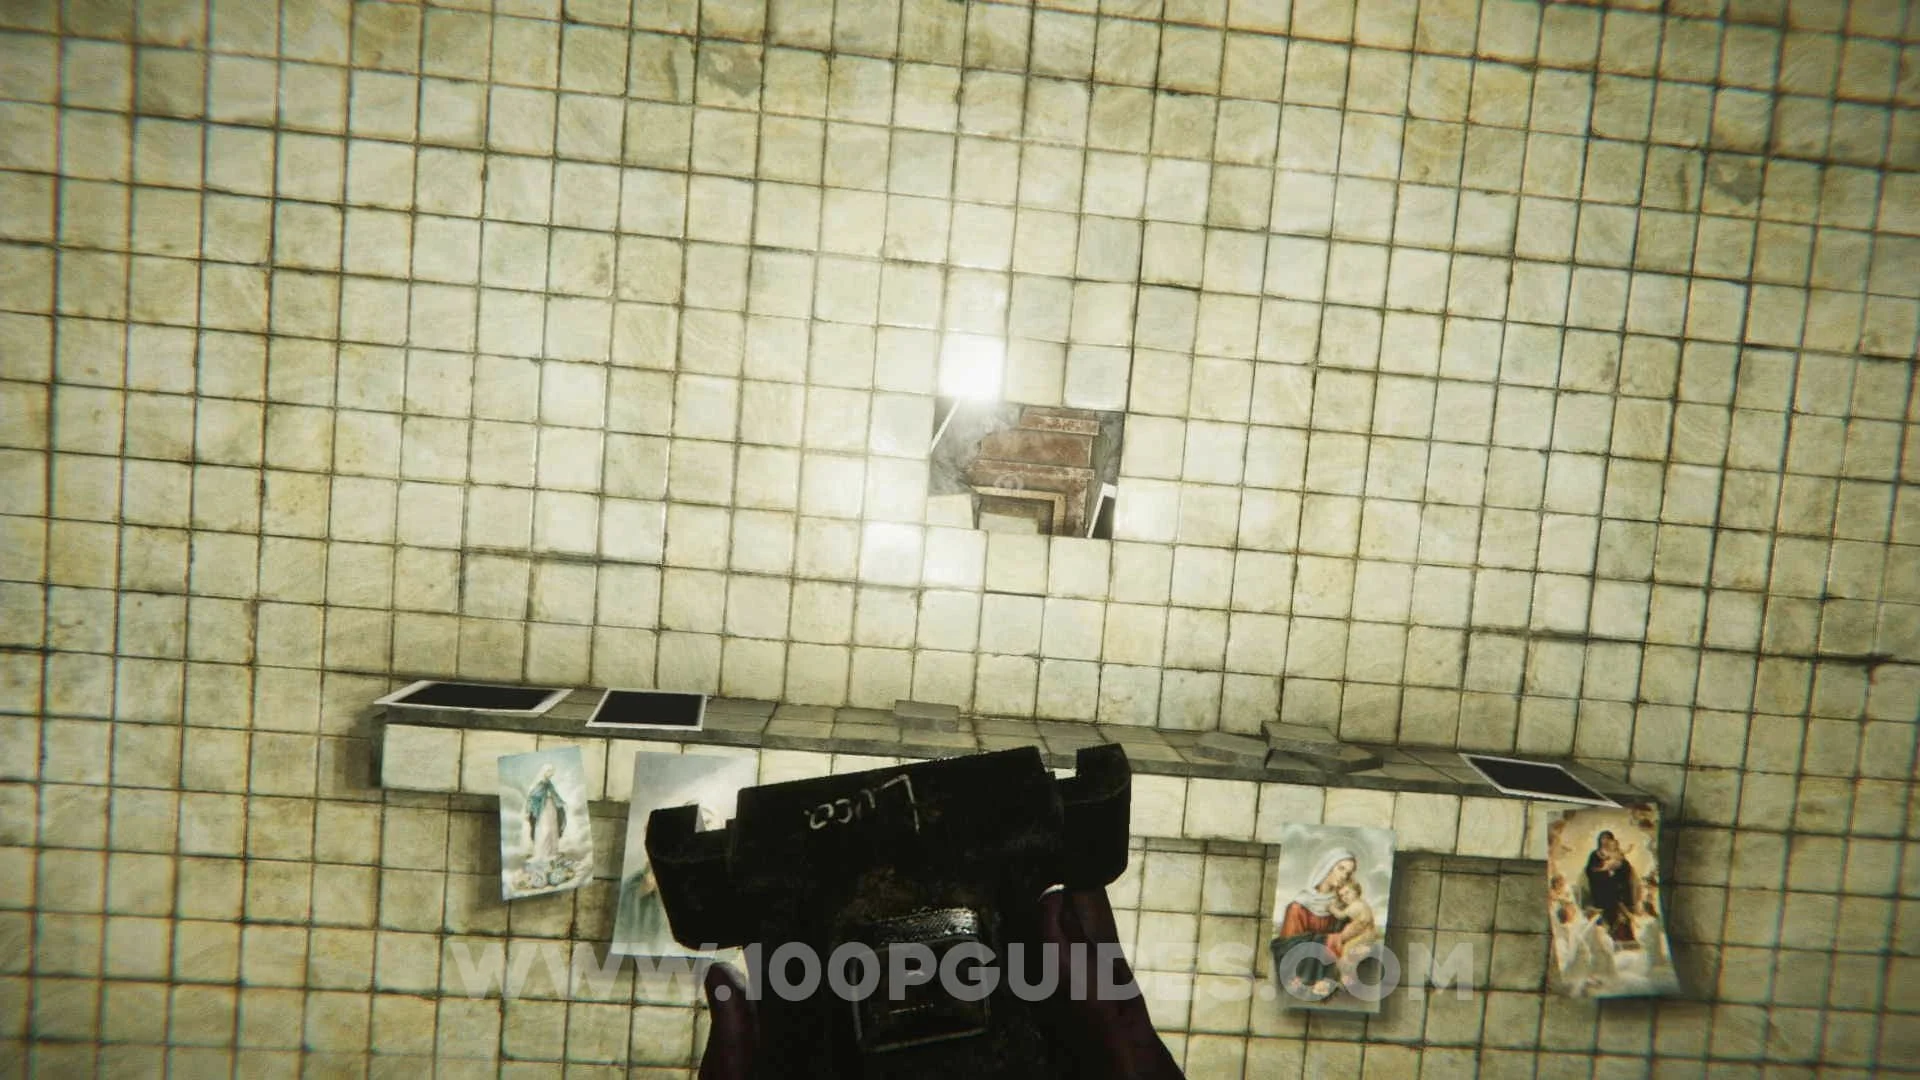
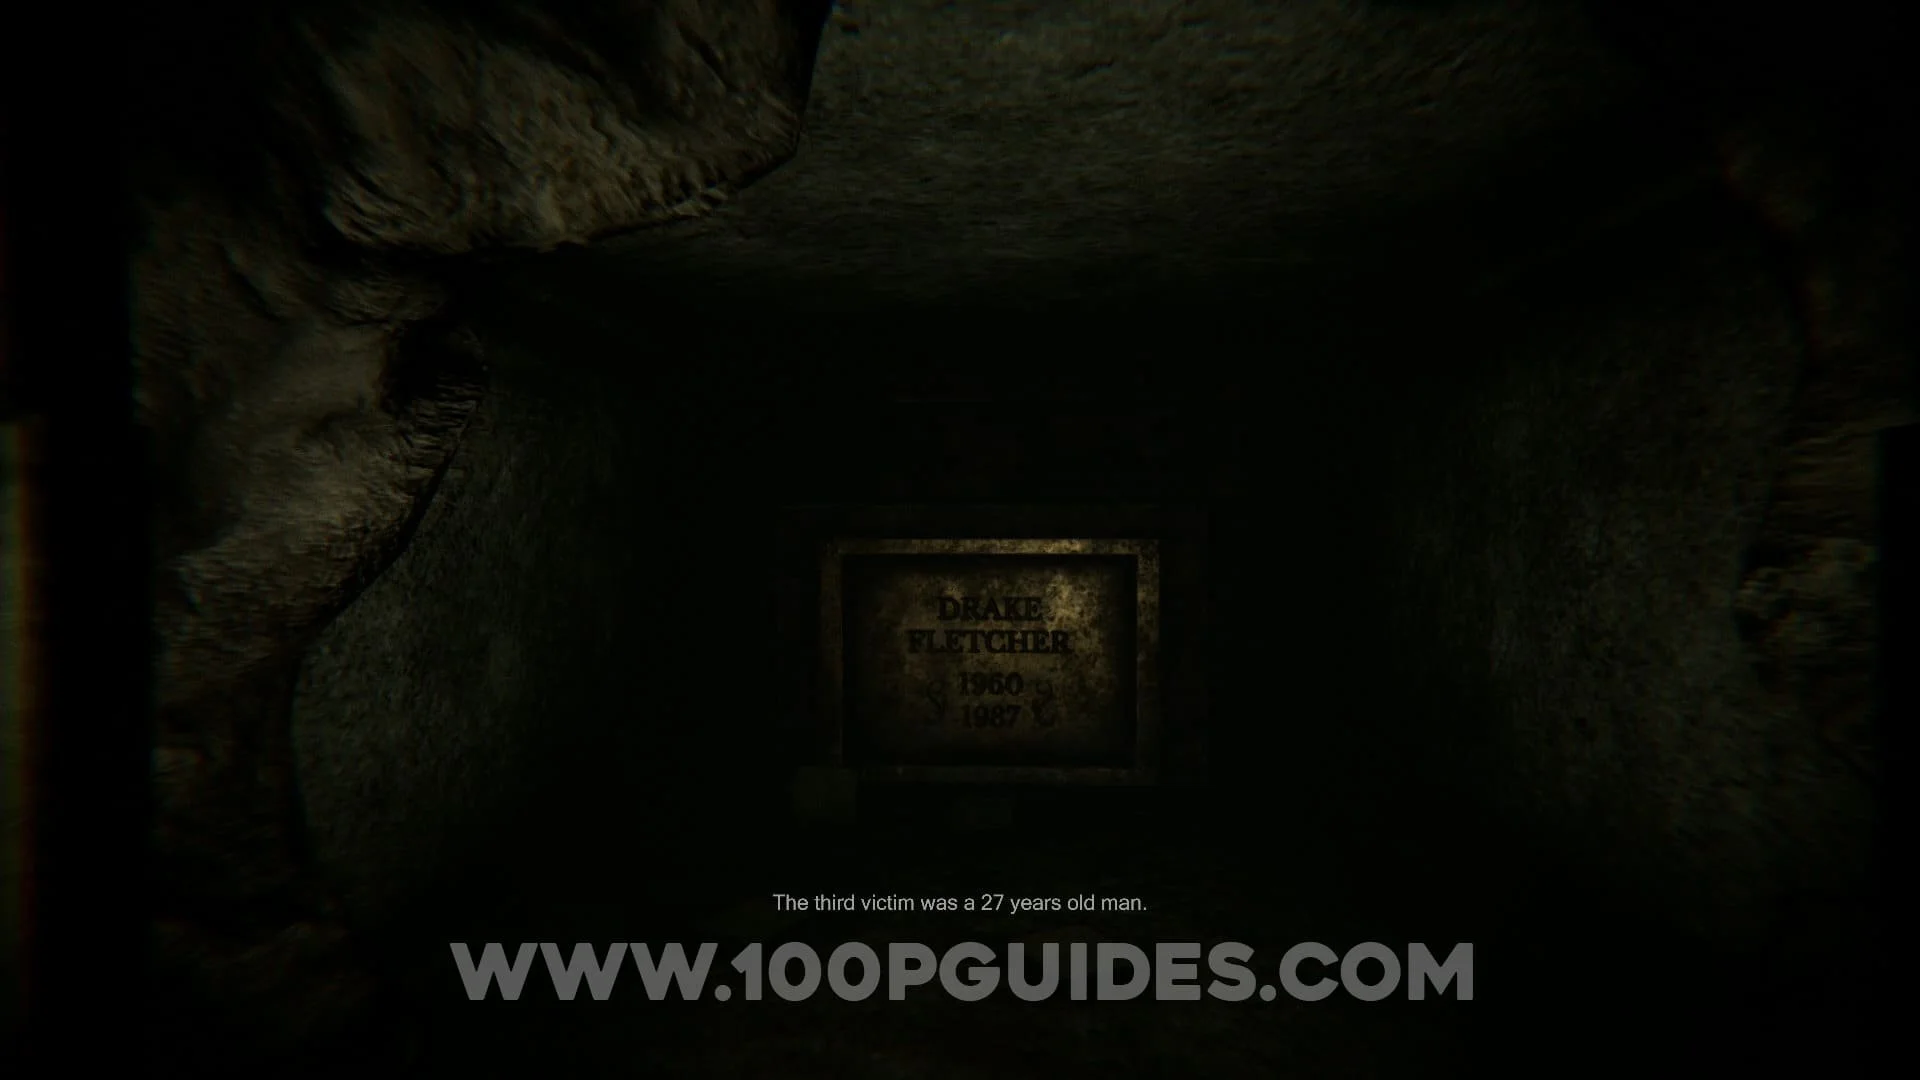
On the 3rd floor you will have to use the hammer to open the hole containing Drake Fletcher's coffin. Then take a photo of the hole.


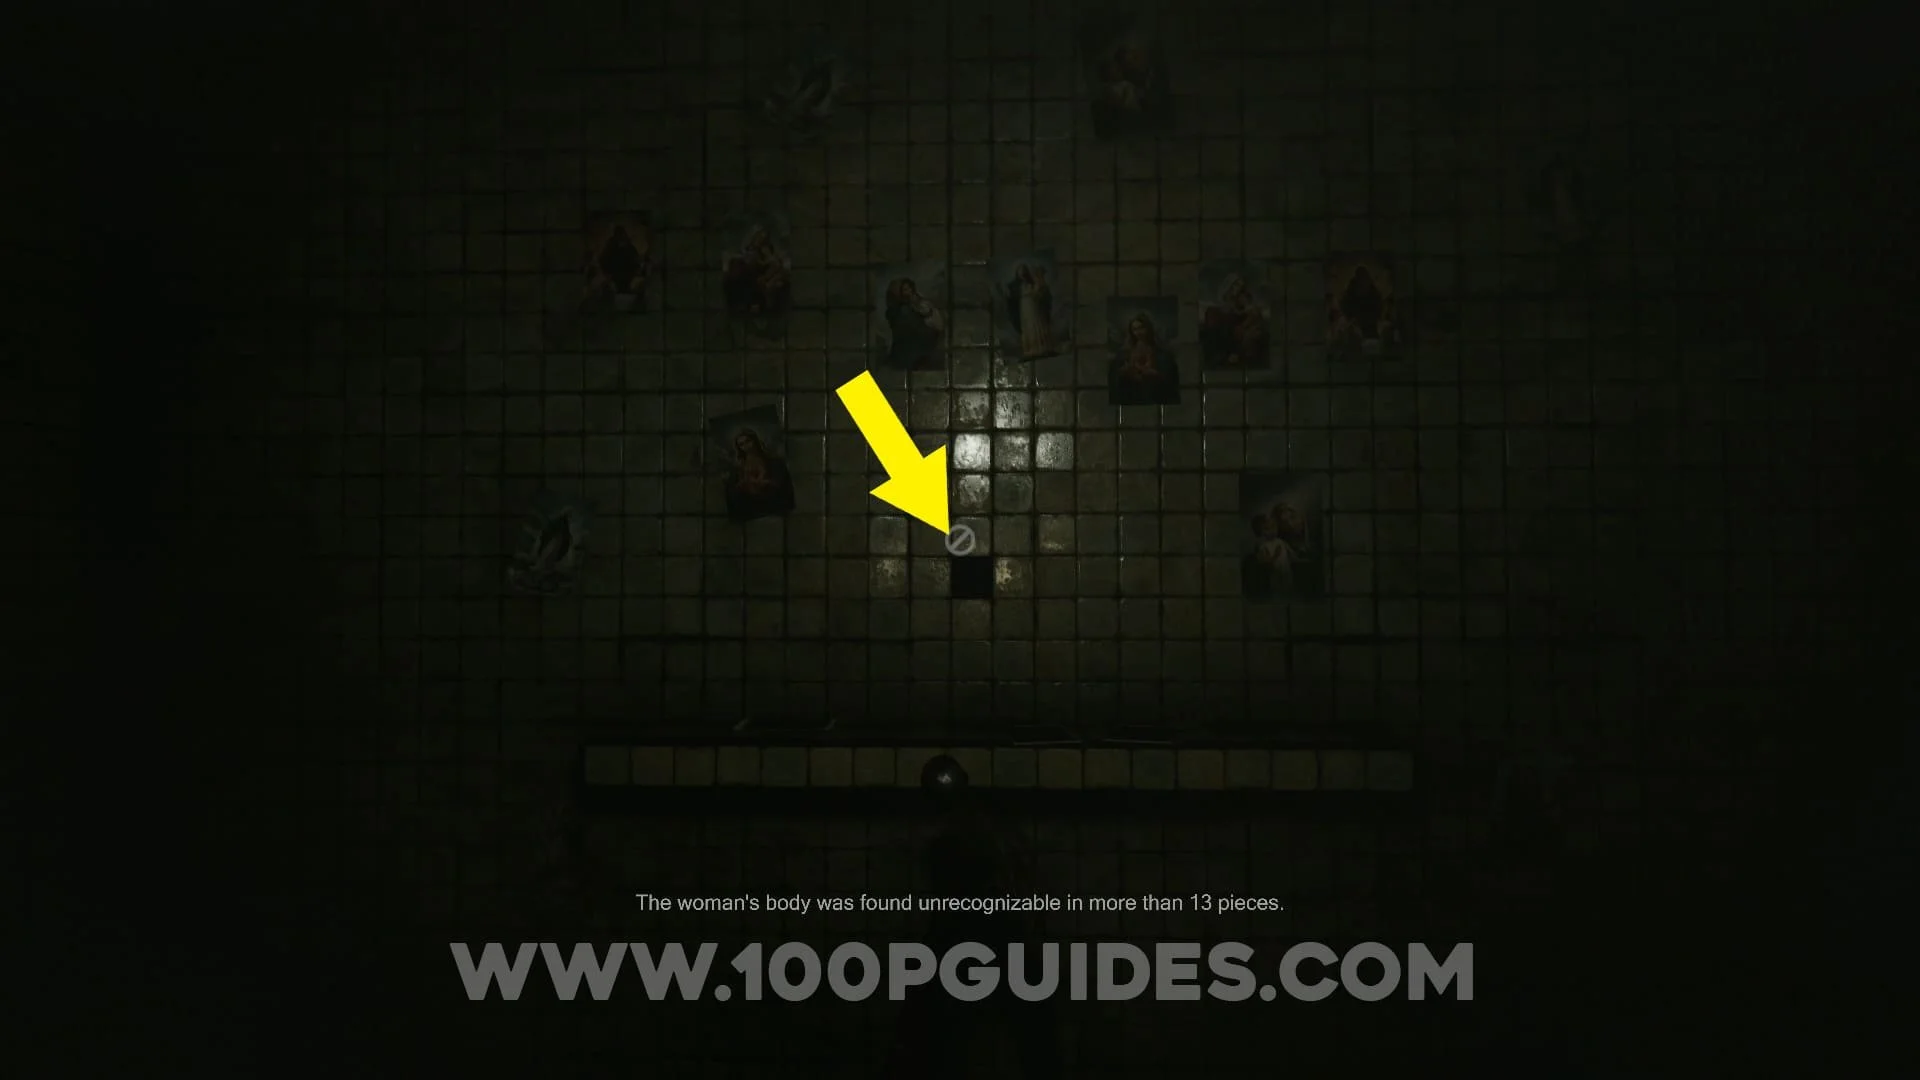
Use the elevator to get to the 4th floor. On your way up, have your camera ready since there will be a collectible on the wall inbetween the floors. Here use the hammer to open the hole containing Lynn Jamie's coffin. Then take a photo of the hole. If you have done them all correctly the voice should start to just repeat "you".


Finally, go to the 5th floor and take a photo of the mirror to get the key and end the section. Take the elevator down to the ground floor and enter the house. (if you finished this section in under 5 minutes you will get the "You..." trophy / achievement).


Once you are back in the house, the first thing you should do is go to the basement and turn the power back on.
Now you will have to enter the door with the clock on it found next to the living room. Once inside you can find a red collectible on the side of a hanging clock to your left after going down the stairs. After getting the collectible open the locked draw with the bolt cutter to find the first half of the combination to the green safe.


Now you will need the second half of the combination. This can be found in the bathroom (the room opposite the grandparent's bedroom).


Now that you know the full combination to the safe (will be different for each player), head to the small office with the green safe in it (the one where you got one of the potraits for the attic). Here open the green safe with the combination on the 2 notebooks to get a clock face.


You will now have to do the clock puzzle in the clock room, this is how you do so... Once you have the clock face from the green safe go to the room with the clocks and look for 4 clocks that have interchangeable faces. You will have to match these 4 clocks with the clocks around them (they will be different for each player).
To do this you will have to search for the matching clock faces around the house. 1 can be found in the hall close to the room with the green safe, another can be found in the attic, one can be found in the kitchen and a final one can be found in the first hall you visit in the game. Since the clock faces will be different for each player, some of you may find some of the correct faces on the clocks in the puzzle room and others may find the correct faces on the clocks around the house.


Once all 4 clock faces are matching the clocks that surround them, the room will go dark. You will then have to take a photo of the door and pick up the unfinished clock.


After leaving the clock room your character will write down the red safe combination in the notebook. Go from the biggest circle to the smallest one. The number of movements are the lines marked in red (including the arrow at the end). In my case the combination is 4 left, 8 right & 3 left. With this information open the red safe (in the same room as the green safe) to get the key to Jonhny's room.


Before going to Johnny's room, head to the bathroom and use the bolt cutter on the toilet to open it and get the block.


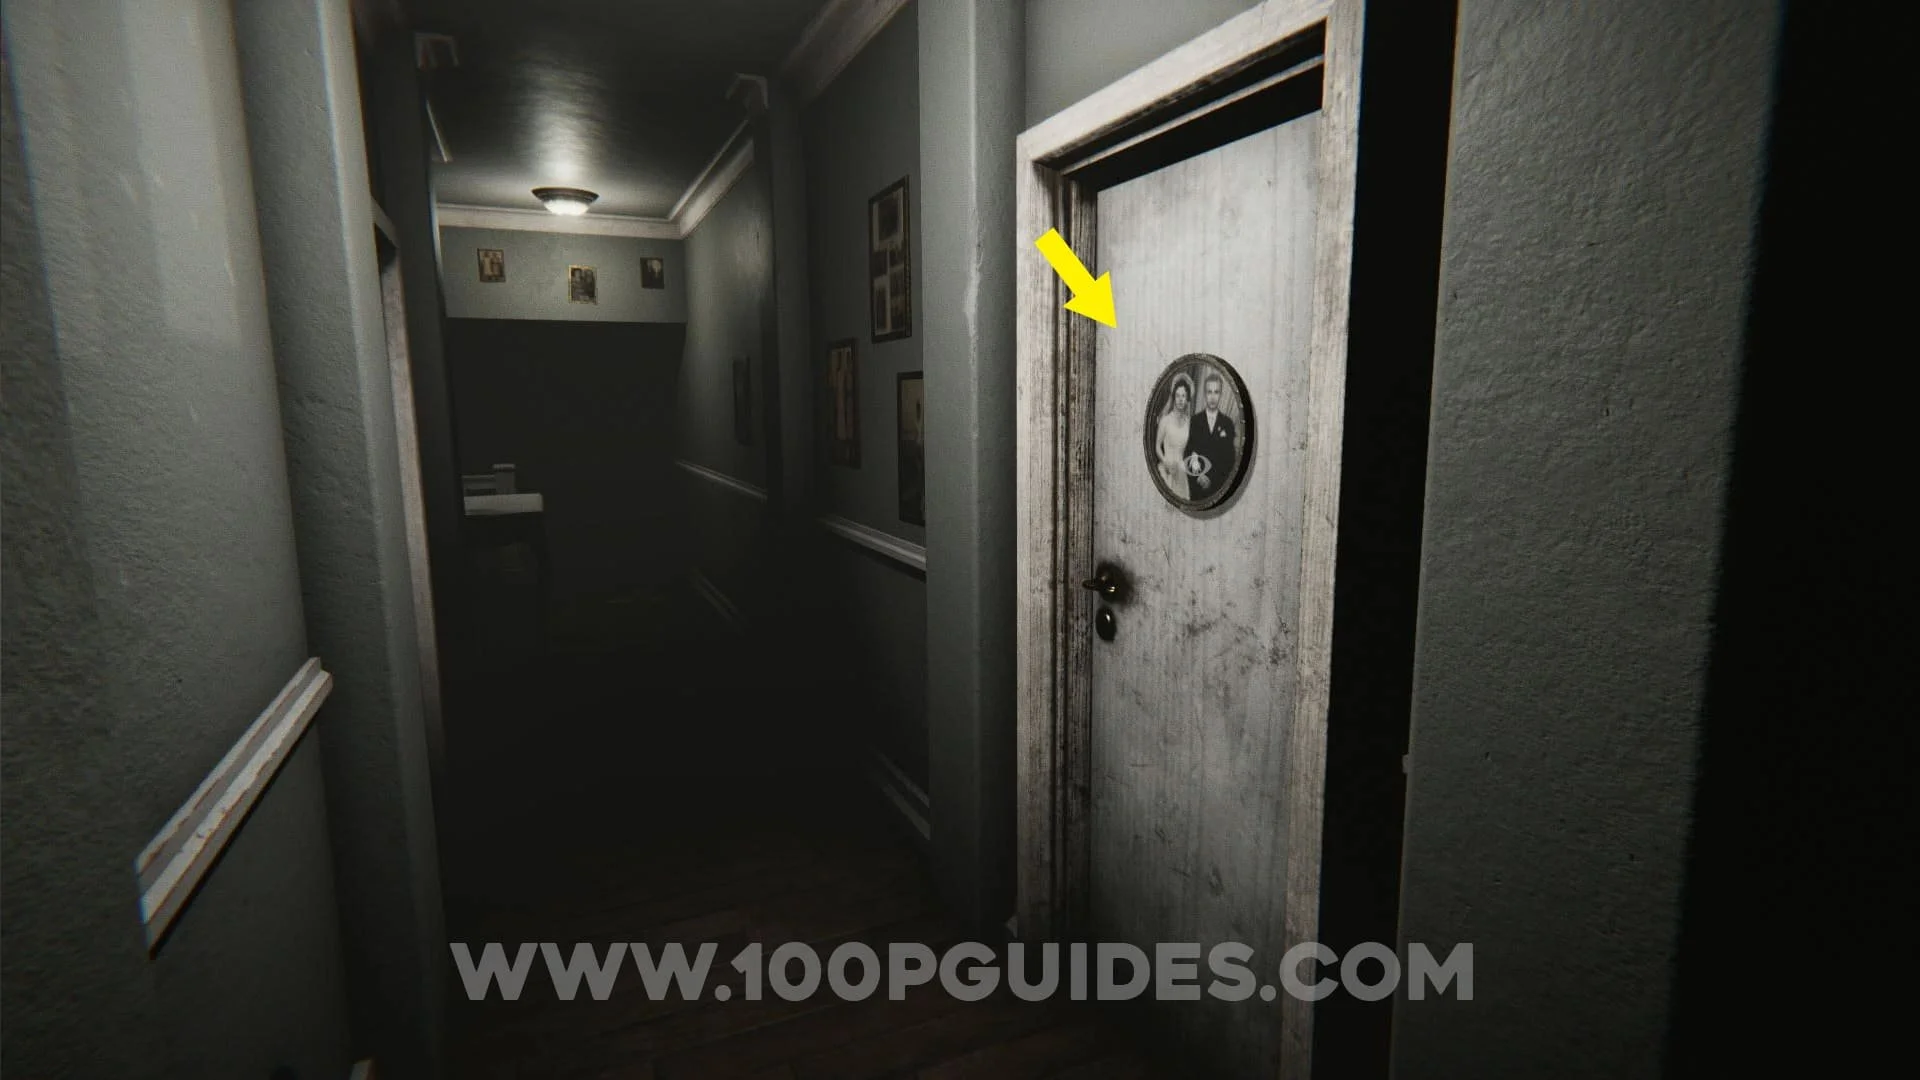
Now head in to Johnny's room (the door with a photo on it close to the room where the piano is). As soon as you enter the room look up to a wooden beam with a red collectible on it.


Here you will have to place the right weights on the right animal symbols. Here are the correct weights for each animal.
🦈Shark: The biggest block (the shark starts with this one by default).
🐇 Rabbit: The clock from the clock room.
🐀 Rat: Small block (the one from the toilette).
🐍 Snake: The middle sized block (found in this room close to the rat symbol).


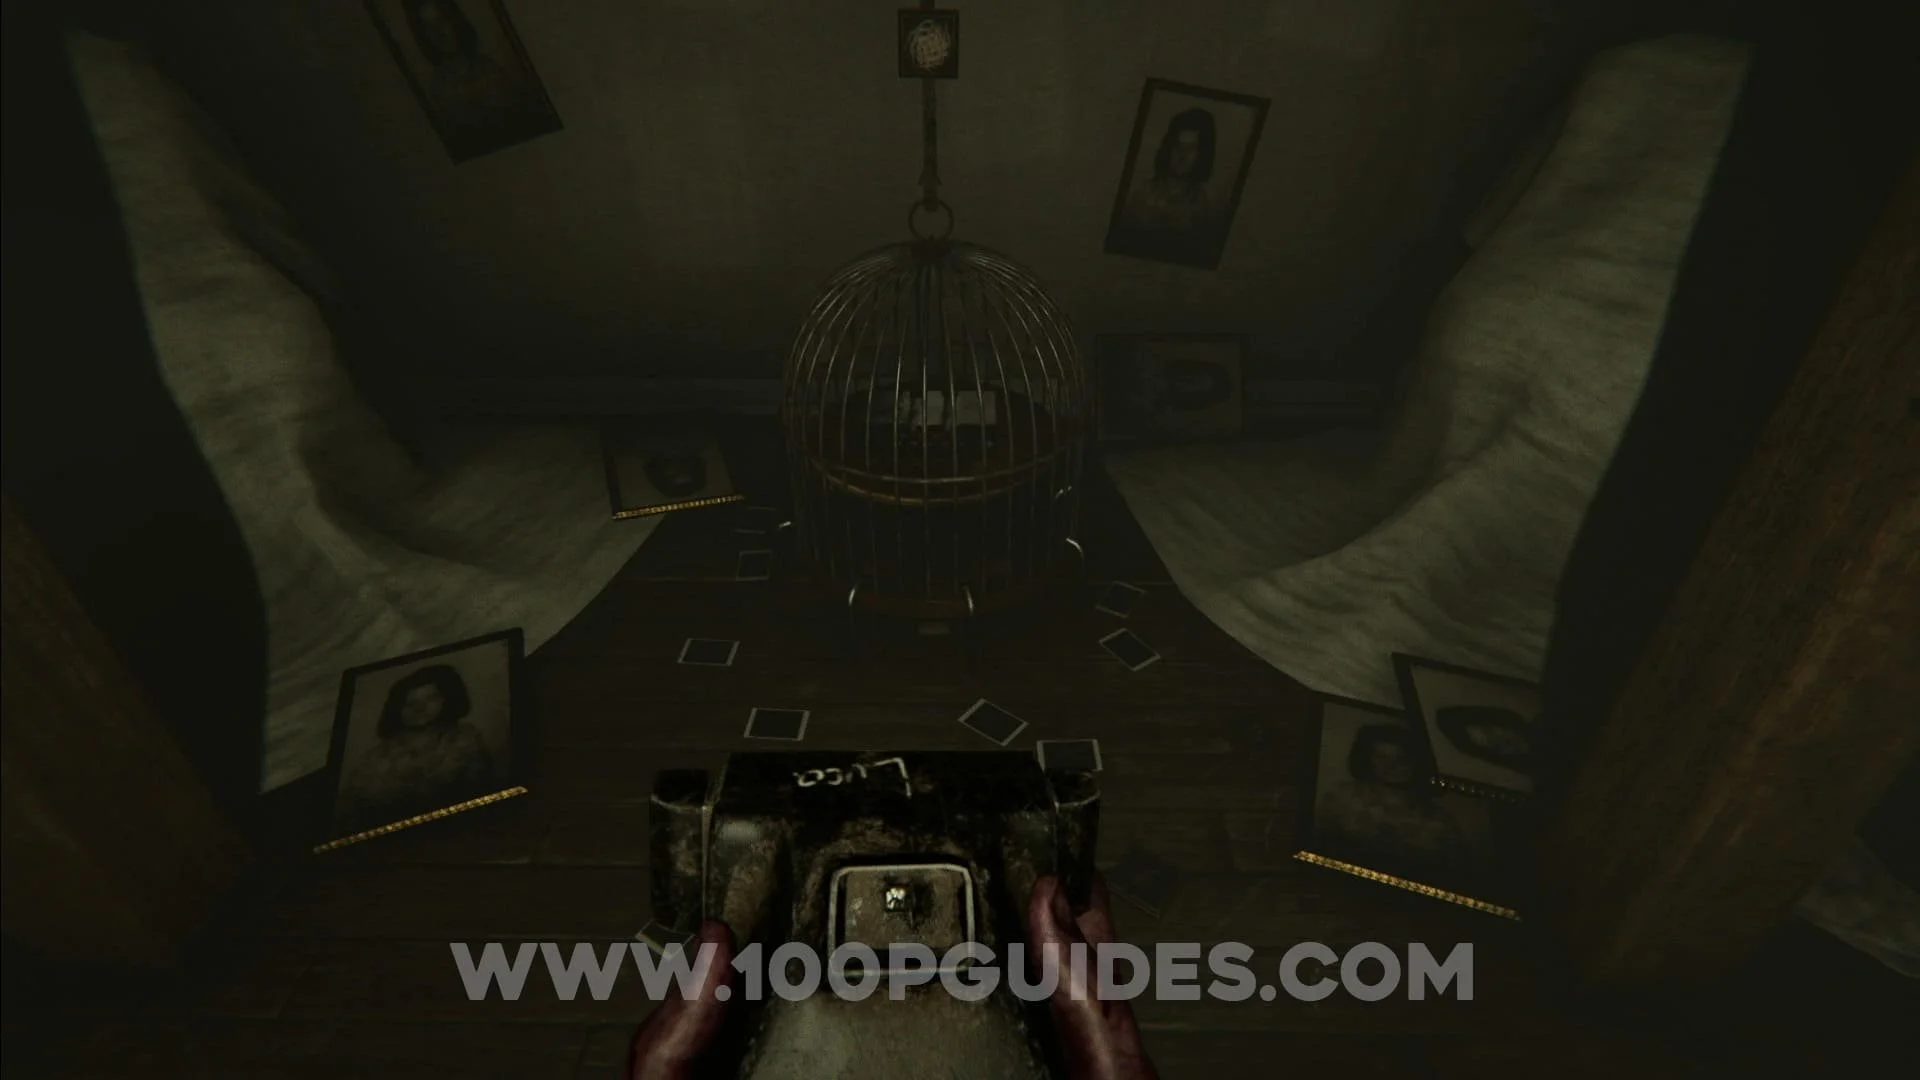
After solving the puzzle, take a photo of the cage, then read the book to the end.
❗DOING THIS WILL TAKE YOU TO ANOTHER VERSION OF THE HOUSE AND YOU WILL NOT BE ABLE TO RETURN TO THE NORMAL HOUSE TO EXPLORE FOR THE REST OF THE GAME!!!.

You will now find yourself in a childs bedroom. Here take a photo of the hole in the ground to be able to leave the room and start exploring the rest of the new version of the house. In this version of the house you will be able to find all 5 of the blue collectible photos. I recommend getting them all before activating any of the gramophones, since as soon as you do, blue knees will be out to get you. So here are the locations of all 5 blue photos.
Blue Photo #1. After releasing Blue Knees you can find this photo in the small office that was originally the room with all the clocks in it before the house changes it's layout.


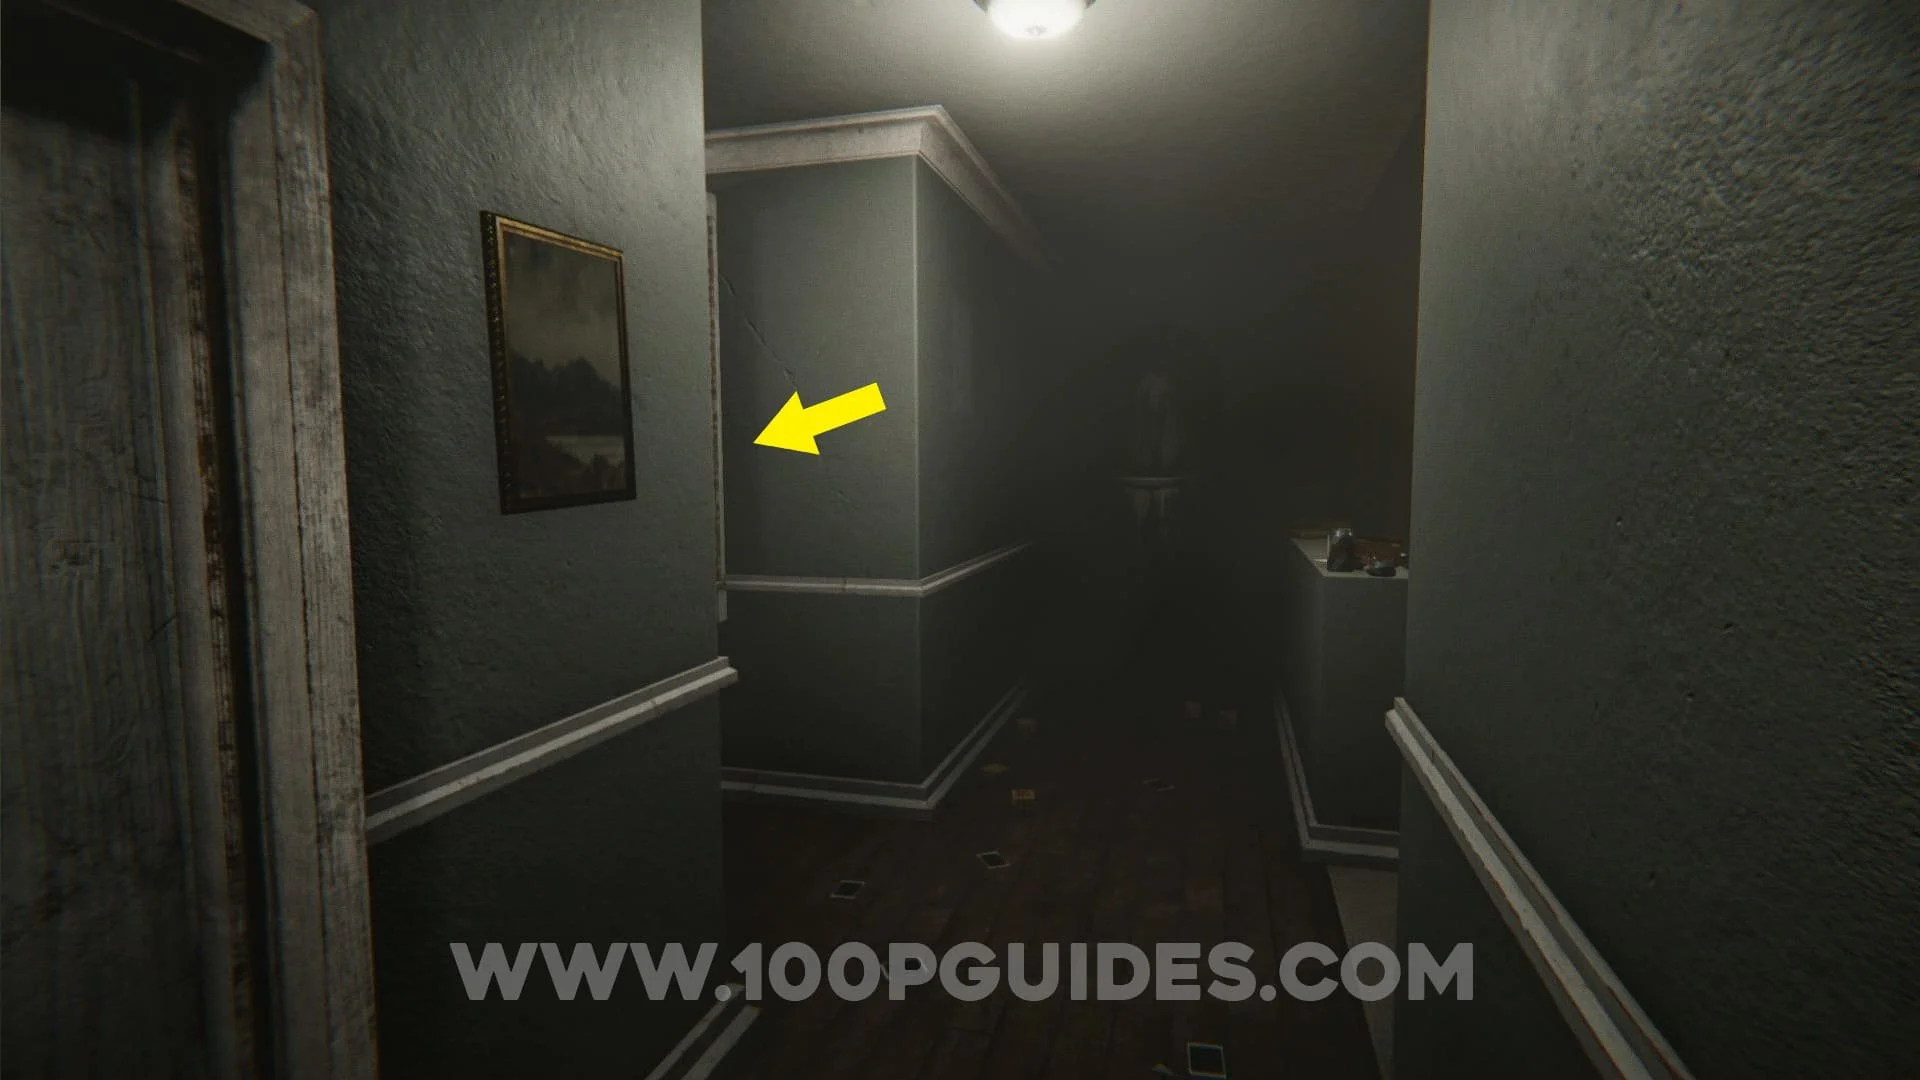
Blue Photo #2. After leaving the kid's room where you release Blue Knees, go down the hall to the left and then enter the hall to the right. Go all the way to the end to find the photo on the wall to your left.
Blue Photo #3. After leaving the kid's room where you release Blue Knees go right and then continue down the hall to the right of the small office. Enter the room on your left to find the collectible on a wooden beam above you.


Blue Photo #4. From the previous blue photo, continue down the hall and go left at the end. Then find the photo on the statue.


Blue Photo #5. From the previous collectible, go down the hall to the left and enter the door on the right in to the room that looks like the attic. Walk a few steps forward and then look up behind you to find the photo above the high up window.

After collecting all 5 blue photos it's time to continue with the blue knees section of the game. You will now have to go around this alternative version of the house playing the gramophones. Play them until the disc stops moving, then if you are lucky there will be an eye inside the gramophone that you can pick up (this is random, so yo may have to play multiple gramophones until you get an eye). Once you have an eye take it back to the bedroom you started in and place it in the hole in the floor. You will have to then repeat this process 1 more time. Once you have places 2 eyes in the hole, take a photo of the hole. Blue Knees will then attack you, taking you back to the original house.
📝 if you get attacked by blue knees during this process, you can get him to go away by taking a photo (if you blind him 5 times you will get the "Blinded" trophy / achievement, if he kills you, you will get the "Grandma Was Right" trophy / achievement & if you get through this section without dying you will get the "Hunger" trophy / achievement.


You will now be back in the original house, however you are injured and can not use the camera. All you have to do now is make your way back to the room where you go the camera at the start of the game. Here you will have to look through the photos in your inventory. You will notice you will have 4 photos with red numbers on them, these numbers are the code to the lock on the small door in this room (from left to right). Once you open the door, examine the ashes. Then open your notebook. Finally, place the camera on the pedestal and interact with the chair to finish the game!